Lego Photos
Just another My blog Sites site
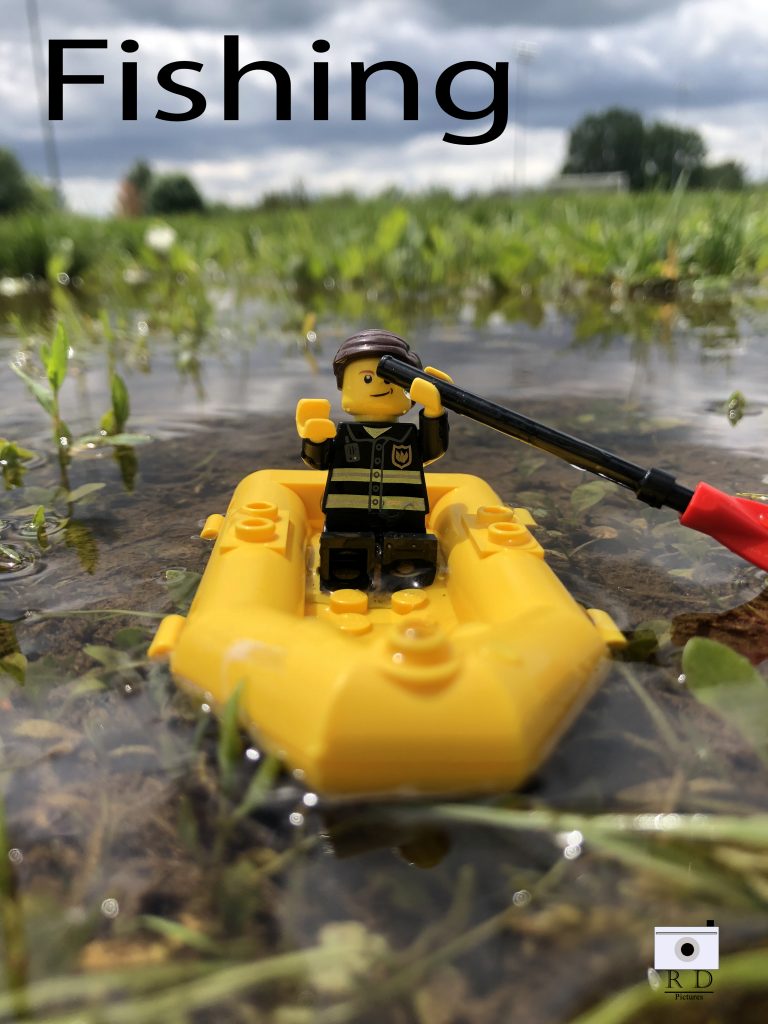
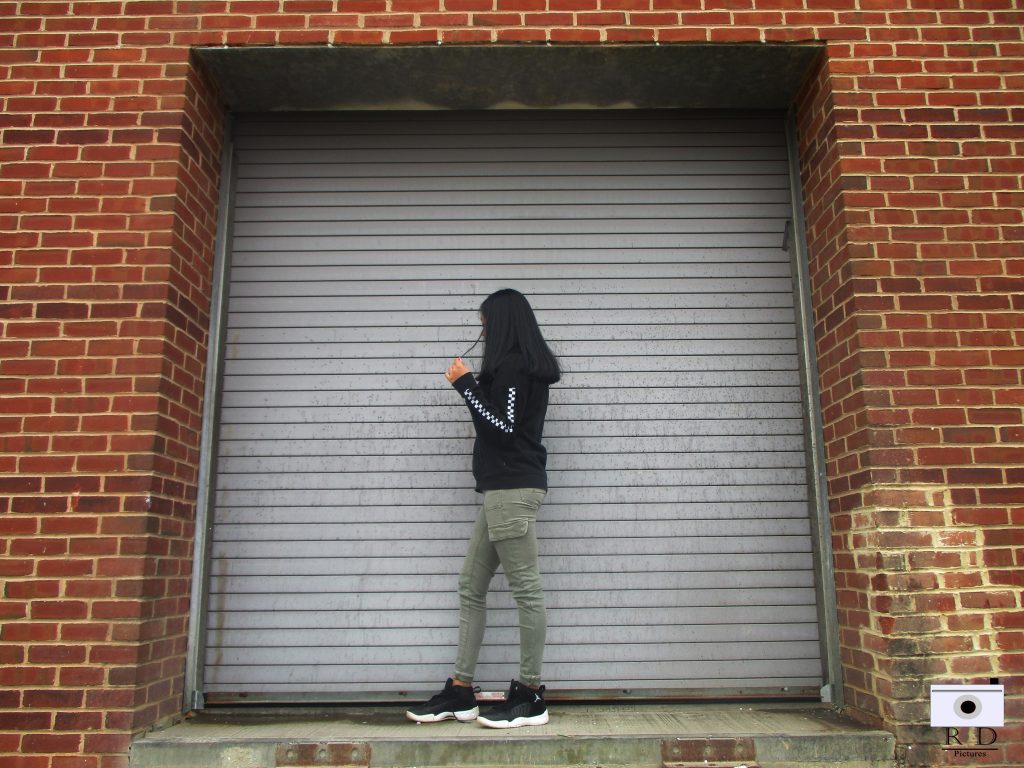
For this project we had to take pictures of people or objects in a “frame”. The frame could have been objects such as windows, doorways, or in between tree branches, etc. This project compares to the rule of thirds because they both use lines to force you to focus on the subject. These projects are also different because the rule of thirds use imaginary lines while this project uses visible lines to focus on your subject. The biggest challenge of this project was the lighting, sometimes we had really good spots to take pictures but sometimes not.
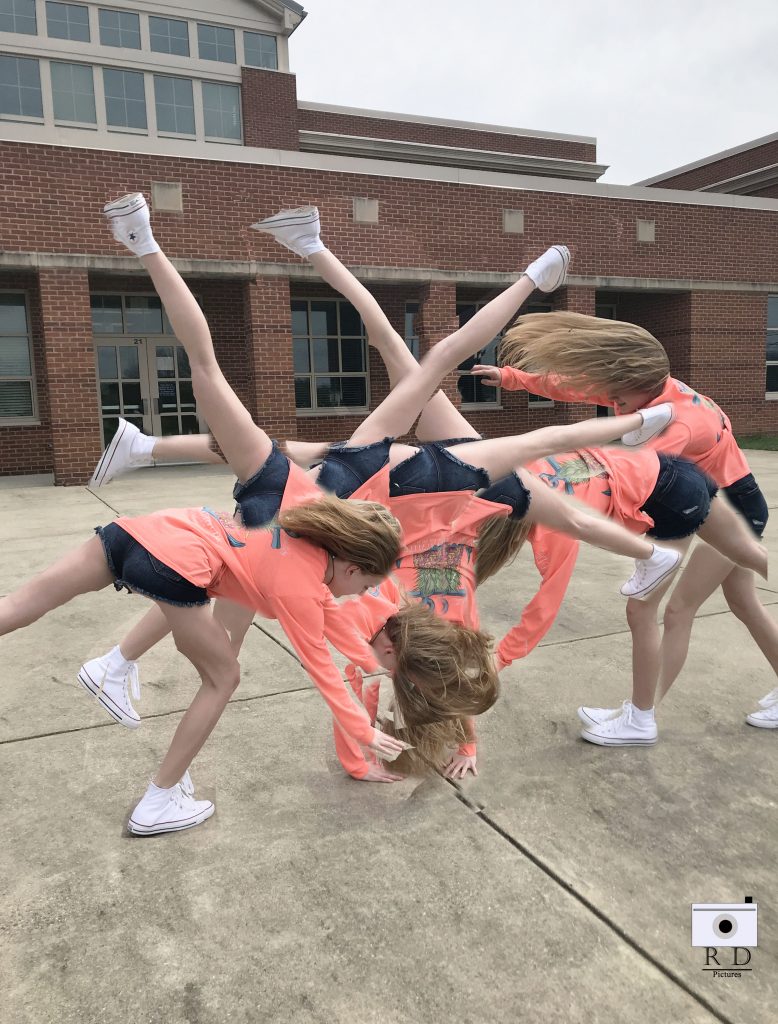
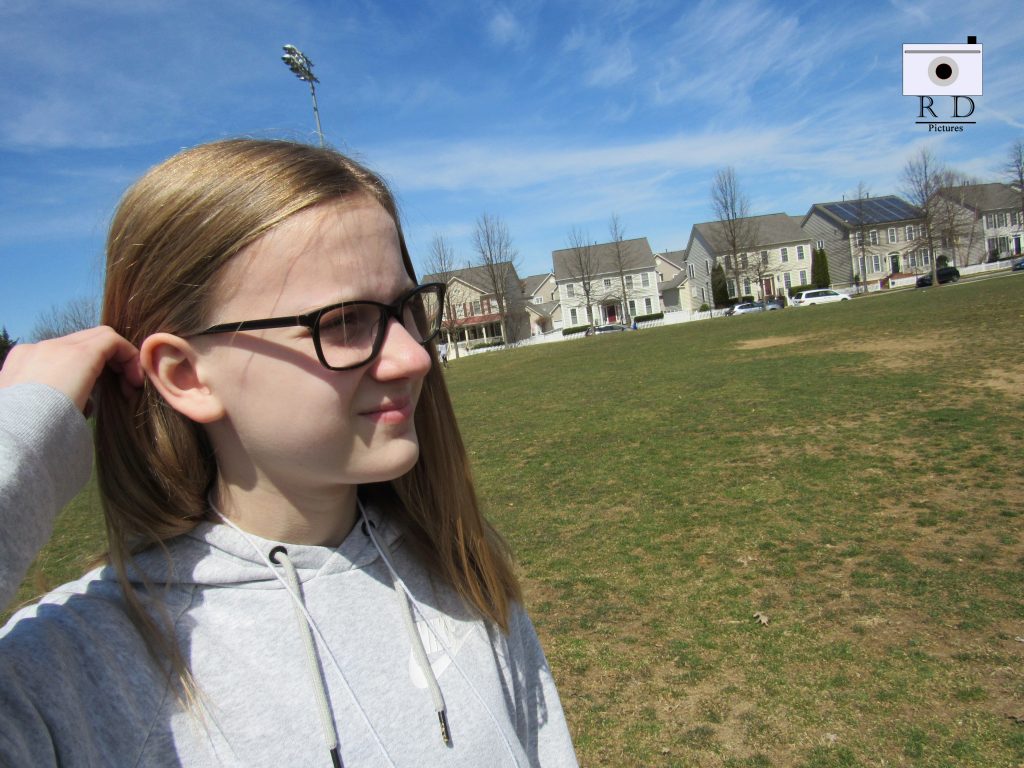
When taking my photos for the rule of thirds, I used the grid on the camera. Using the grid, I lined up my person and/ my objects on one third of the grid on my camera. Your eye automatically focuses on the rule of thirds. In this project, it was hard to edit the photos so that the object or person is exactly on the rule of thirds. Before this project, I had no clue what the rule of thirds was, but now, I can use it with any pictures I take.
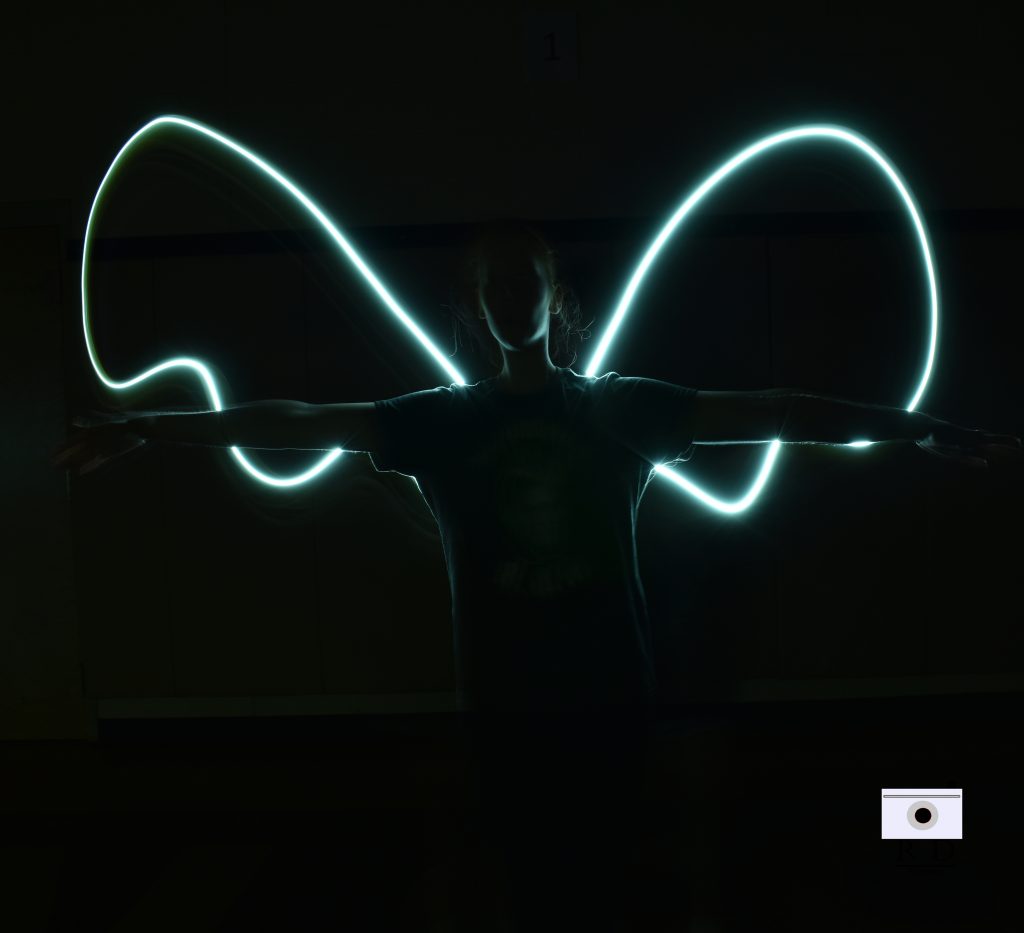
In this project, we had to make it look like there was an infinite black background. In order to get the right lighting, we had to put the light on the person, instead of behind. One thing that didn’t work was taking the picture far away from the person so it wouldn’t mess the lighting up. one thing which was easy was focusing on the subject better than in the white background post. It was hard because the light was really bright.
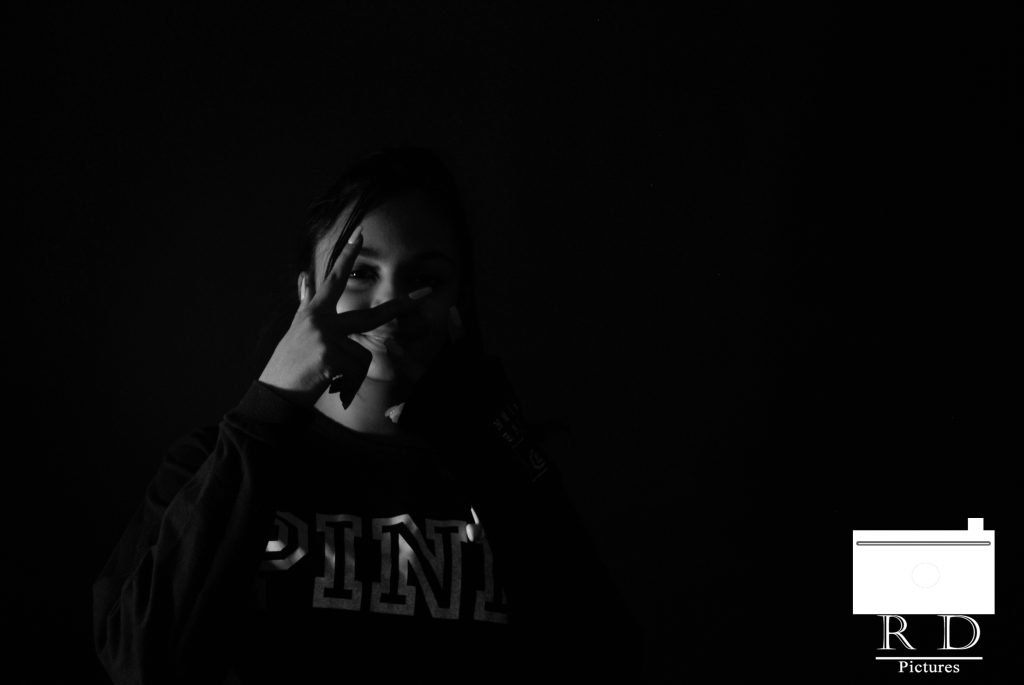
For this project, we had to make the background look infinite.One thing I did was I adjusted the camera to make it more sensitive to the light, so the background looked at bright as possible. While I was editing I found it super easy to adjust the brightness. One thing I struggled with was getting the the proper adjustments to the camera. It was challenging to get rid of yellower areas.

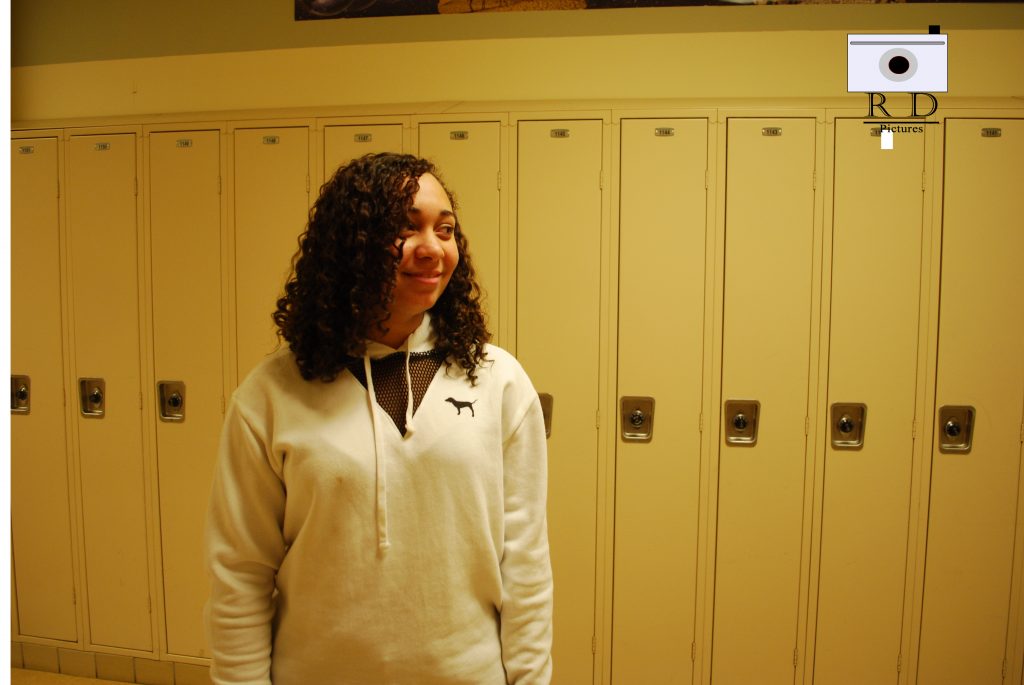
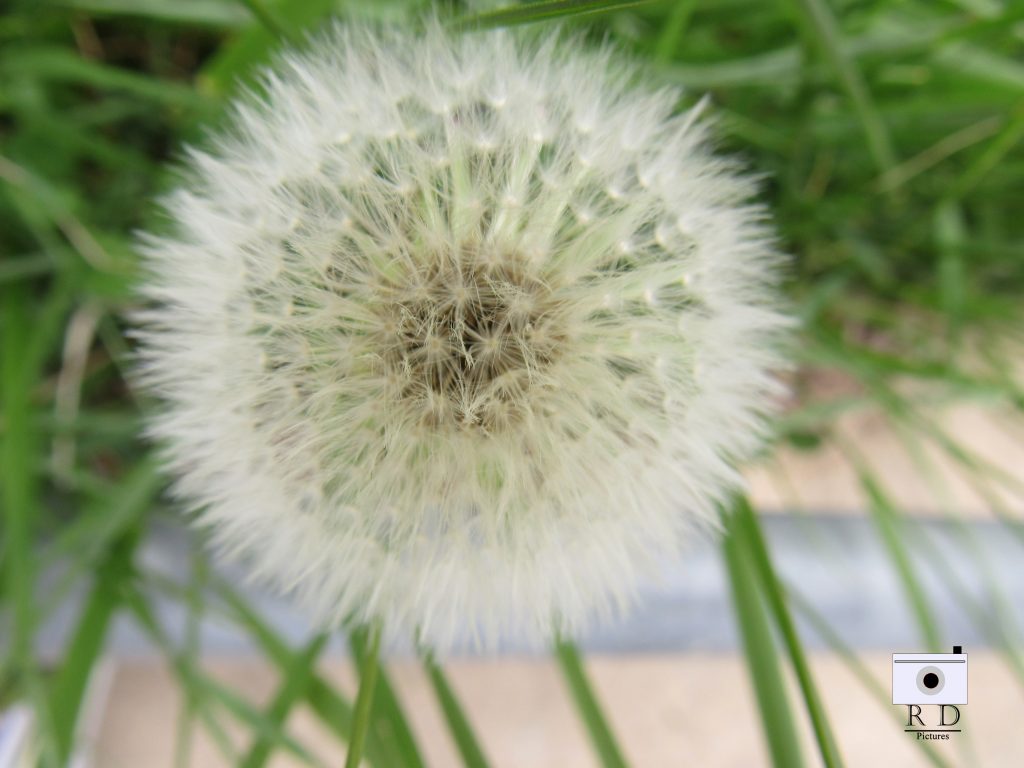
In this assignment, my partner and I had to take 5 shots of one object in different angles, but for 3 different objects, including one person. (Total of 15 pics) This project was mostly easy but the only hard part was getting 5 different angles without actually moving the object. None of the objects were hard to take pictures of, but overall this project helped me figure out how to take better pictures. Click here!
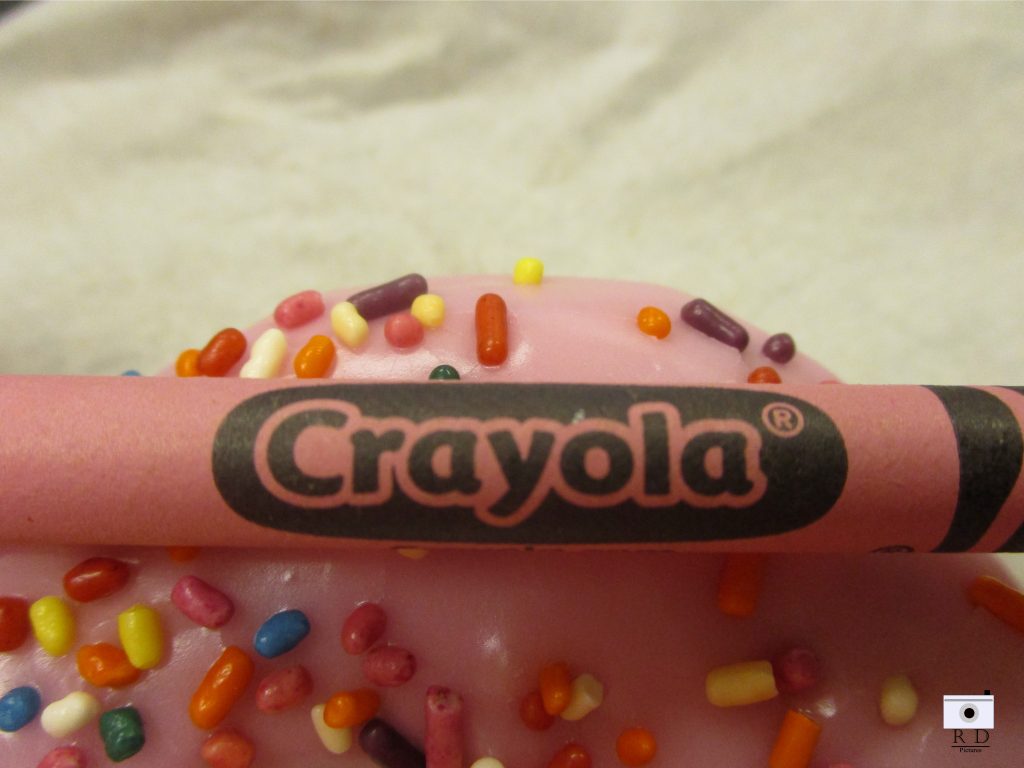
To do this project my partner and I went around the school taking pictures of various items next to the matching crayon color. This project was relatively easy to do but one challenge was uploading all the pictures. This picture is my favorite since it’s a doughnut lol. And this picture has good depth.
Click here for Google Drive: