Quinn’s Rule of Thirds

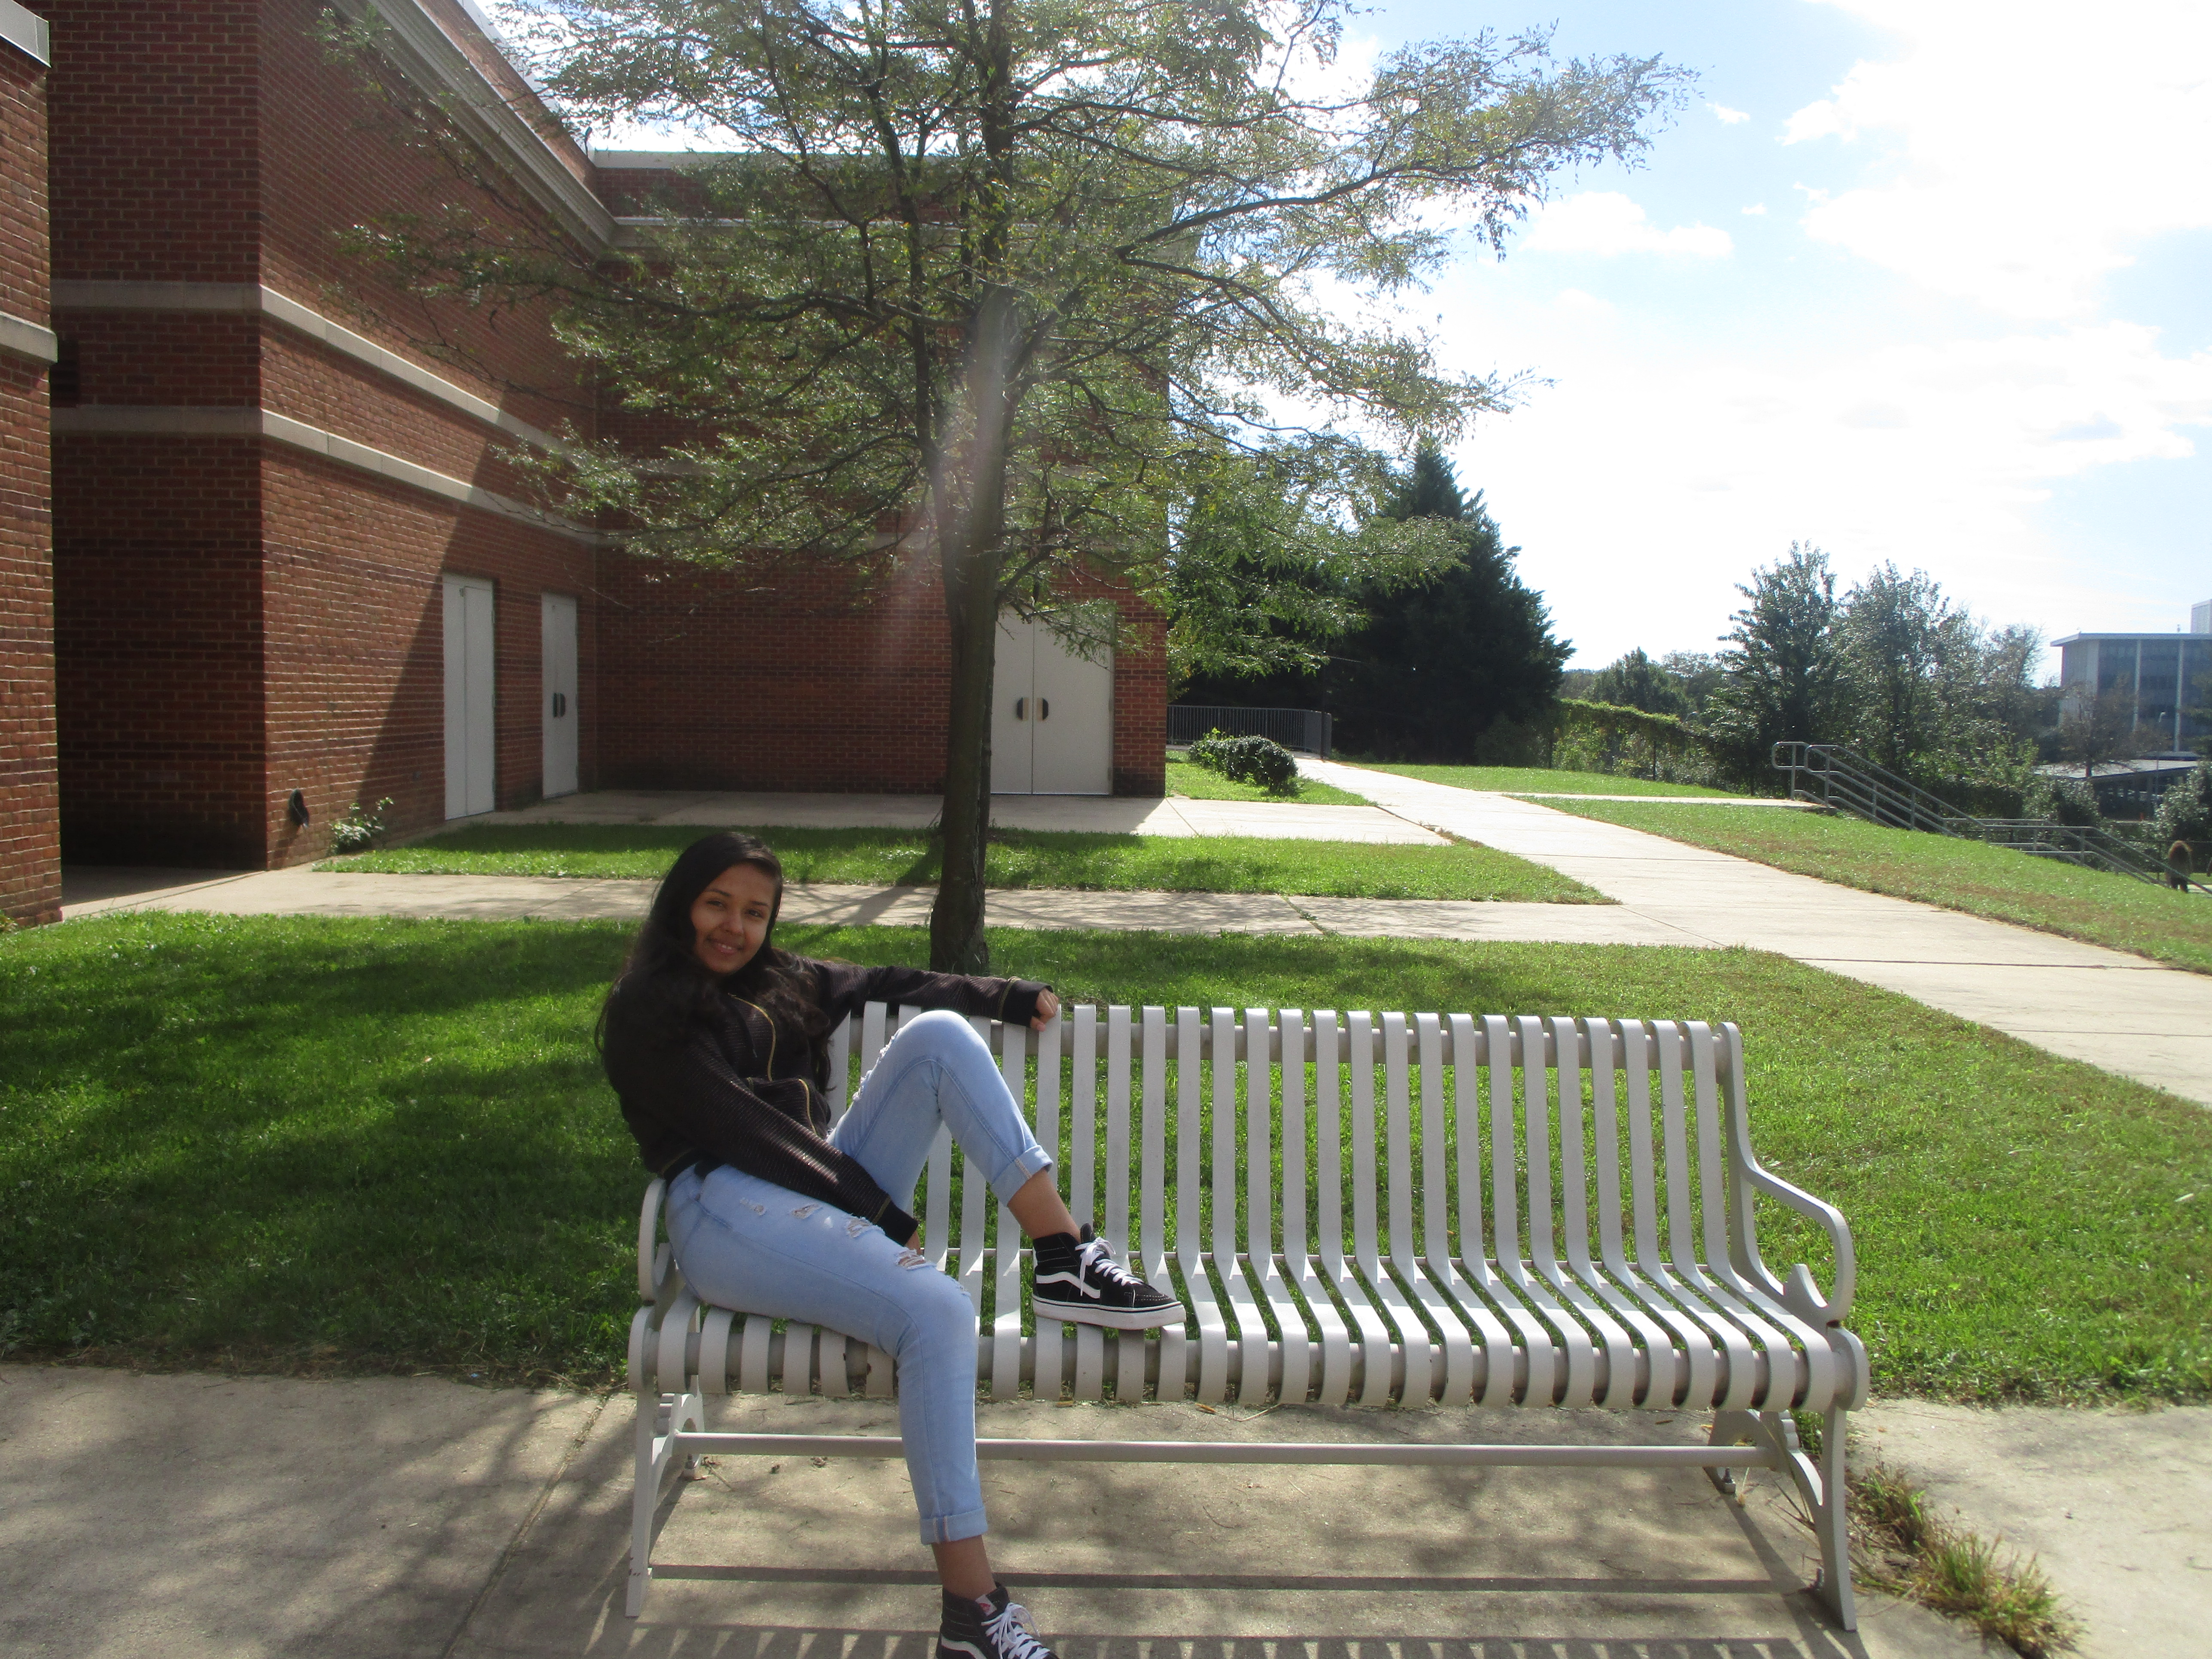
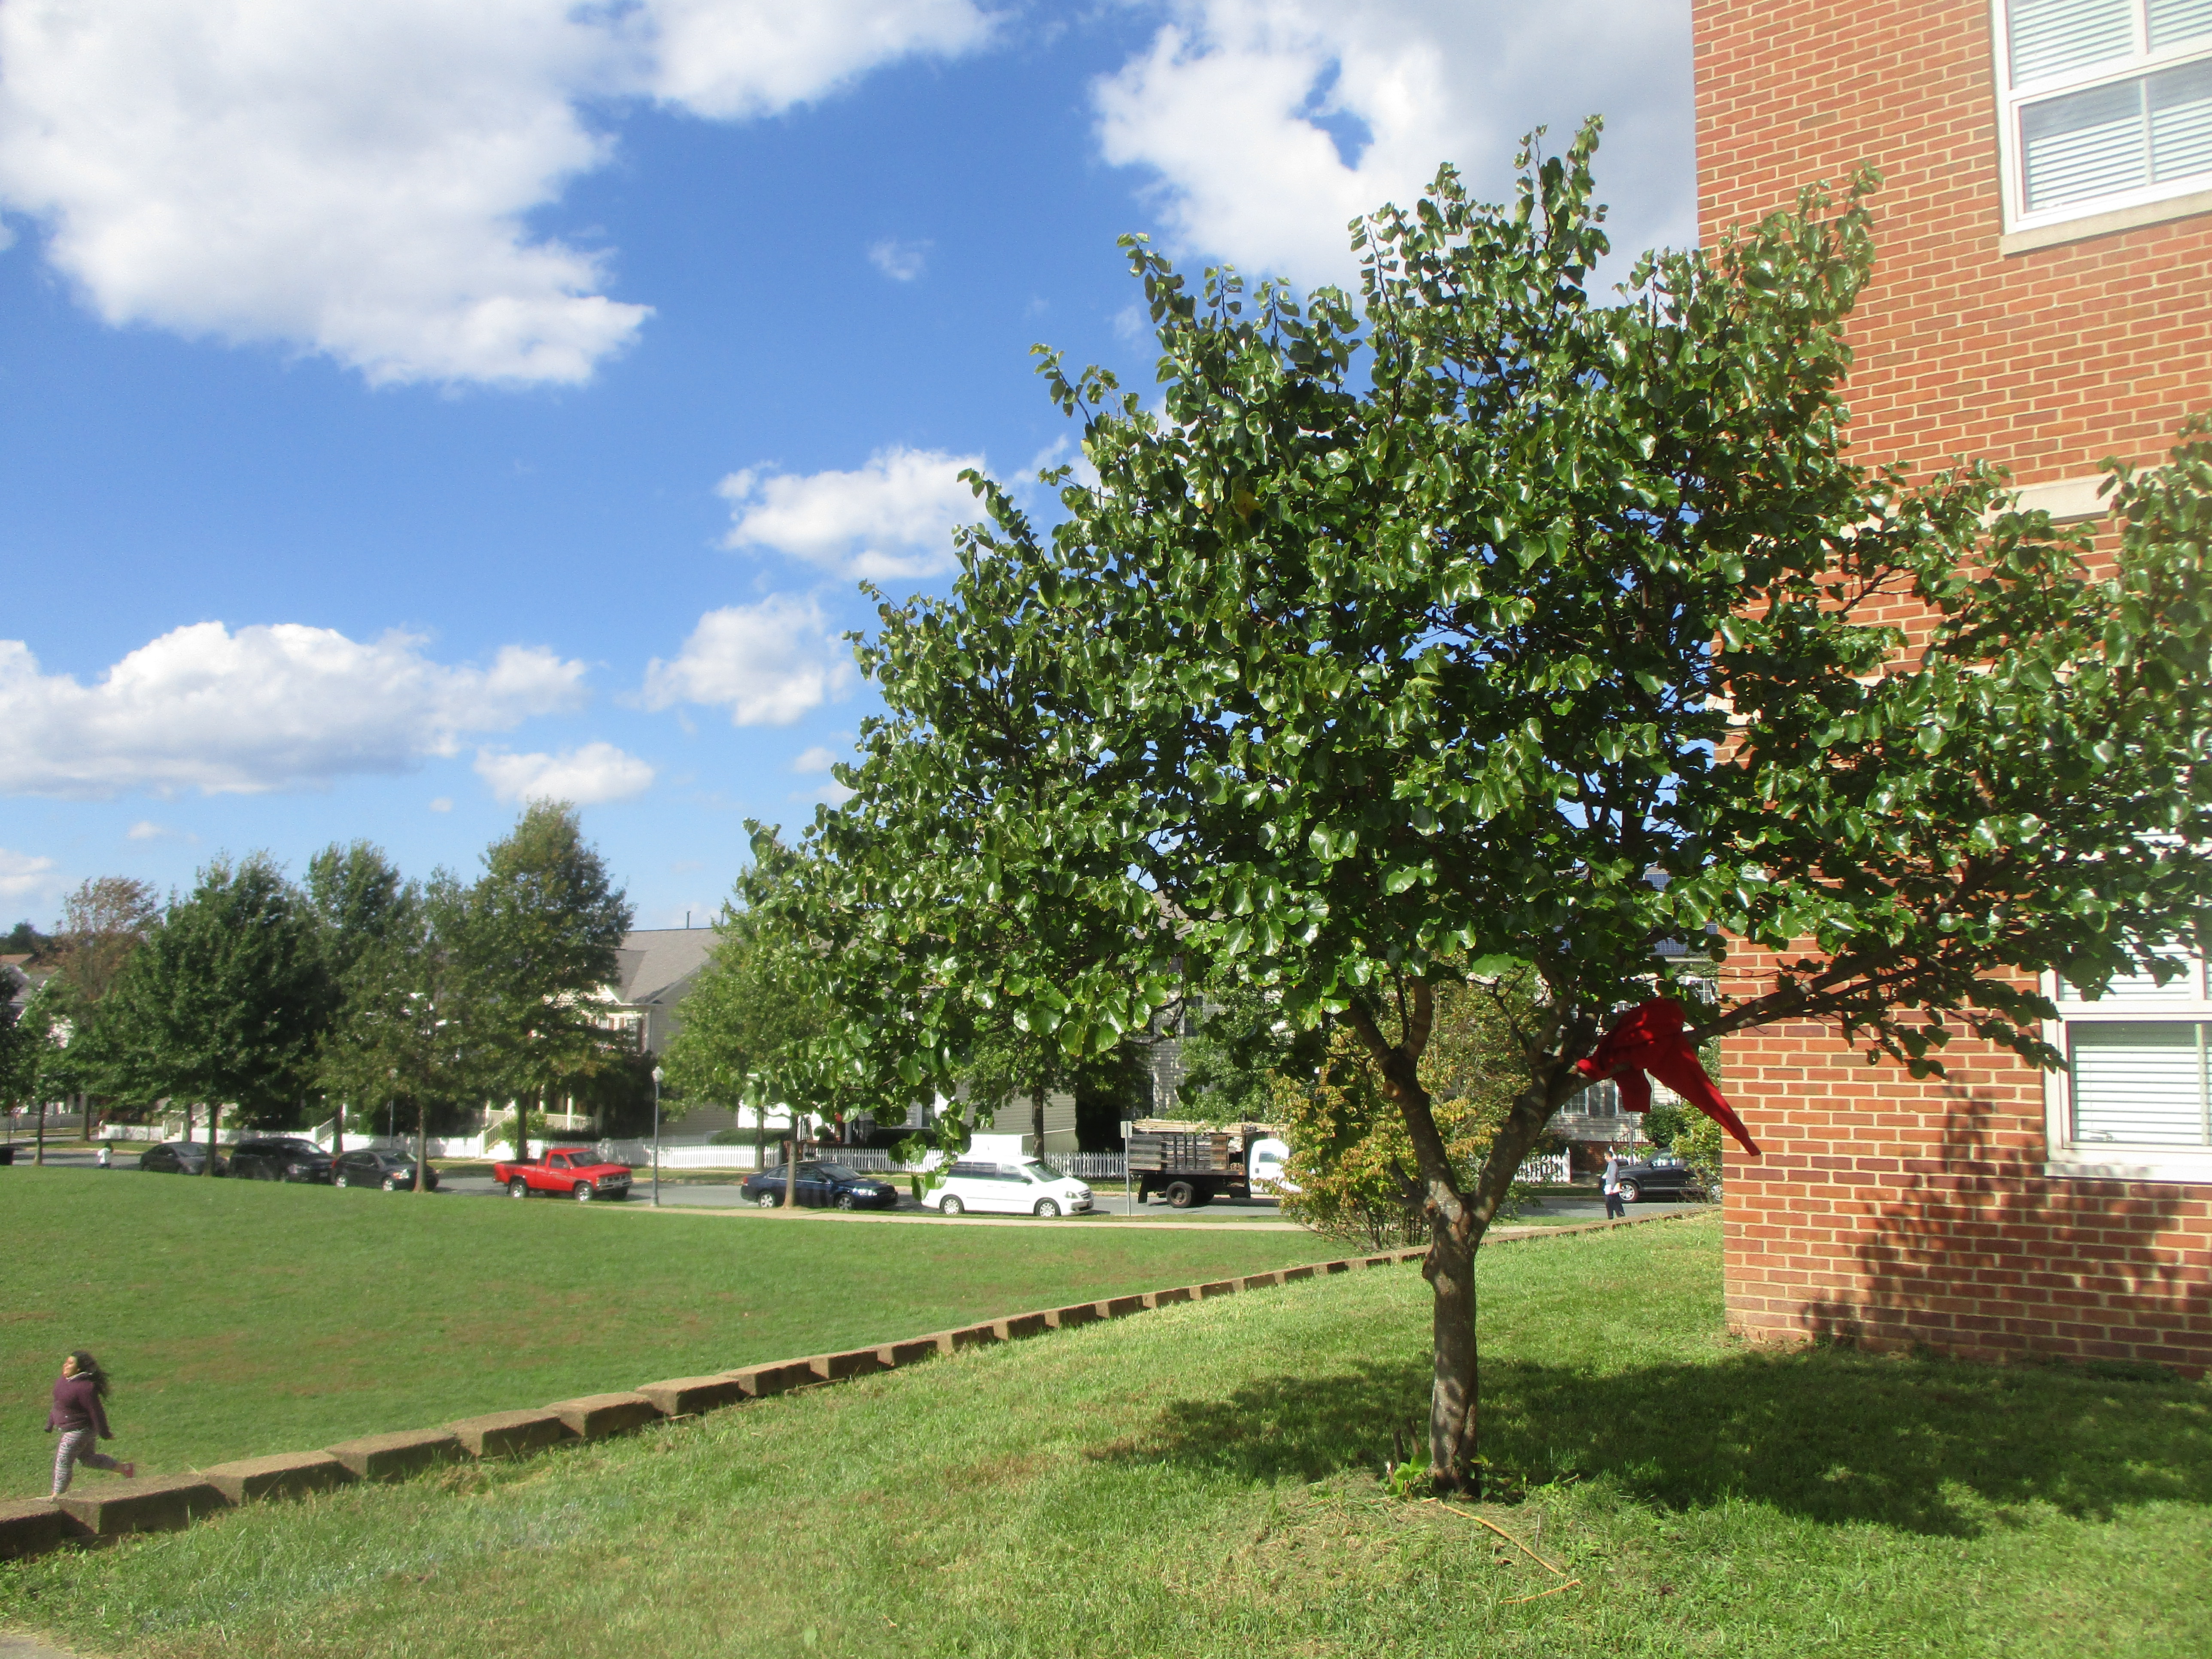
For this project we had take photos of objects and people but we needed to use the rule of thirds. The rule of thirds is imagery lines that help you take photos but the main part of your photo needs to be off to the side.  In other words, Your object or person shouldn’t be in the middle.  I used the rule in my pictures below because I lined up the fake line with the tree. This made the tree the main part. Then when I took the photo of a person they stood on the side so they line up with the line.  To take my photos I made sure I took the pictures of objects and people off to the side and lining up with the line.  My thoughts of the rule of thirds is that it really help me take a good photo that focus on a object or person. Also it help me take a photo that is not just in the middle but on the side.  My thoughts change from the beginning of the project because, at first I didn’t really get how the rule of thirds work but now I do because I practice a lot, I got the hang of it.  The things that work for this project was the lighting and lining up the objects and people with he lines.  The hard part was finding cool and different places to take the photos.  Below are examples of the rule of thirds, and if you would like to see the rest of my photos click here. 


Quinn’s Light Graffiti

I took my photos by going to a dark room and using phones, glow sticks and flashlights to draw objects and our name.  The first set was making the camera lined up in middle right where you want to take your photos. Then we change the setting too this allowed us to take as long as we need drawing with the lights. Someone had to hold down the button then let go when the others where done drawing. Then we had to wait for a few seconds to allow the picture to prepossess. The thing that work was using our phones as lights. My group and I had an idea to go online to find a plain color background then we took a screenshot, turn up the brightness, then we drew.  The things that didn’t work was trying to draw a landscape, this was really had to color all the way in. The things that frustrated me was standing still because if you moved you could end up fuzzy. An idea I have to take this project to the next level is to take a photo of a landscape with people or animals then you try to recreate the same image. The same colors and try to add ideals into the drawing. Below is my favorite photo from this project and if you would like to see the rest of my photos click here.

Quinn’s Portraits

For this project my group and I stood in front of a black background. To make the photos darker we turned off the lights so there wasn’t a lot of light.  We had to  play around with the ISO to make the background all black and without shadows. I edited my photos by using Photoshop. I played with the contrast and brightness to make the the photo darker but still able to see it. I also cropped out unwanted background for my photos.  The thing  that work the most was making the ISO settings perfect. It wasn’t that had to find the perfect ISO. The hard part was trying to angle the lights perfectly so you can see the person but also make sure there wasn’t any shadows in the background. Below is a photo of myself and I photo I took of someone less. If you would like to see the rest of my photos click here.  

Quinn’s Portraits

In this project we had to go in fount of a white background with lights shinning on the background. When we took the photos we had to adjust the ISO on the camera so that it brought in all the light. This made the  background  all white.   I edited my photos with Photoshop, I changed the contrast a bit and the brightness to help with the yellow spots.  I also crop the photo to get rid of unwanted background like people or the classroom. Many things work with this project.  One example is when we had to stand in front of the lights so there wasn’t any shadows.  The thing that was hard for the project was getting the perfect ISO. So the background is all white. Below is a photo of myself and a photo that I took of someone else.  If you would like to see the rest of my photos click here.