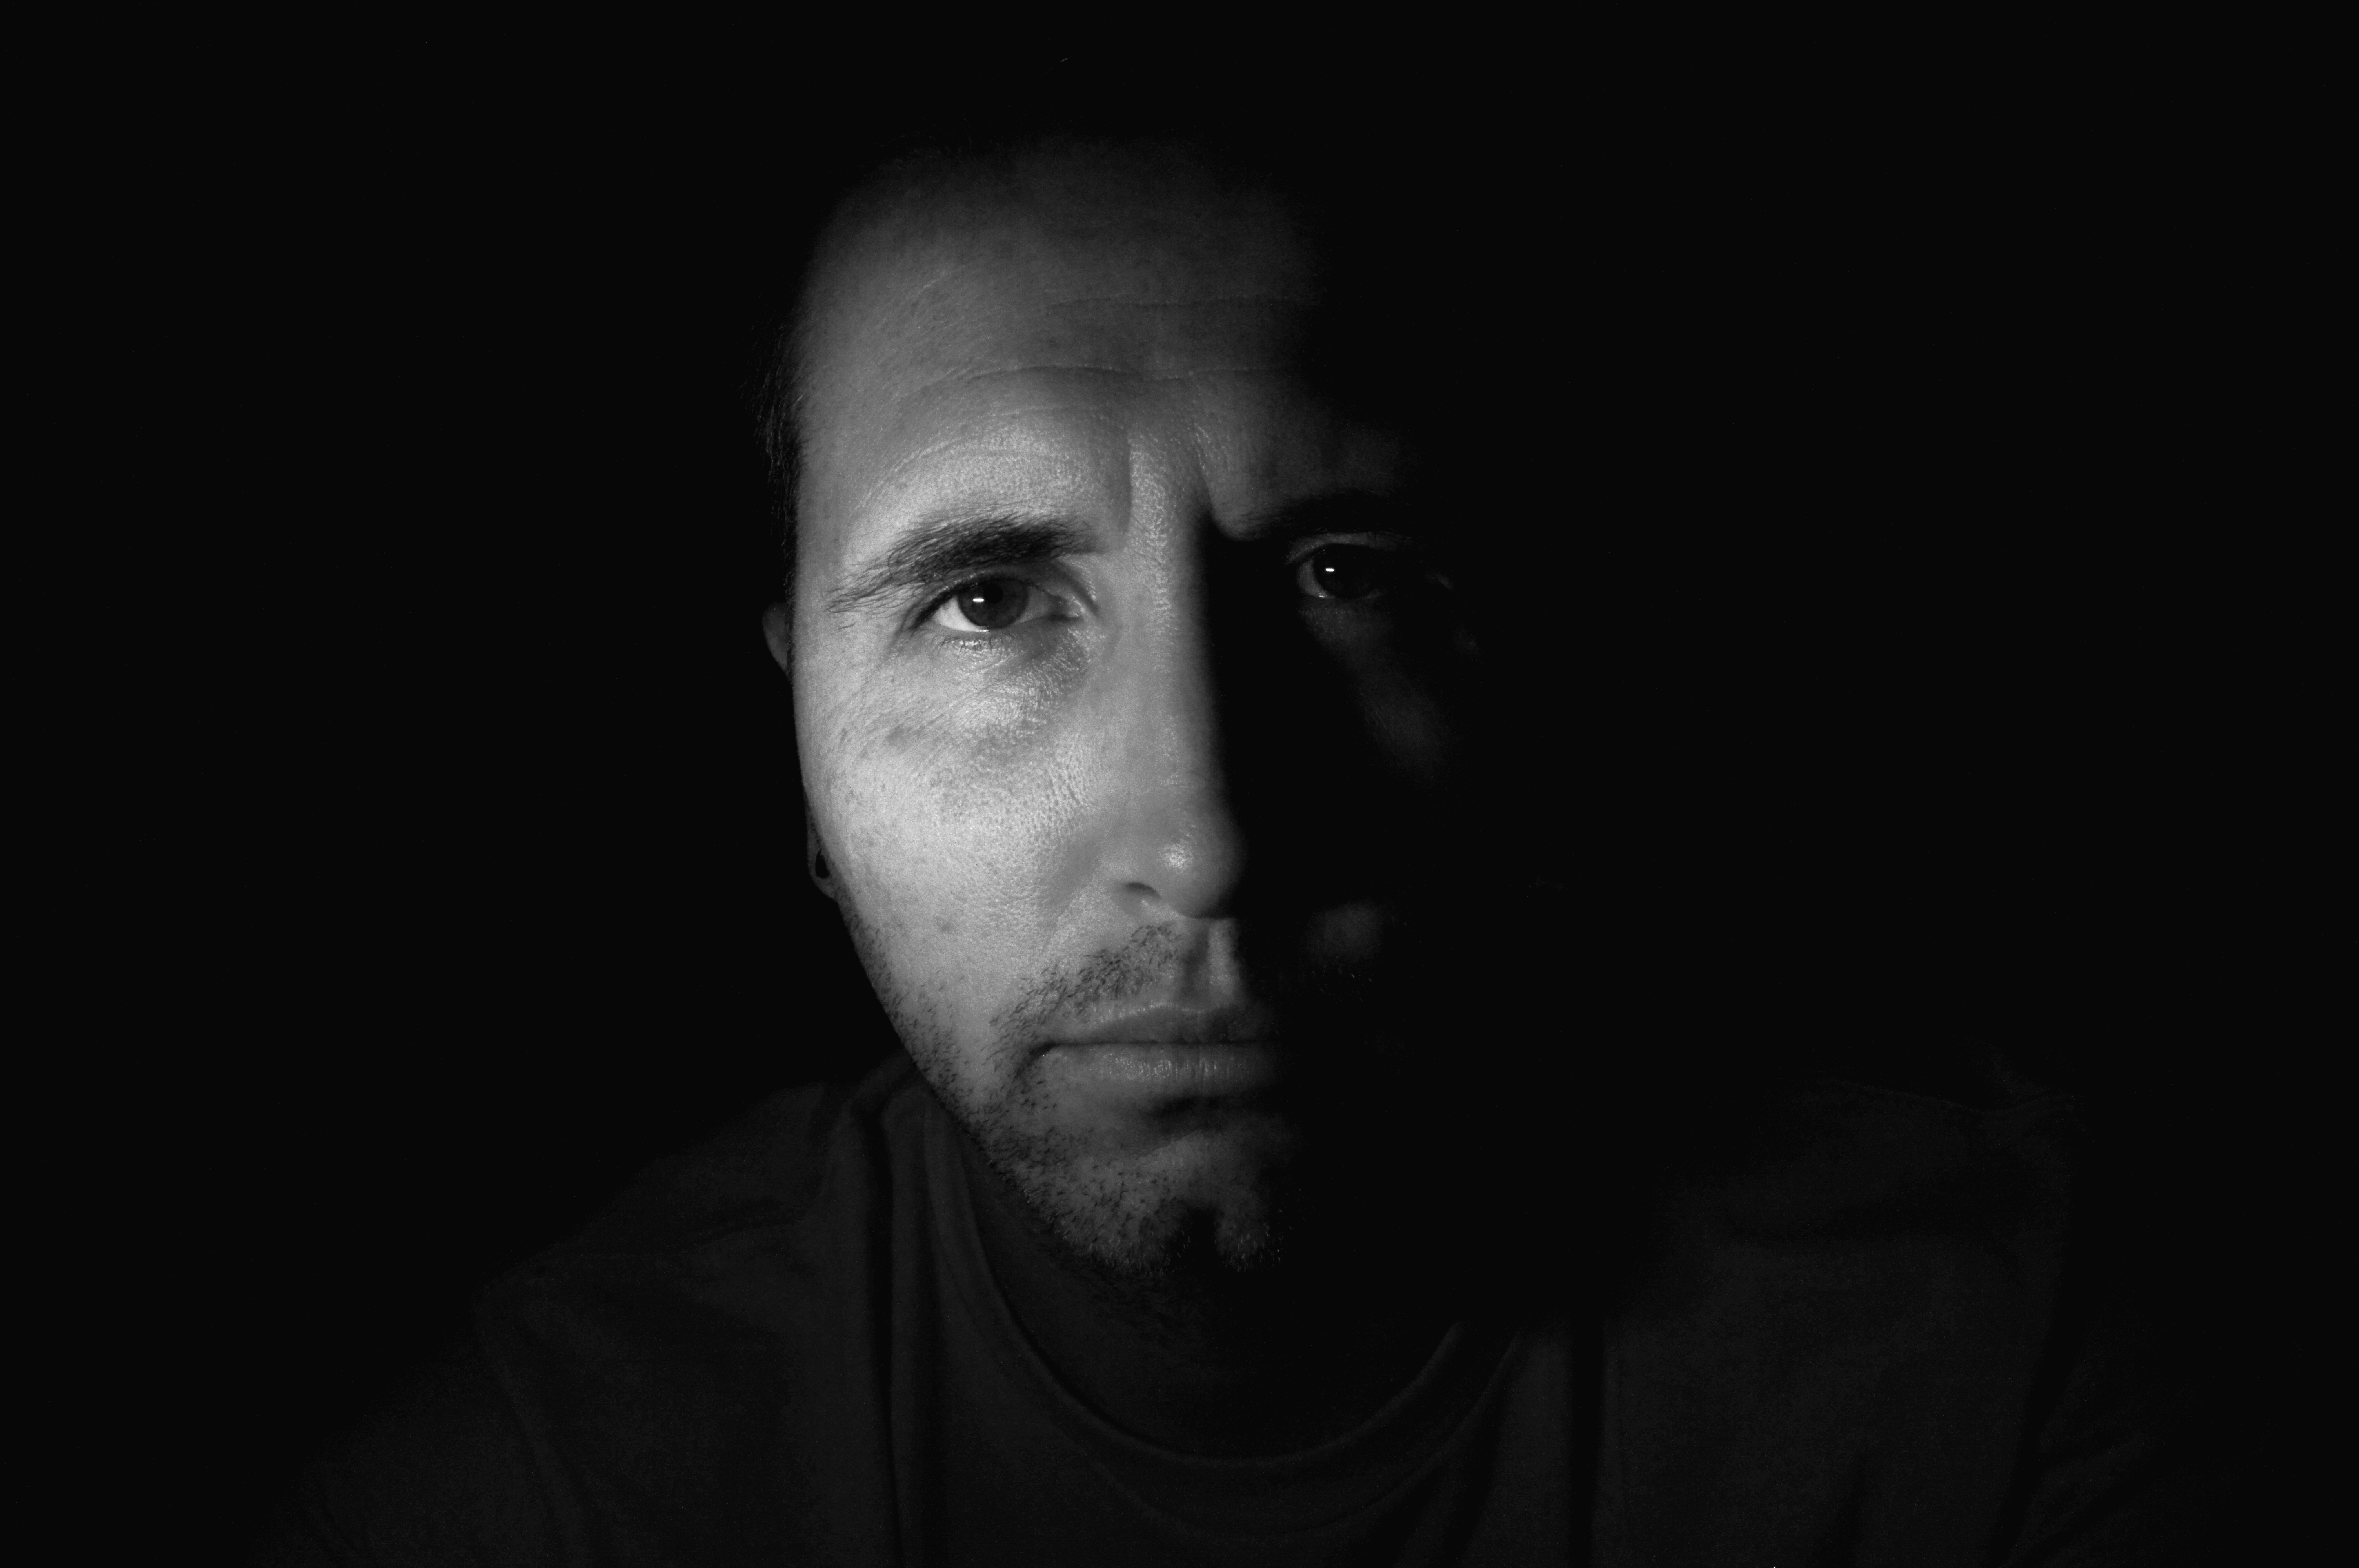
For the Black Background project I tried many things out and this was my favorite. When taking pictures we messed with the camera changing the shutter speed, ISO, and F-Stop. It worked when the ISO was at 200 and the shutter speed was less then 1/100. Because the shutter speed is how much light is let through you need a low shutter speed. It didn’t work when ever there was too much light or too little, you needed the perfect amount of light. To edit the photo’s I used Adobe Photoshop and changed the saturation and messed with the curves. The link to the rest of my photos is here: https://photos.app.goo.gl/UlmsAdfVErwWQ9Hn1
My favorite photo taken of me was by ansh and was this :
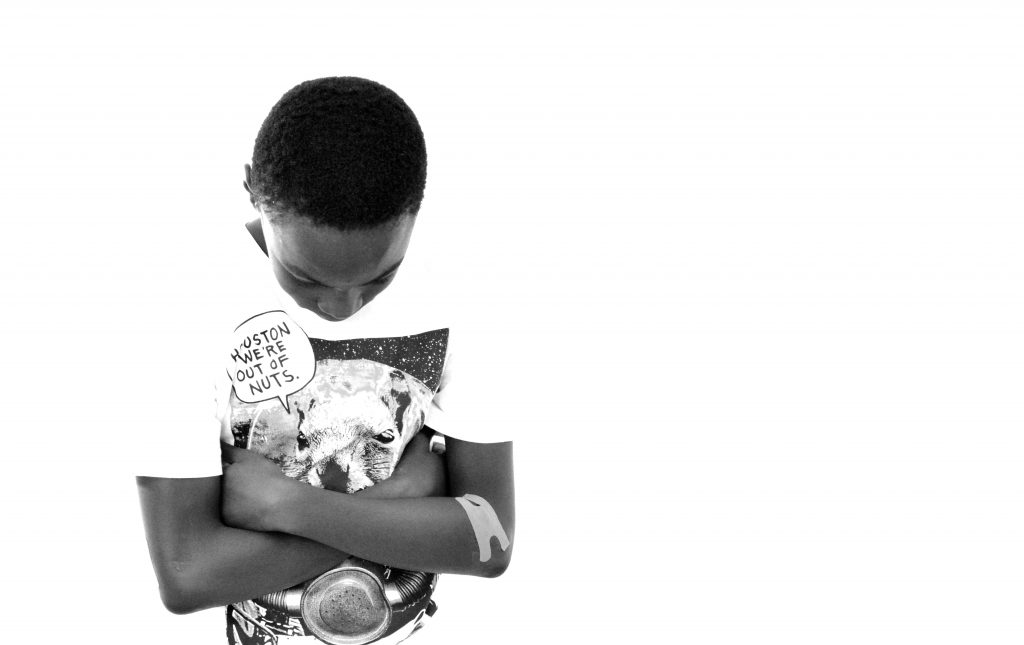
This week in class we took photos and edited them into black and white. We stood in front of a black background and used chairs and other items as props. On the camera we used the manual setting to make the photos dark and changed the ISO, shutter speed and f-stop. We used external lights to make the light come in from different angles. After we took the photos we used Adobe Photoshop to edit them. We messed with the curves and light levels. I also changed the hue and saturation.
The rest of my photos: https://photos.app.goo.gl/GF6bQwOdMh89cQR32
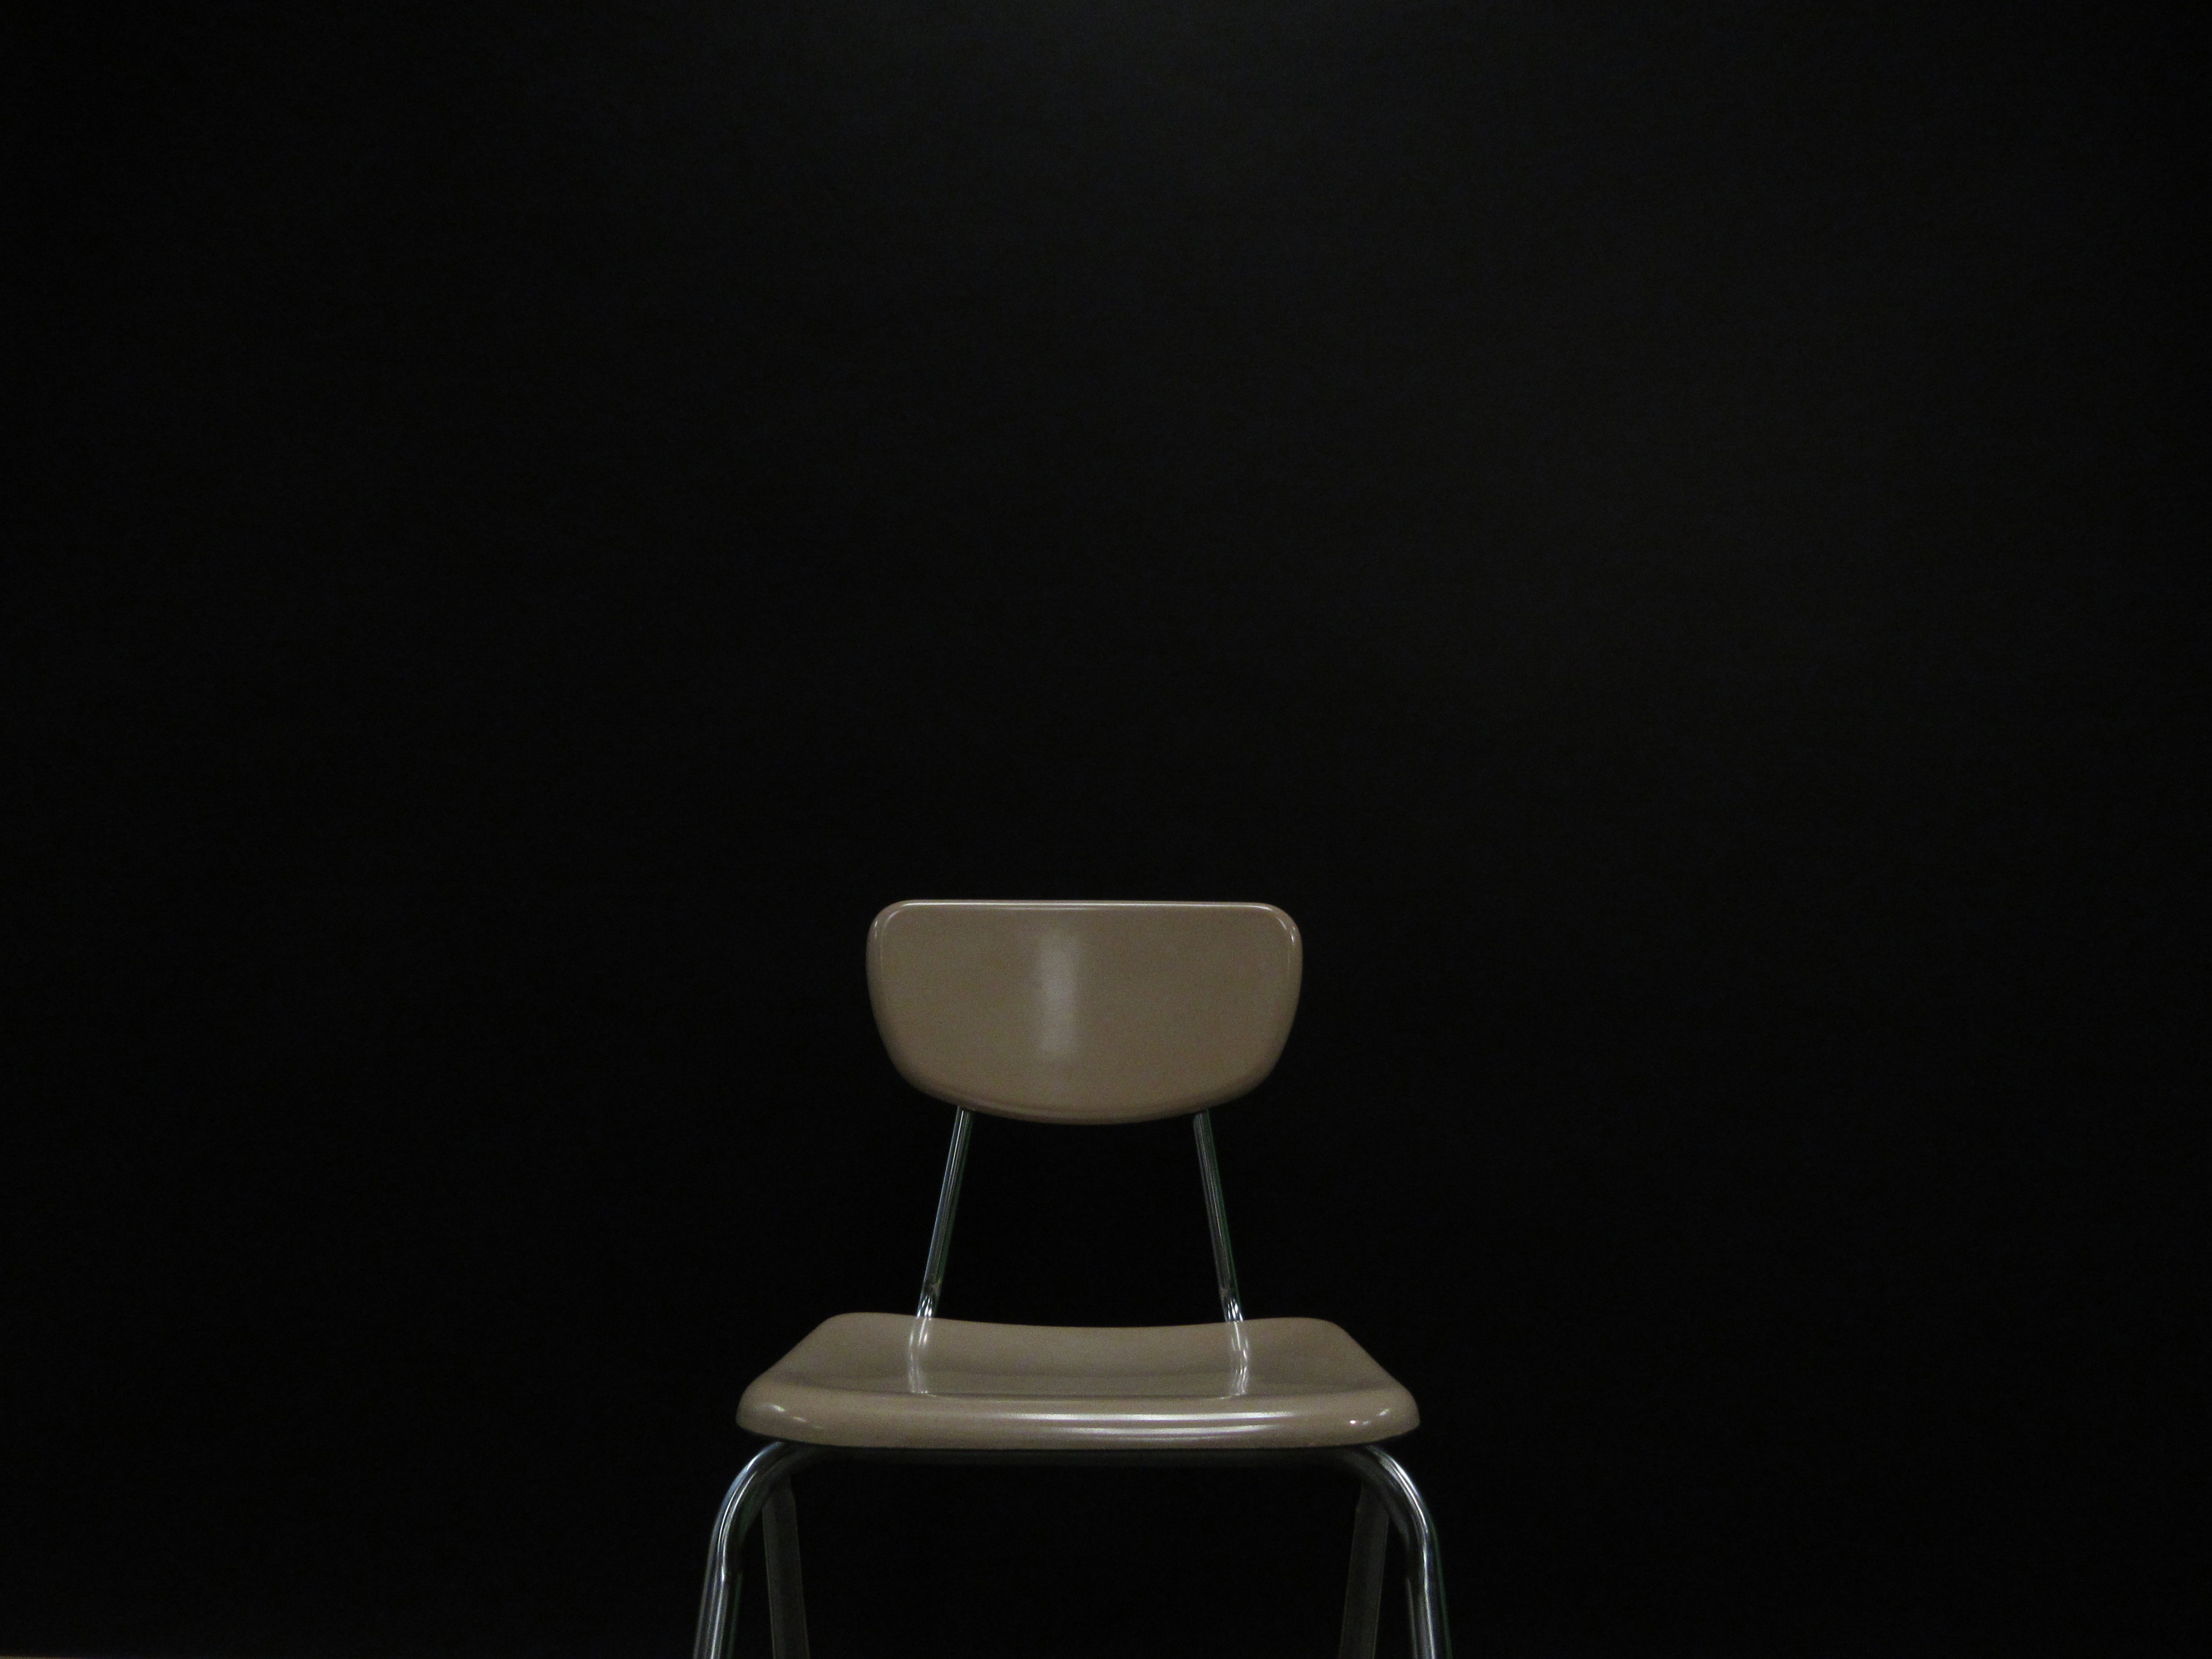
In class this week we have been working on a project. In this project we were told to take a picture on a black background. While taking a picture we had to shine a light on the person’s face to create a shadow. We also had to adjust the ISO, shutter speed, and F-stop in order to take this kind of picture. After taking the pictures, we were told to go onto the editing software Adobe Photoshop. On Adobe Fireworks we lowered the saturation down to -100 so the picture would be black and white. After that we adjusted the picture to make the lighting just how we wanted it. Then the final steps were to add our logo and upload it to google photos. During the process of taking pictures I figured out that it didn’t work to be in a lighted room, and that you needed to be in a dark room. I also figured out that you need to try to shine a light in different places each time until you find the best spot for that person.
This picture of me was taken by Jillian and edited by Mia.
In order to complete this project you have to mess with the shutter speed, ISO, and the F-stop. To make this photo look good other her choosing her pose, you have to mess with the lighting, what your background is and be able manipulate the place you are putting the camera. With the light right below, above or pointed from the top corner to give her a side lighted face. Having no lighting would definitely not work because then she would blend in with the background and would not be visible.
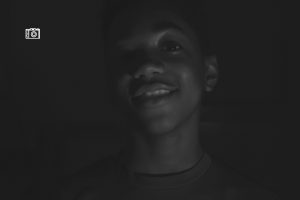
My favorite picture that my friend Liza took and edited is the picture below because of the highlights that the filter added.
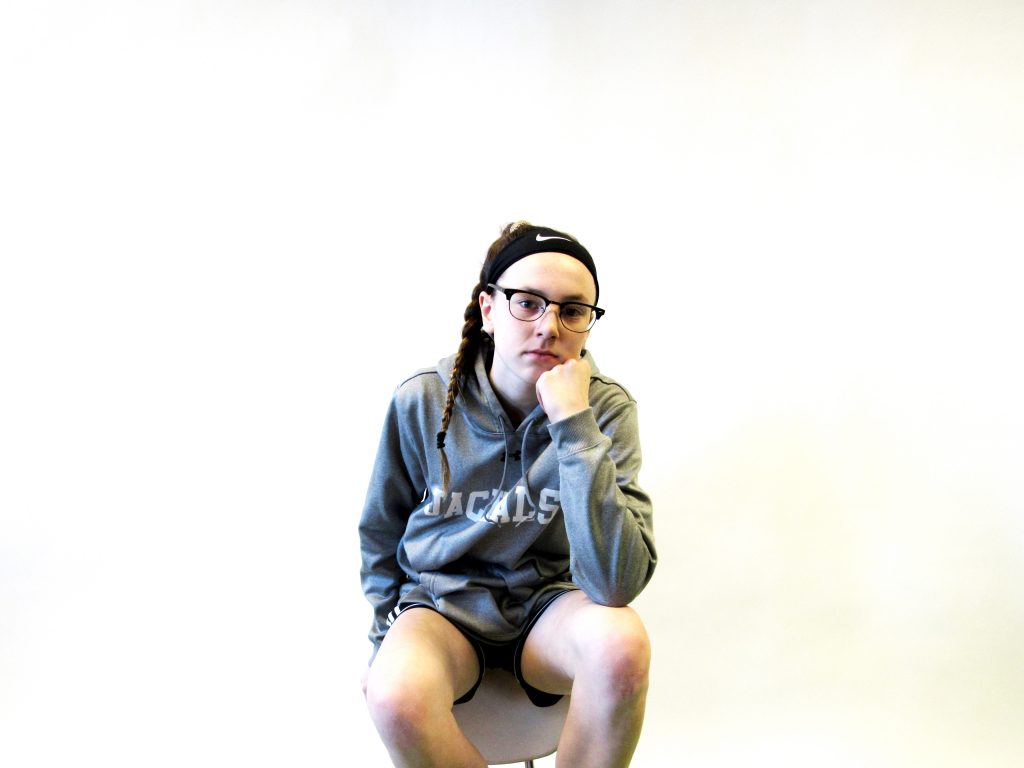
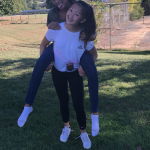
In class this week, I had to take a picture of someone with an infinite background and edit the photo. This is a picture I took of my friend, Reese, and it is one of my favorites. Throughout this project there were some challenges, such as finding good lighting and making sure the pictures were clear. I had to make the the ISO and shutter speed were at the correct setting. The easier things about this project was taking the picture and editing it. I edited my pictures using Adobe Photoshop. Click here to look at some of the other pictures I took…
The process to get this photo was not super hard. You had to change the camera settings to make sure you only got a specific amount of light. Some camera settings were shutter speed, that helps you get rid of light in the pictures to make it look cooler, that one helped a lot. Then, put the extra light somewhere to create a cool shadow effect. Some things that worked it that to put the light close to the picture and then Photoshop it out later on. Some things that didn’t work is when you were too close to the camera so then you had a shadow on the wall.
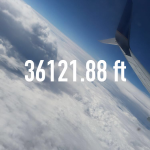
this is one of my favorite of the pictures I took for this project I used a shutter speed of 1/1000 to let in less light. then I went to Photoshop and edited to desaturate it. then added my logo.
My favorite app on my phone is PicLab. This app allows you to enhance your photos with a wide range of features. For example, you can add typography that can easily be resized or rotated while adjusting the opacity of the text. Also, a collection of stickers and artwork (updated monthly) are available. Hundreds of image overlays such as shapes, borders, and textures can be used. Lastly, the photo filters and effects are amazing. These effects allow you to adjust the brightness, saturation, contrast, blur, and exposure of your photos. This will definitely be my favorite photo app because it’s simple to use. Not only that, but it includes plenty of features within a single app, too!
The online app I am reviewing is BeFunky. This app allows you to use a ton of fonts and photo editing tools to enhance your photos. Some of these include touch up edits, photo overlays and stickers, as well as creative photo frames. This is my favorite online editor because you can instantly save or share your edited photos. In addition, it’s easy to use and there are no watermarks.
When I stated planning this class over the summer, I really wanted to have you take portraits with an infinite background. We have a couple of challenges…. The first being that we are at a middle school and not a professional studio. The second, we have cameras that have manual settings, but we don’t have professional lighting. After a lot of playing around and doing some (some = a lot) of youtube watching, I think I have it figured out.
There a few terms that you will need to become familiar with before you can start this project. The terms are ISO, Shutter Speed, and F-Stop. These are the 3 settings that we can control on the cameras we have available to us.
Use the link HEREto define the terms I listed above.
I will give you a quick tutorial on how I took my photos based on my research, but I want most of this to be trial and error by you. This will be a “team” effort for sure.
Your post needs to include:
Explain the process you used to take your photos and edit your photos. Camera settings, lighting direction, distance from background.
What worked?
What didn’t?
A photo of you (with logo)
A photo you took (with logo)
An active link to a Google Photos Album that includes a photo of each person in your group.
The post category will be “Portraits“.
Below are some of the pictures I messed around with while working through this. I am still learning and want to continue to learn during this project. Be serious, be artsy, goof around, and just keep trying.
My favorite photo app is snapchat. Snapchat is a great app because it takes photos and videos that you can put filters on and zoom in and etc. Snapchat is also nice because it has front flash and flash on the back camera. On snaphcat you can upload them on your story where people can view or send them directly to your friends. The filters on snapchat are also very cool they can be colorful or animals or tell the time, weather, and mph. Snapchat also can save your photos.
Befunky online editor review
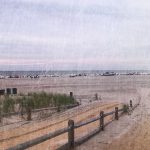
Befunky Allows you to edit photos in new and creative ways. It is my favorite online photo editor because it allows you to make boring photos into creative artsy photos. It is also good because it is free and allows you to take photos. Here is an edit made on befunky.


 Picture taken and edited by Adam Gotkin


 this is one of my favorite of the pictures I took for this project I used a shutter speed of 1/1000 to let in less light. then I went to Photoshop and edited to desaturate it. then added my logo.