In this semester, I learned about taking pictures from different angles and points of view. I also learned that the way you portray the picture is what it will come out as, such as our 1 object, 5 shots project. My thoughts on photography have changed in a good way because now that I know how to edit and angle my pictures better, I can take more random photos and make them look good. I guess I’ve changed the way I take photos in a way to make them look more artsy and better. My favorite project was the crayon project because it was our first one and I got to experience different ways to take pictures. I think I will continue this class in high school because it was fun learning how to take and edit photos.
Getting Close
Set in the street
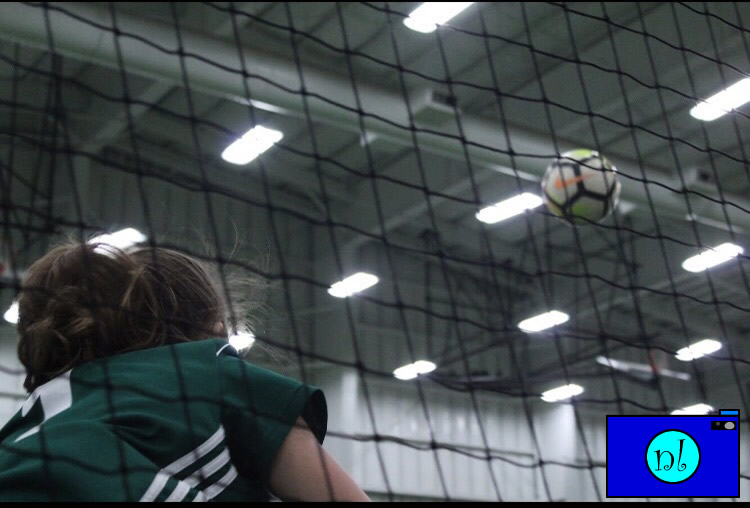
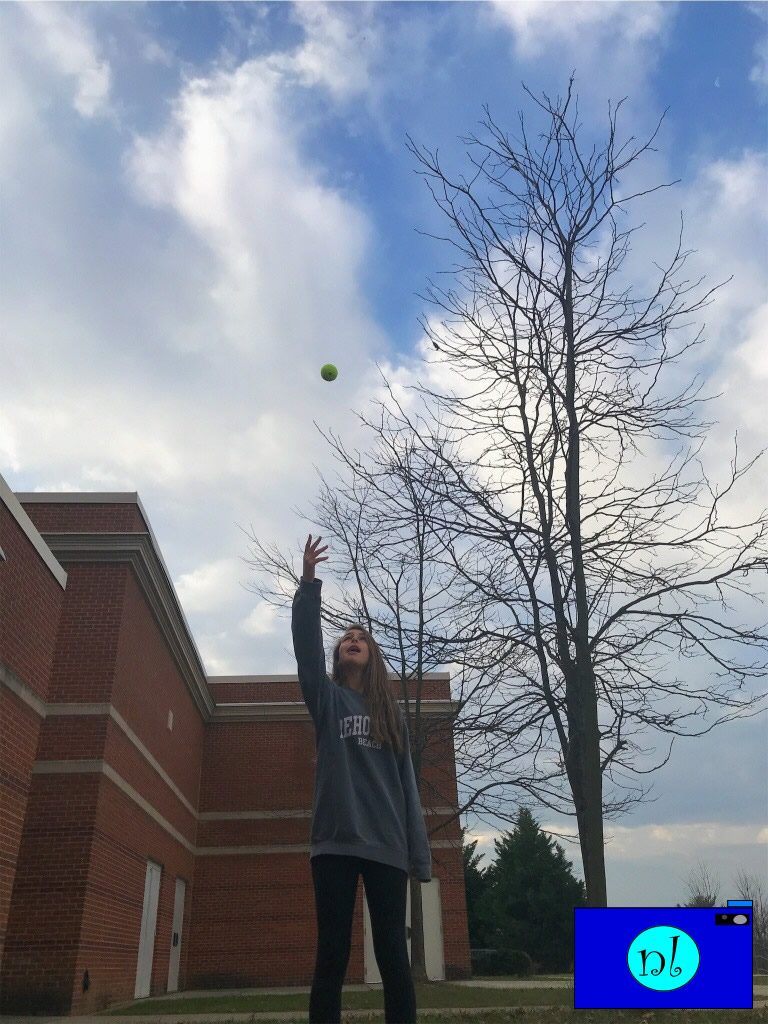
Catch the Action
7 days
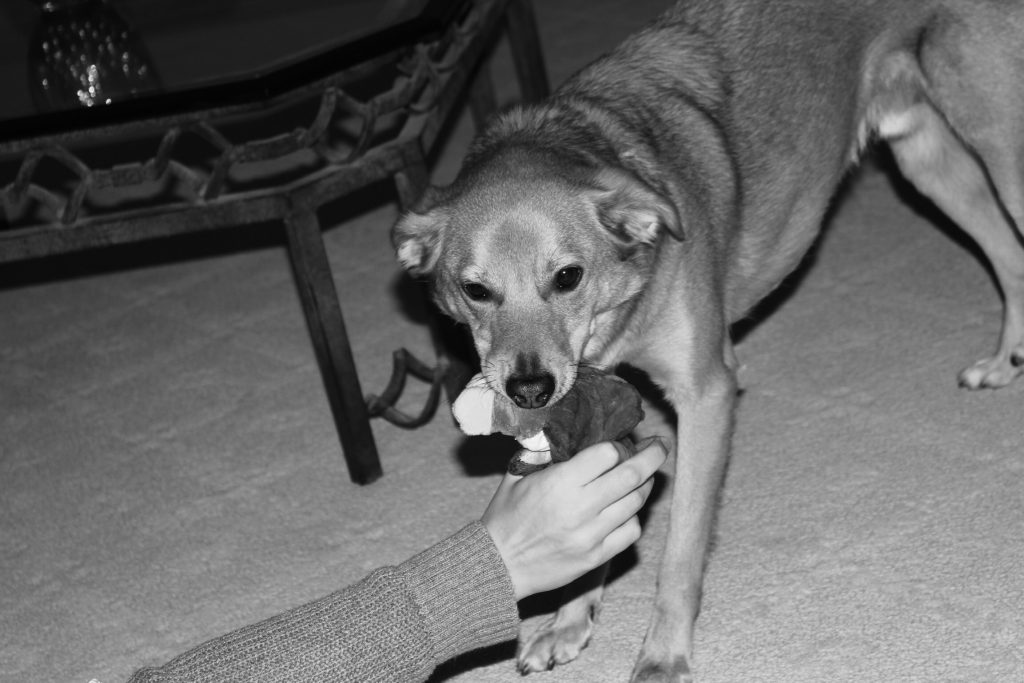
day 1: This is a picture of my dog Chester. I am thankful for him because he likes to cuddle with me and come to me when I am sad.

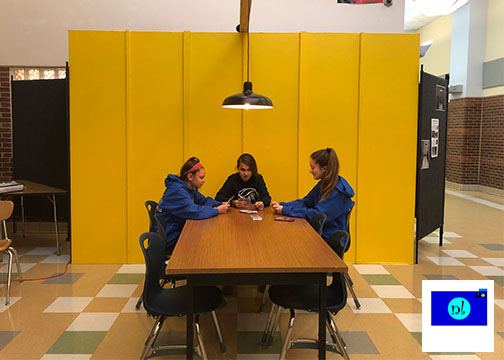
day 2: This is a picture of me with my sister and her boyfriend. I am thankful for them because they include me in their

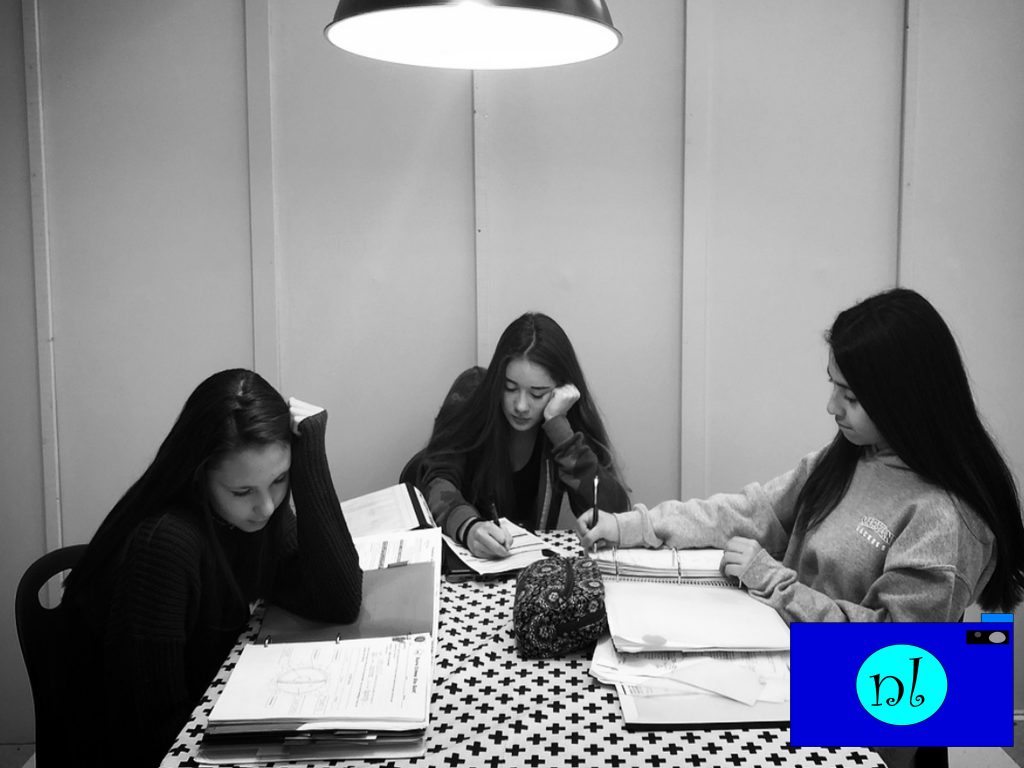
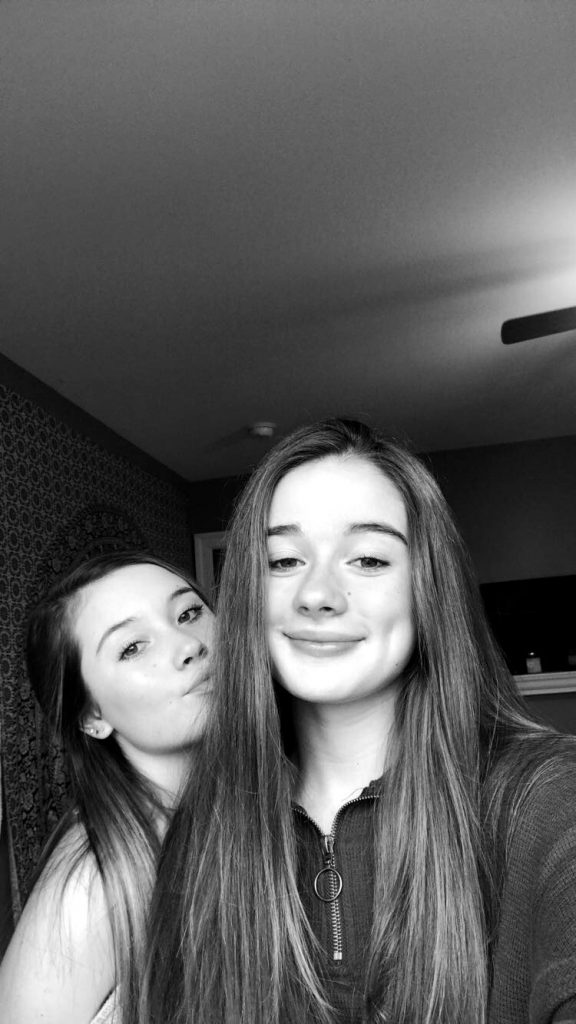
day 3: This is a picture of my friends and I. I am thankful for my friends because they are always there for me and make me laugh when I am sad
day 4: This is a picture of my sister and I. I am thankful for her because she is my best friend and I can tell her anything.
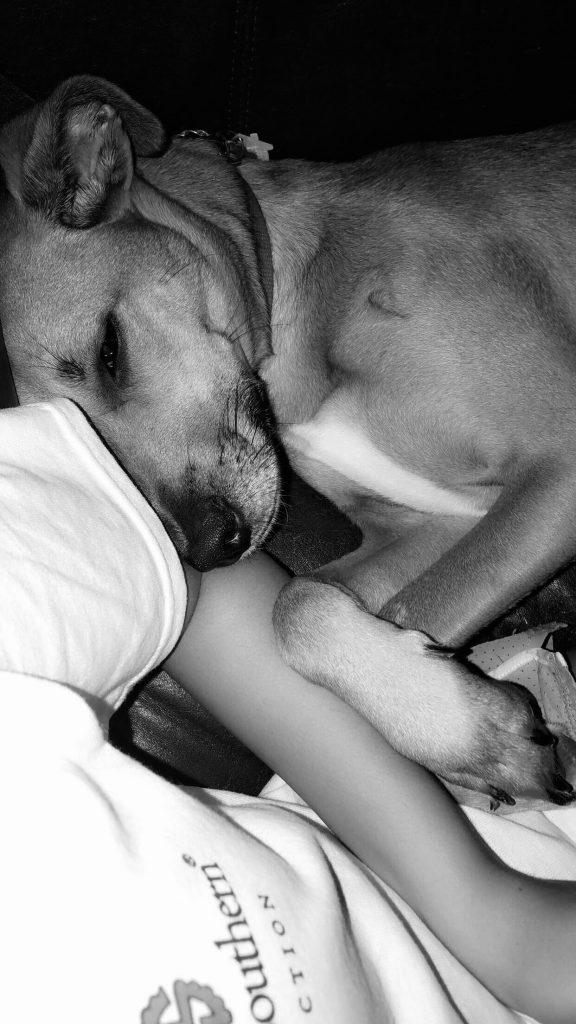
day 5: This is a picture of my dog Sadie. I am thankful for my dog Sadie because she always makes me laugh when I am sad and always knows how to cheer me up.

day 6: This is a picture of a lake in my neighborhood. I am thankful for my neighborhood because without it i could have a totally different childhood that could have changed who I am now.
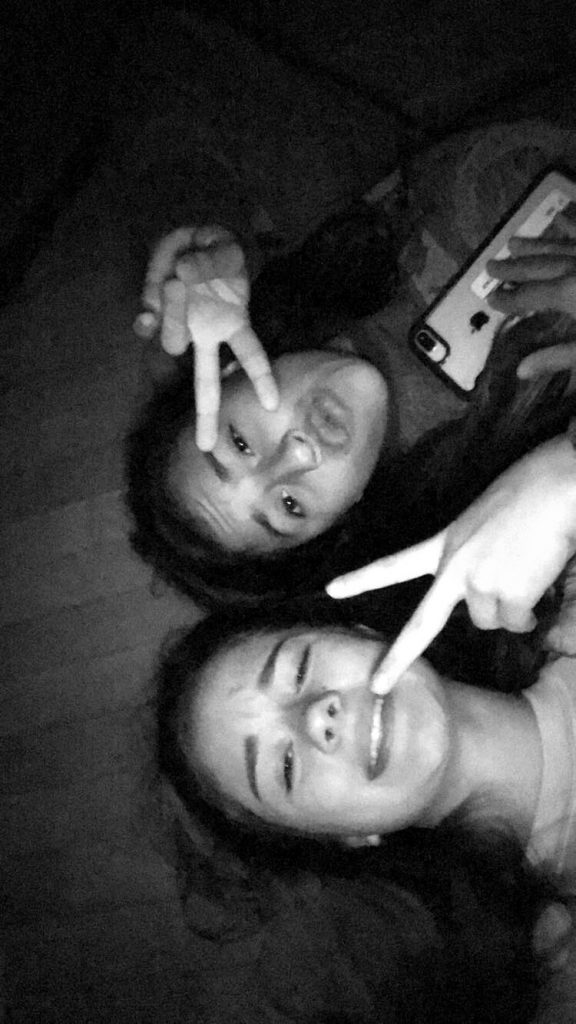
day 7: This is a picture of my best friend. I am thankful for her because you always need that one person who drives you crazy and put you in your place but you can still stand being around.
Smile Project
It was difficult to find a lot of people I didn’t know anything about and capture their best image. I saw changes in their personality when they changed their emotion because it was like they were a different person. Bias could affect my photos because I could see them as a totally different person then they really are. I didn’t ask many questions, but I probably should have asked them something about their background. Click here for slideshow.
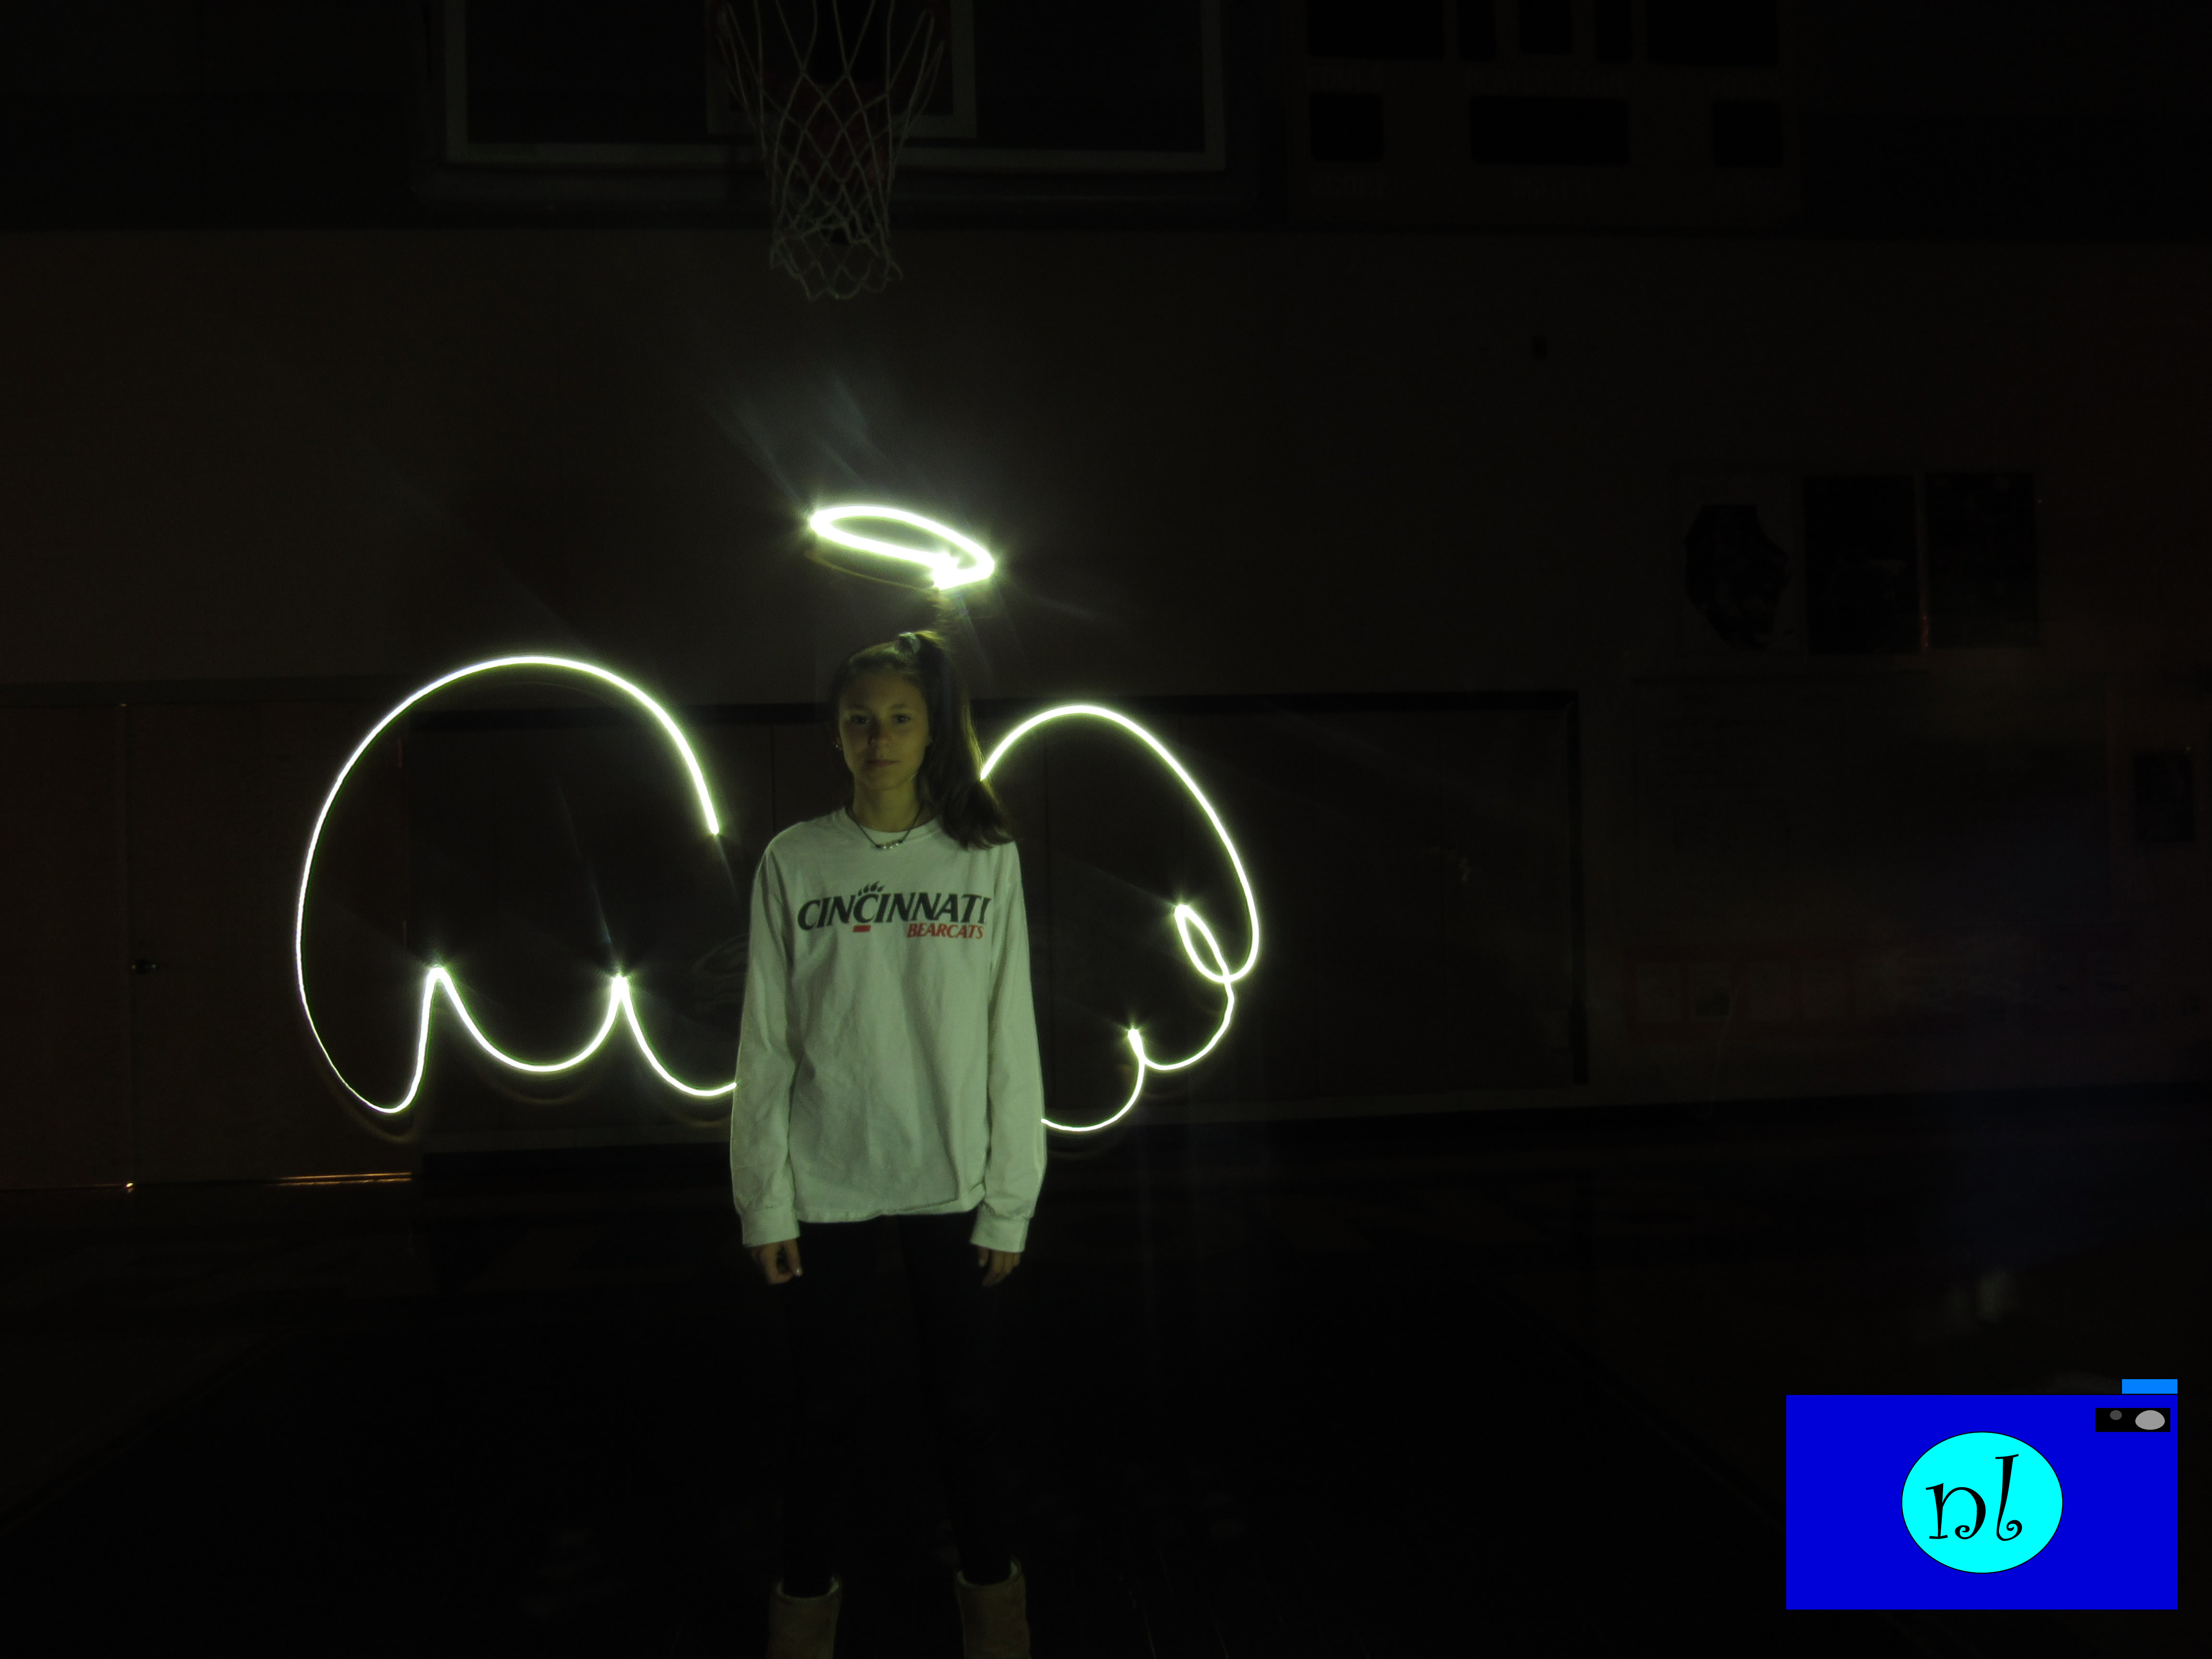
Light Graffiti
Rule of Thirds
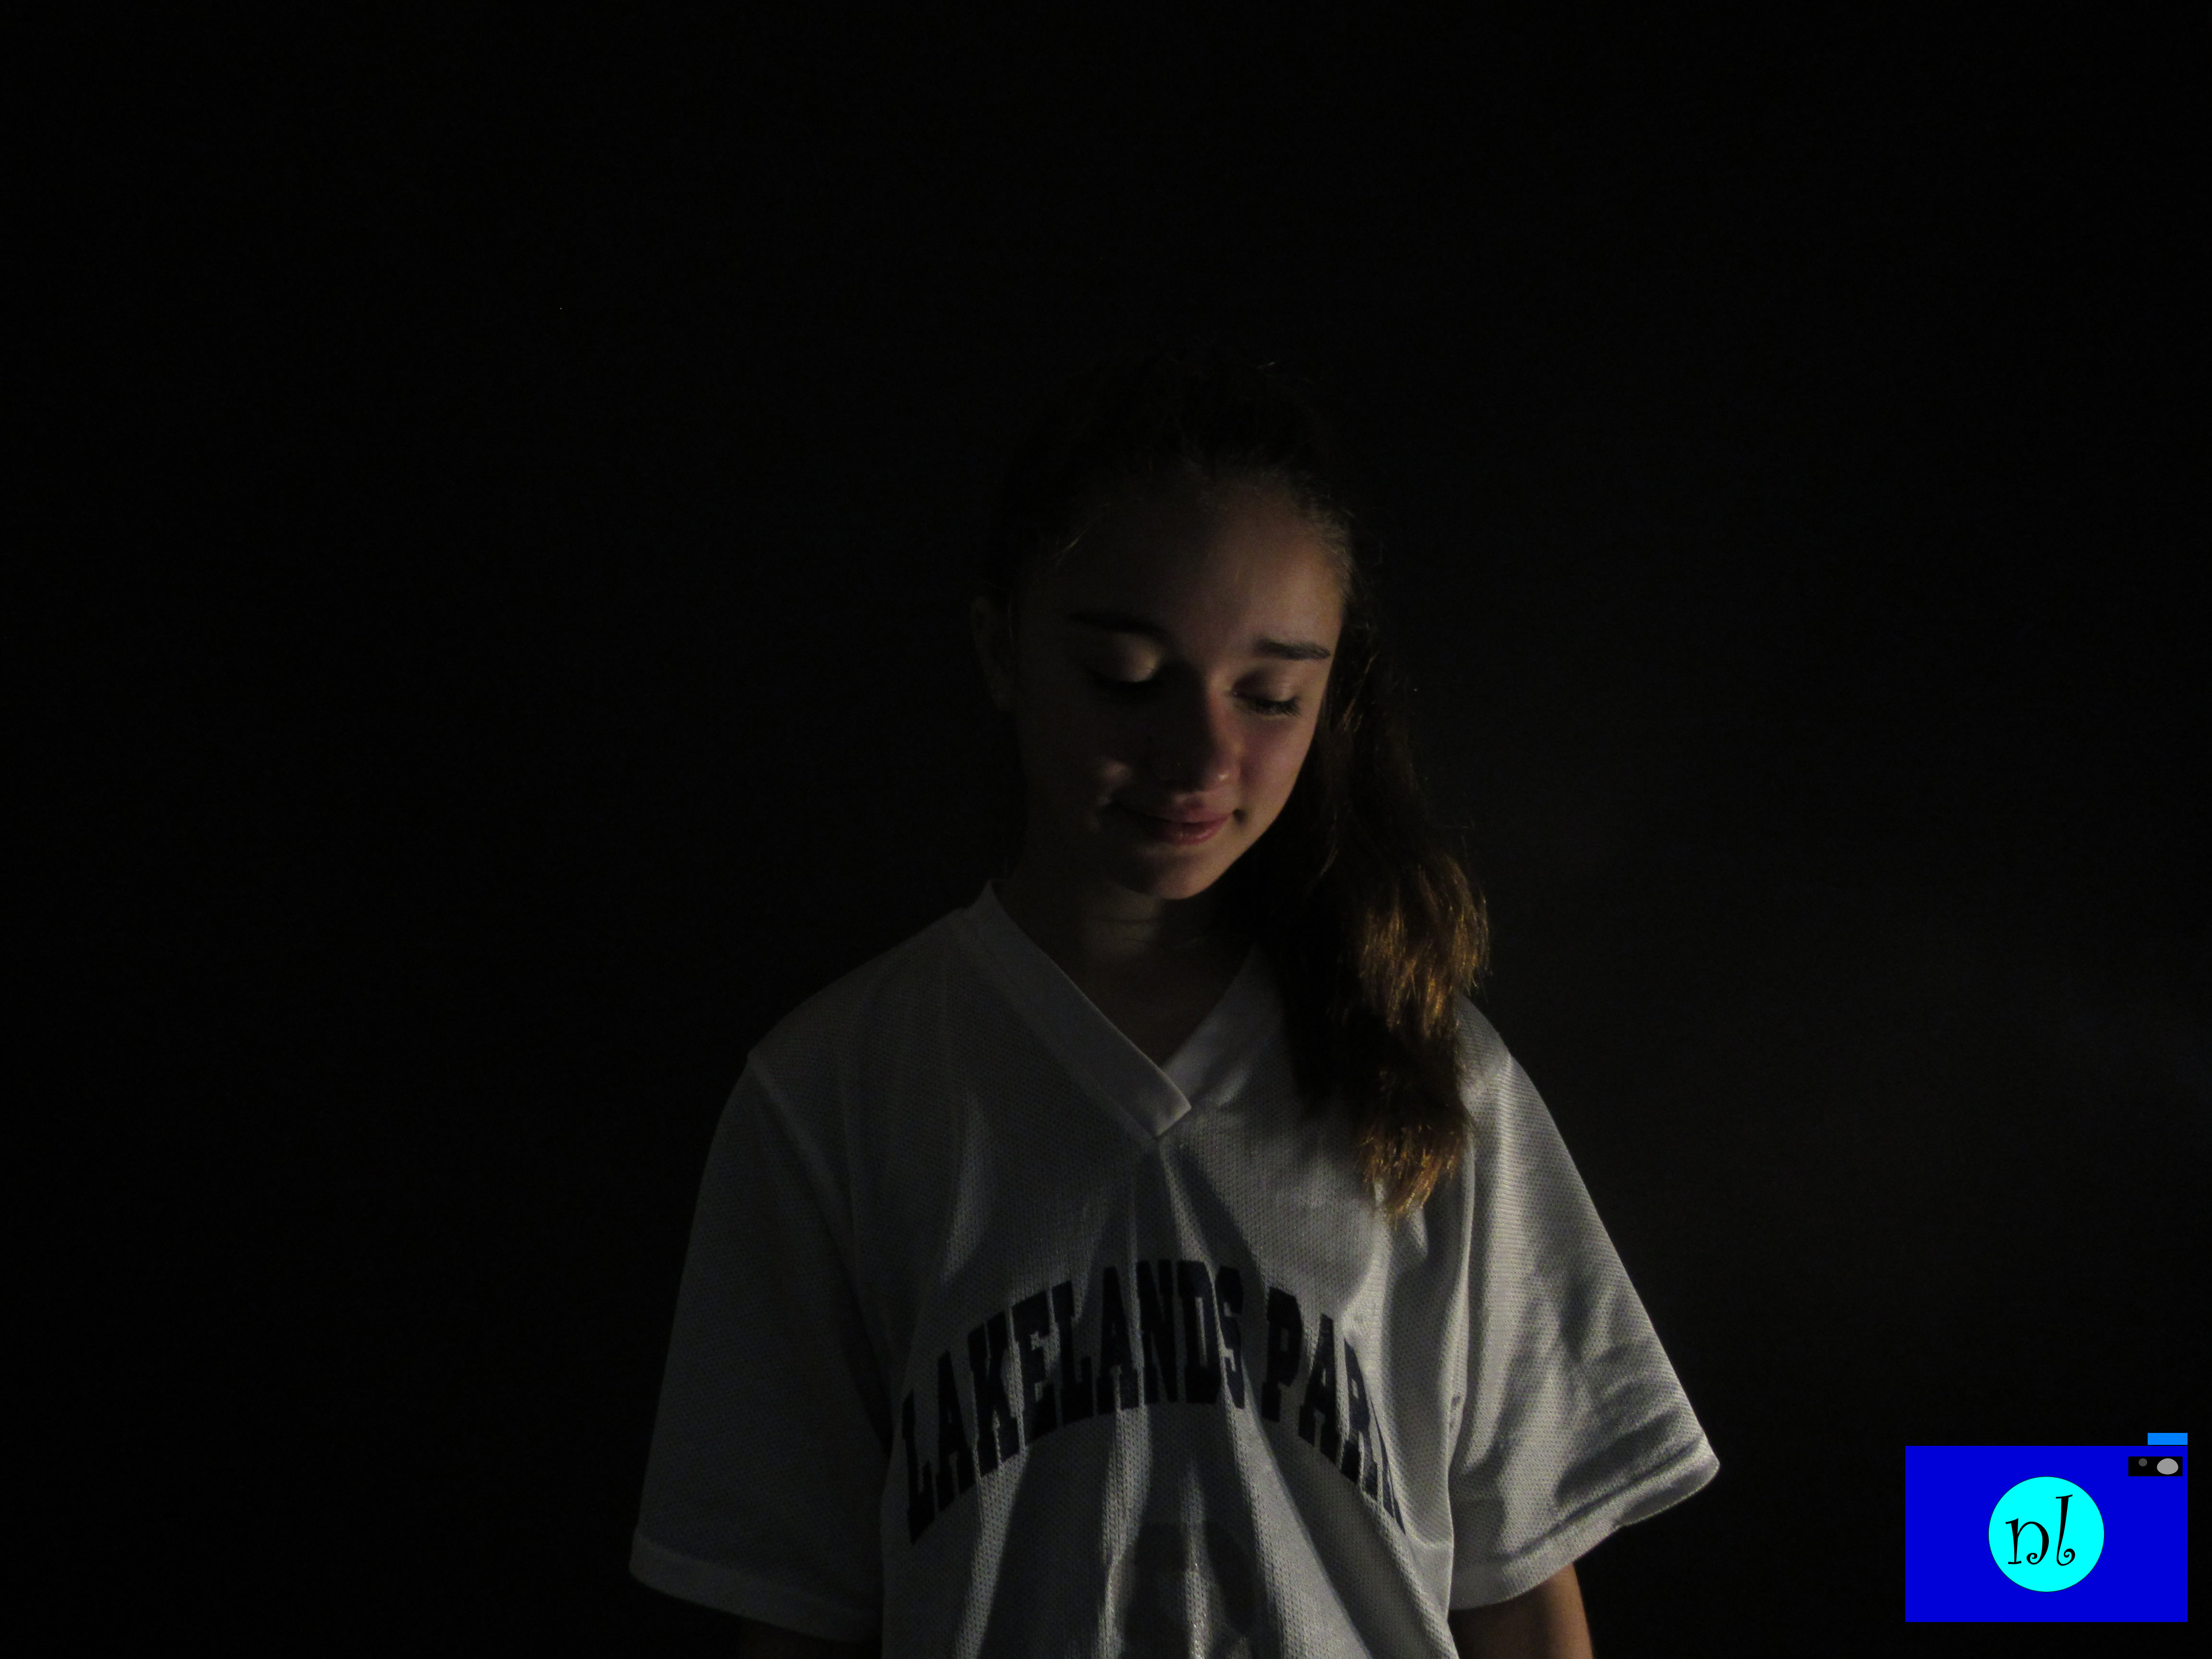
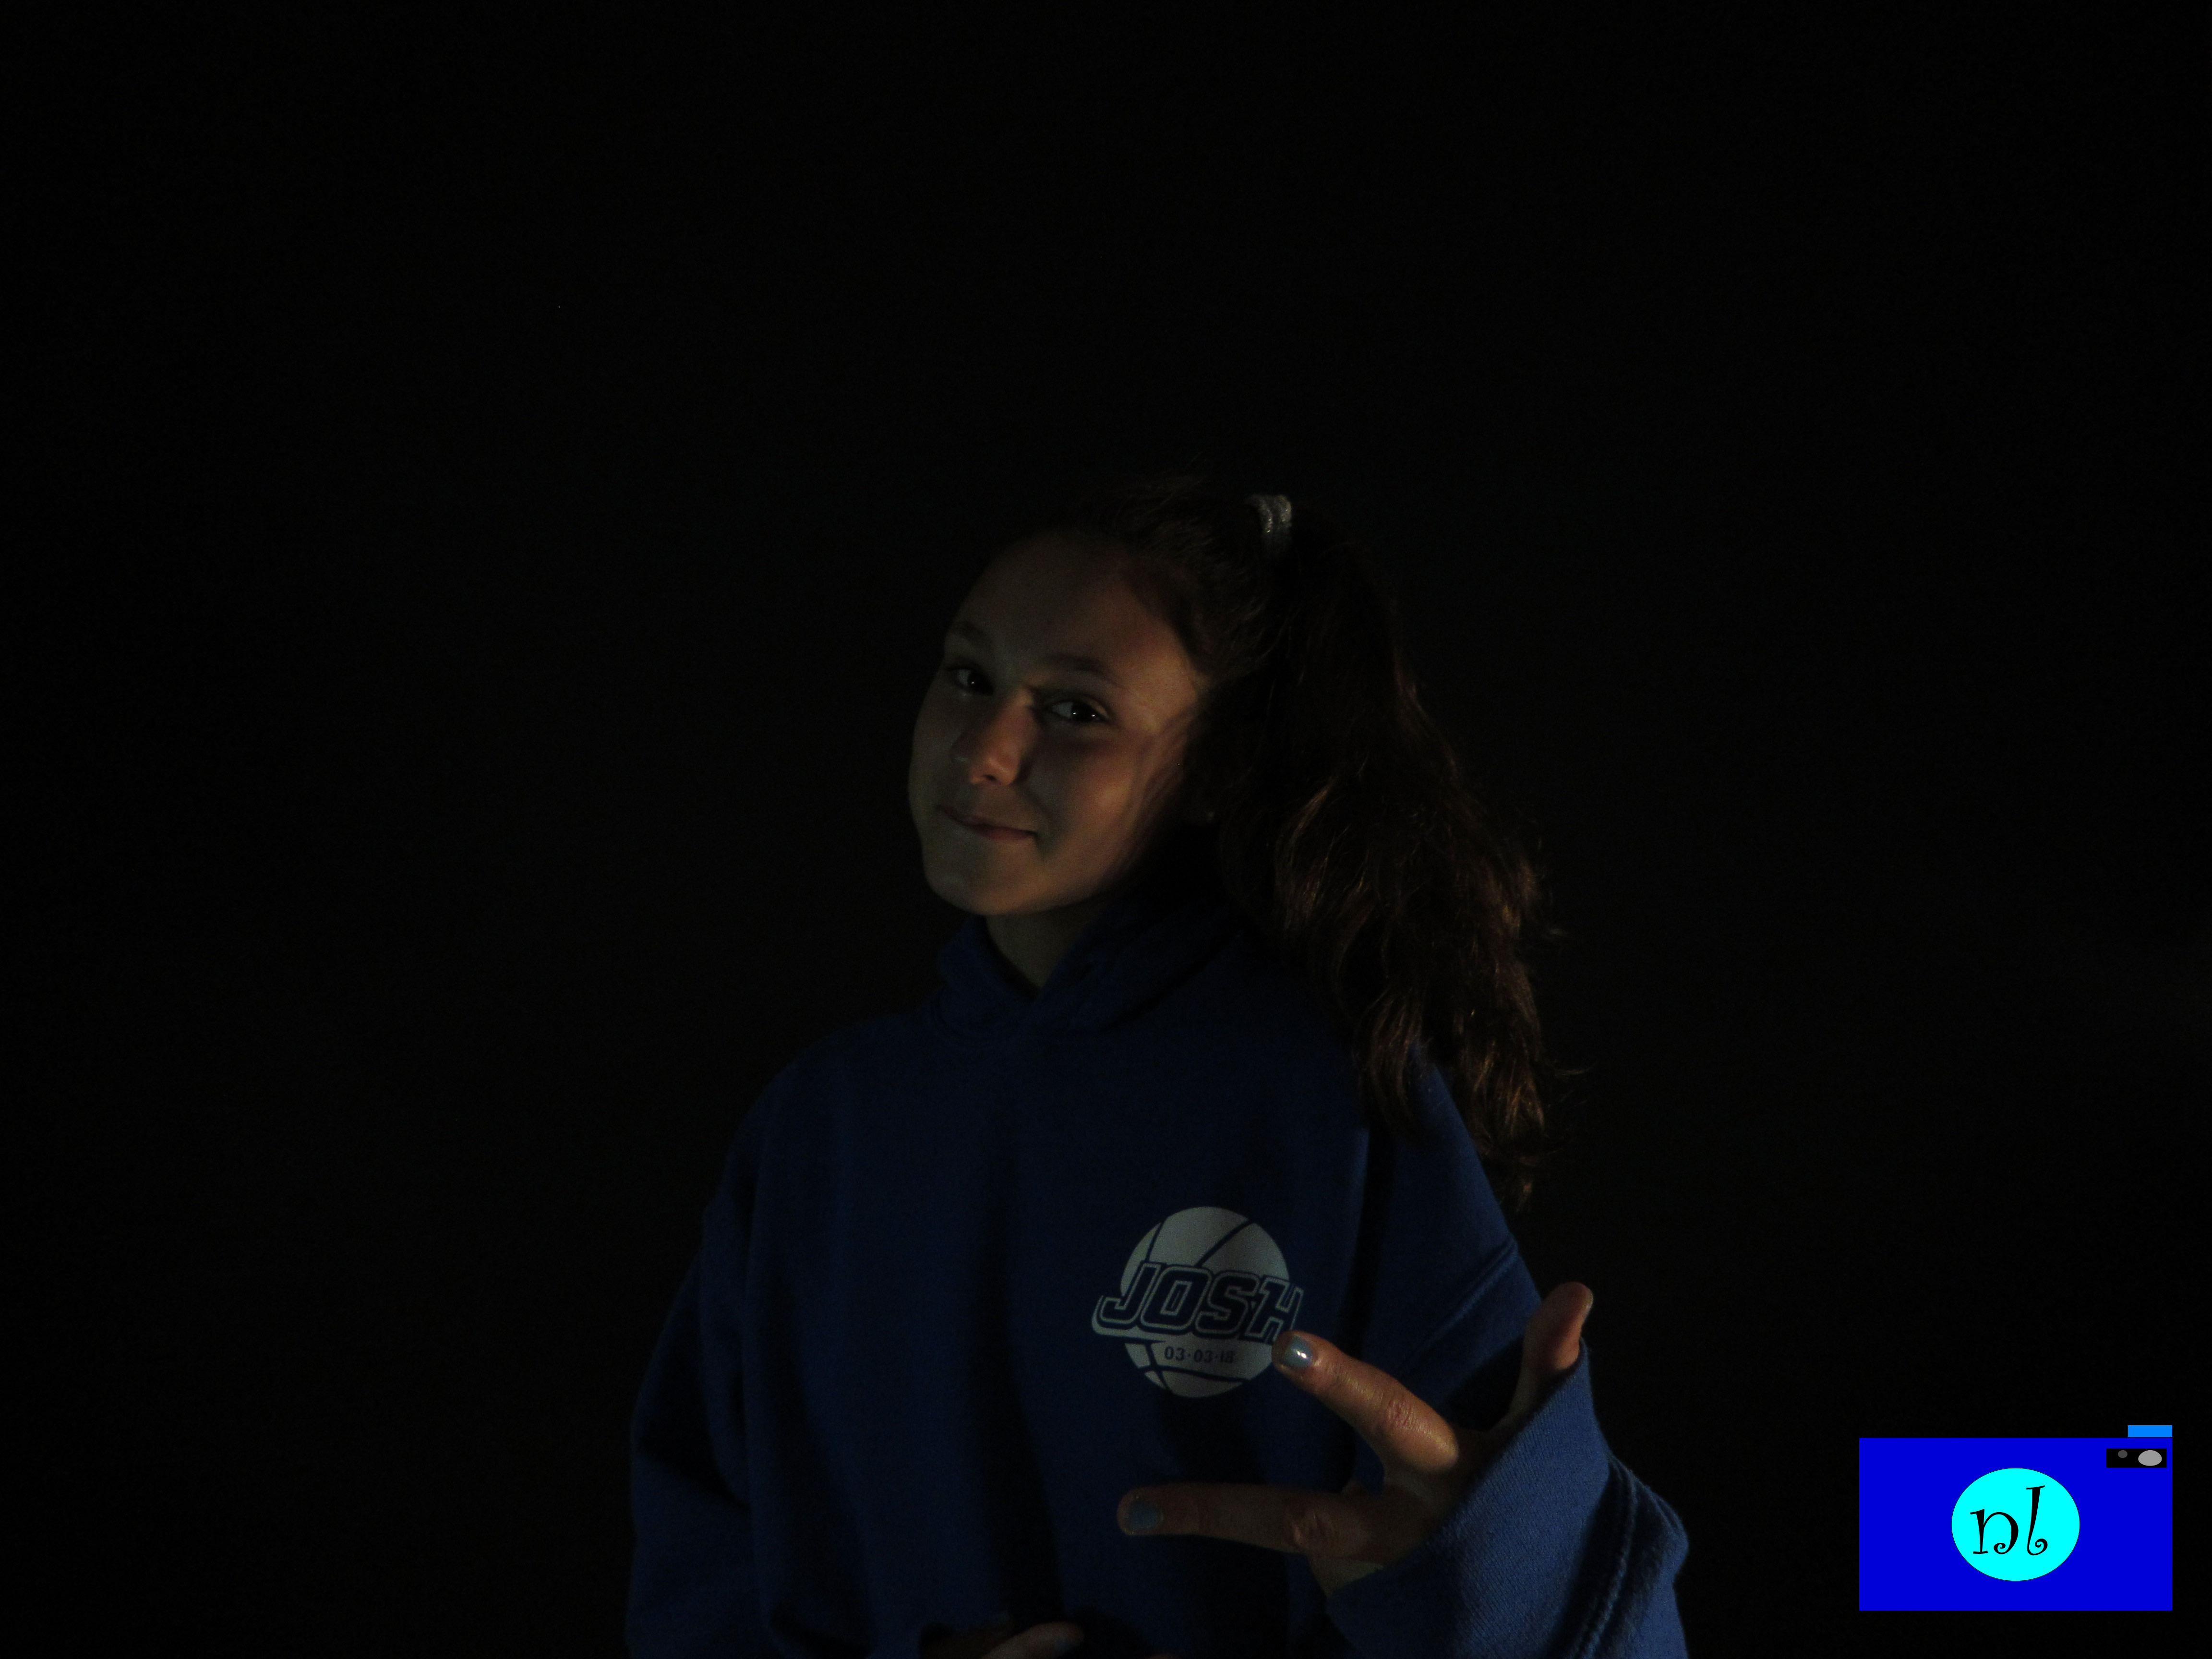
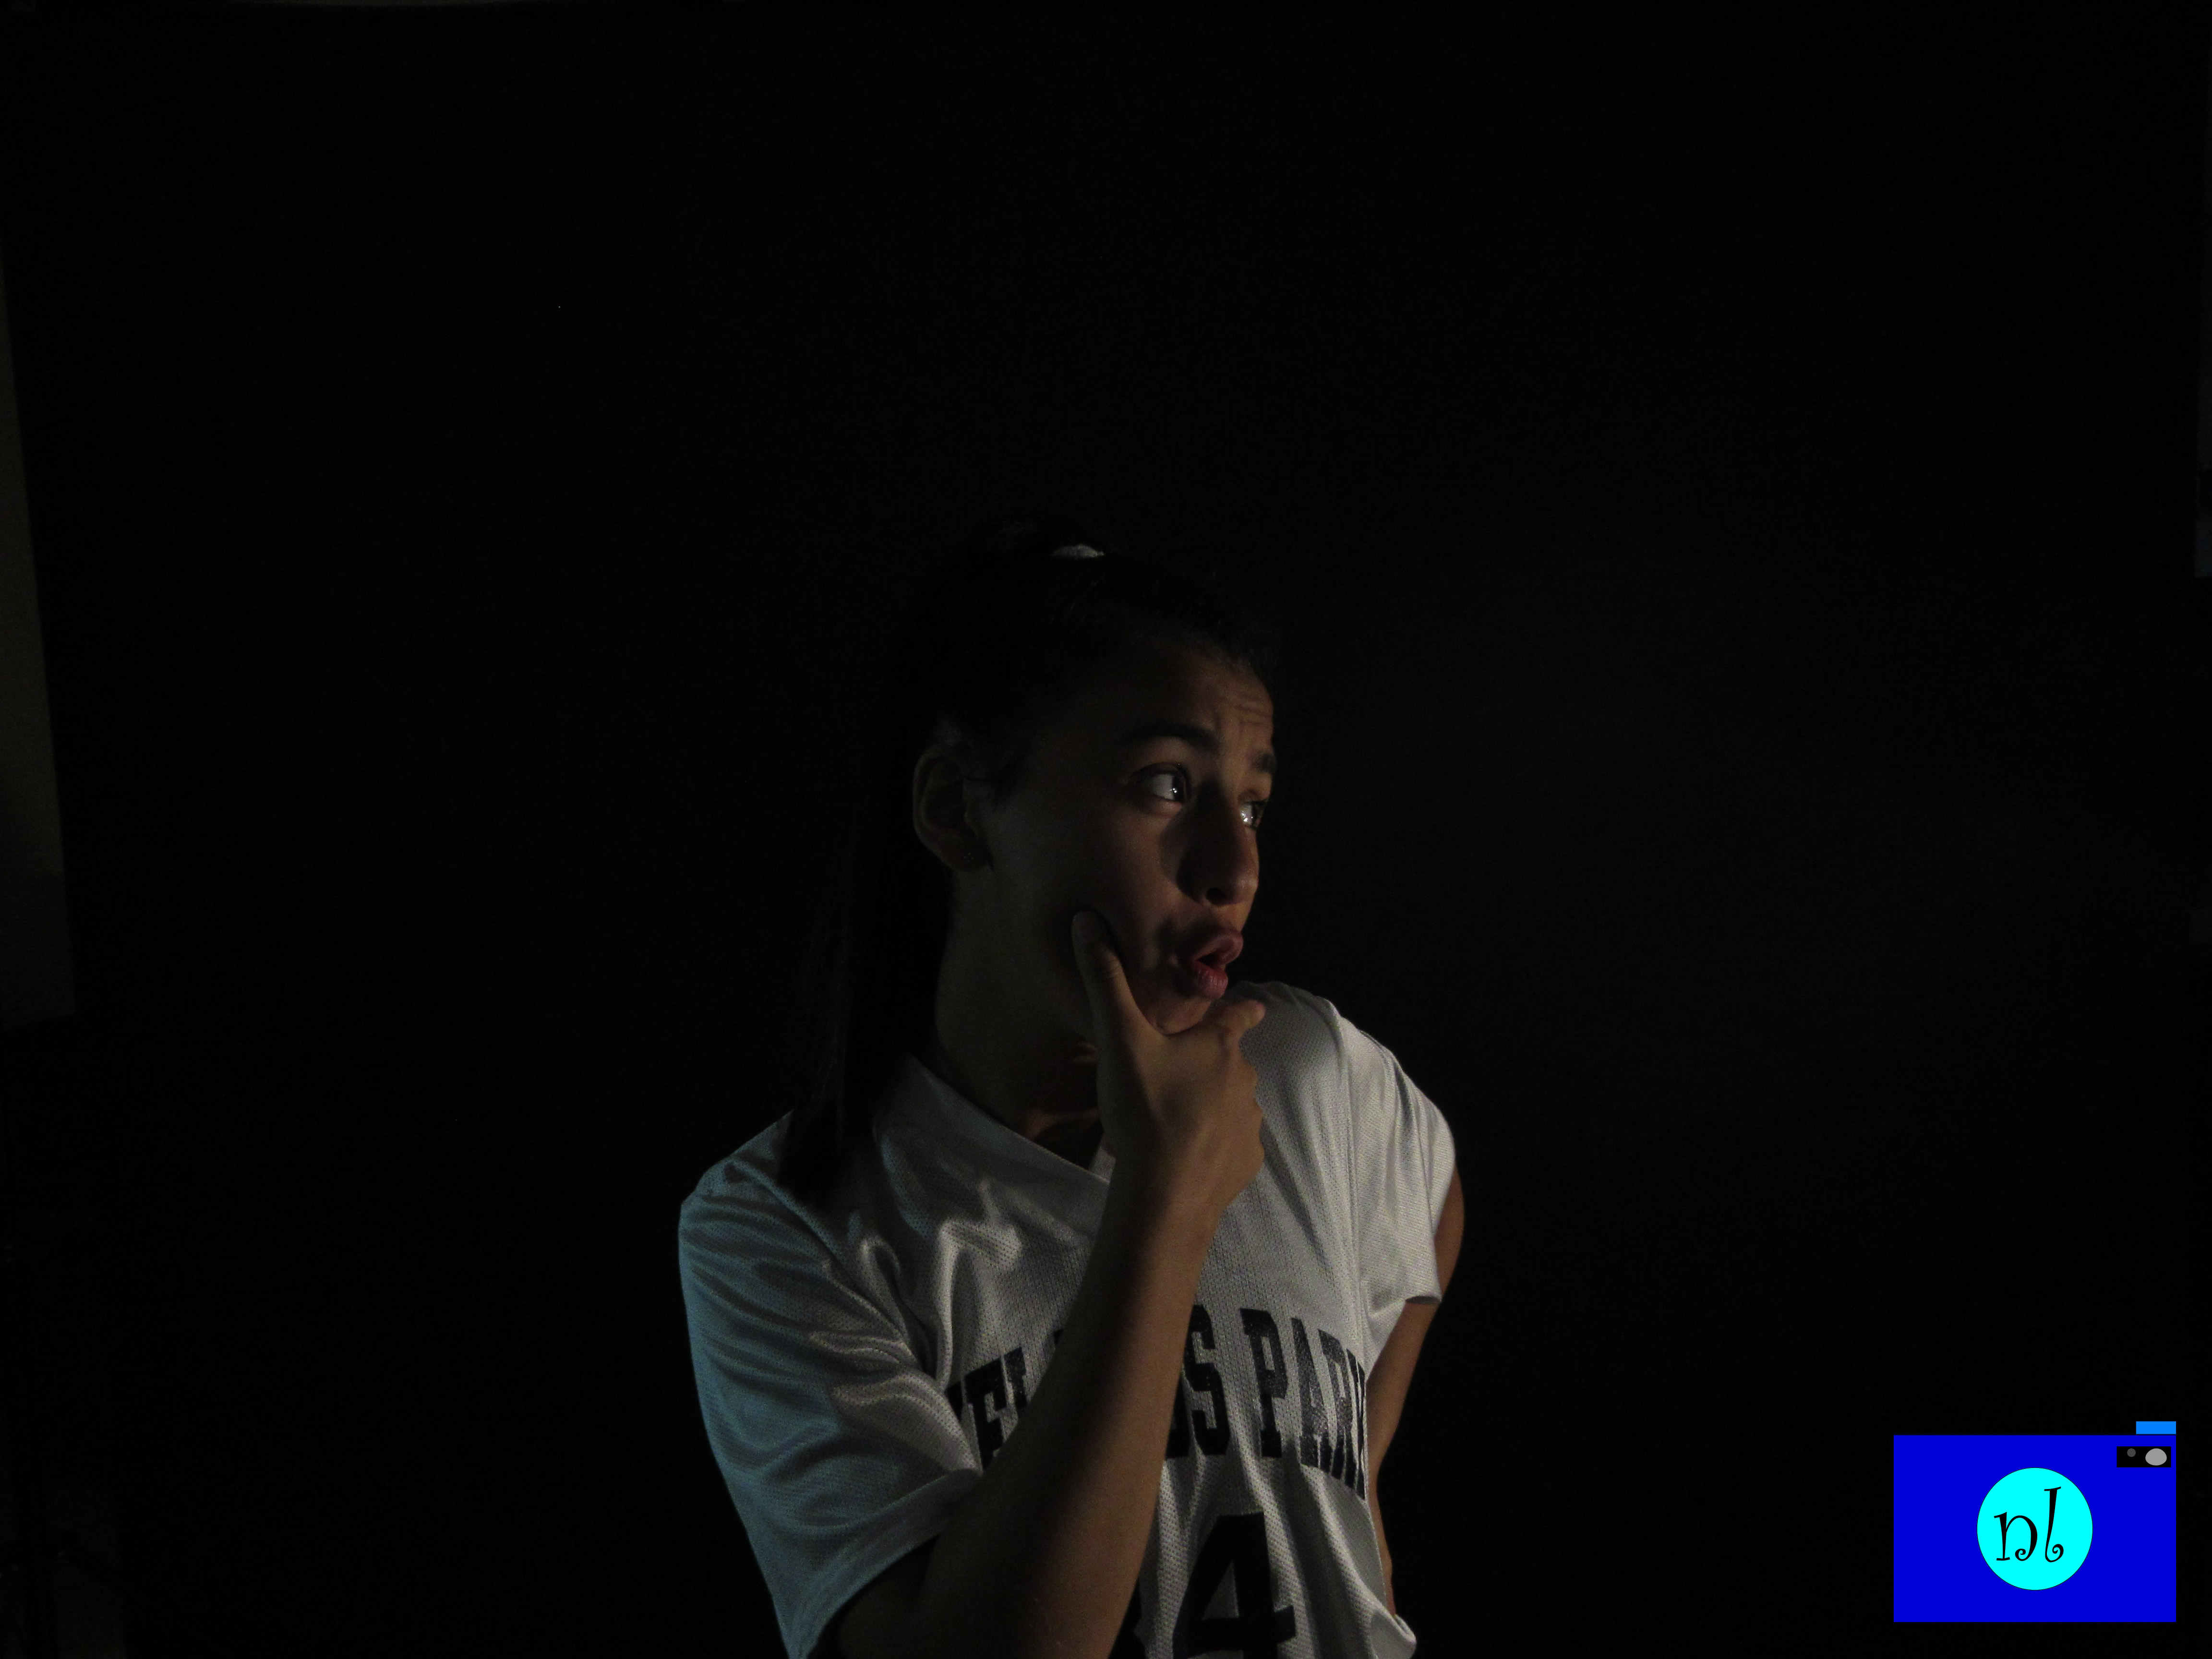
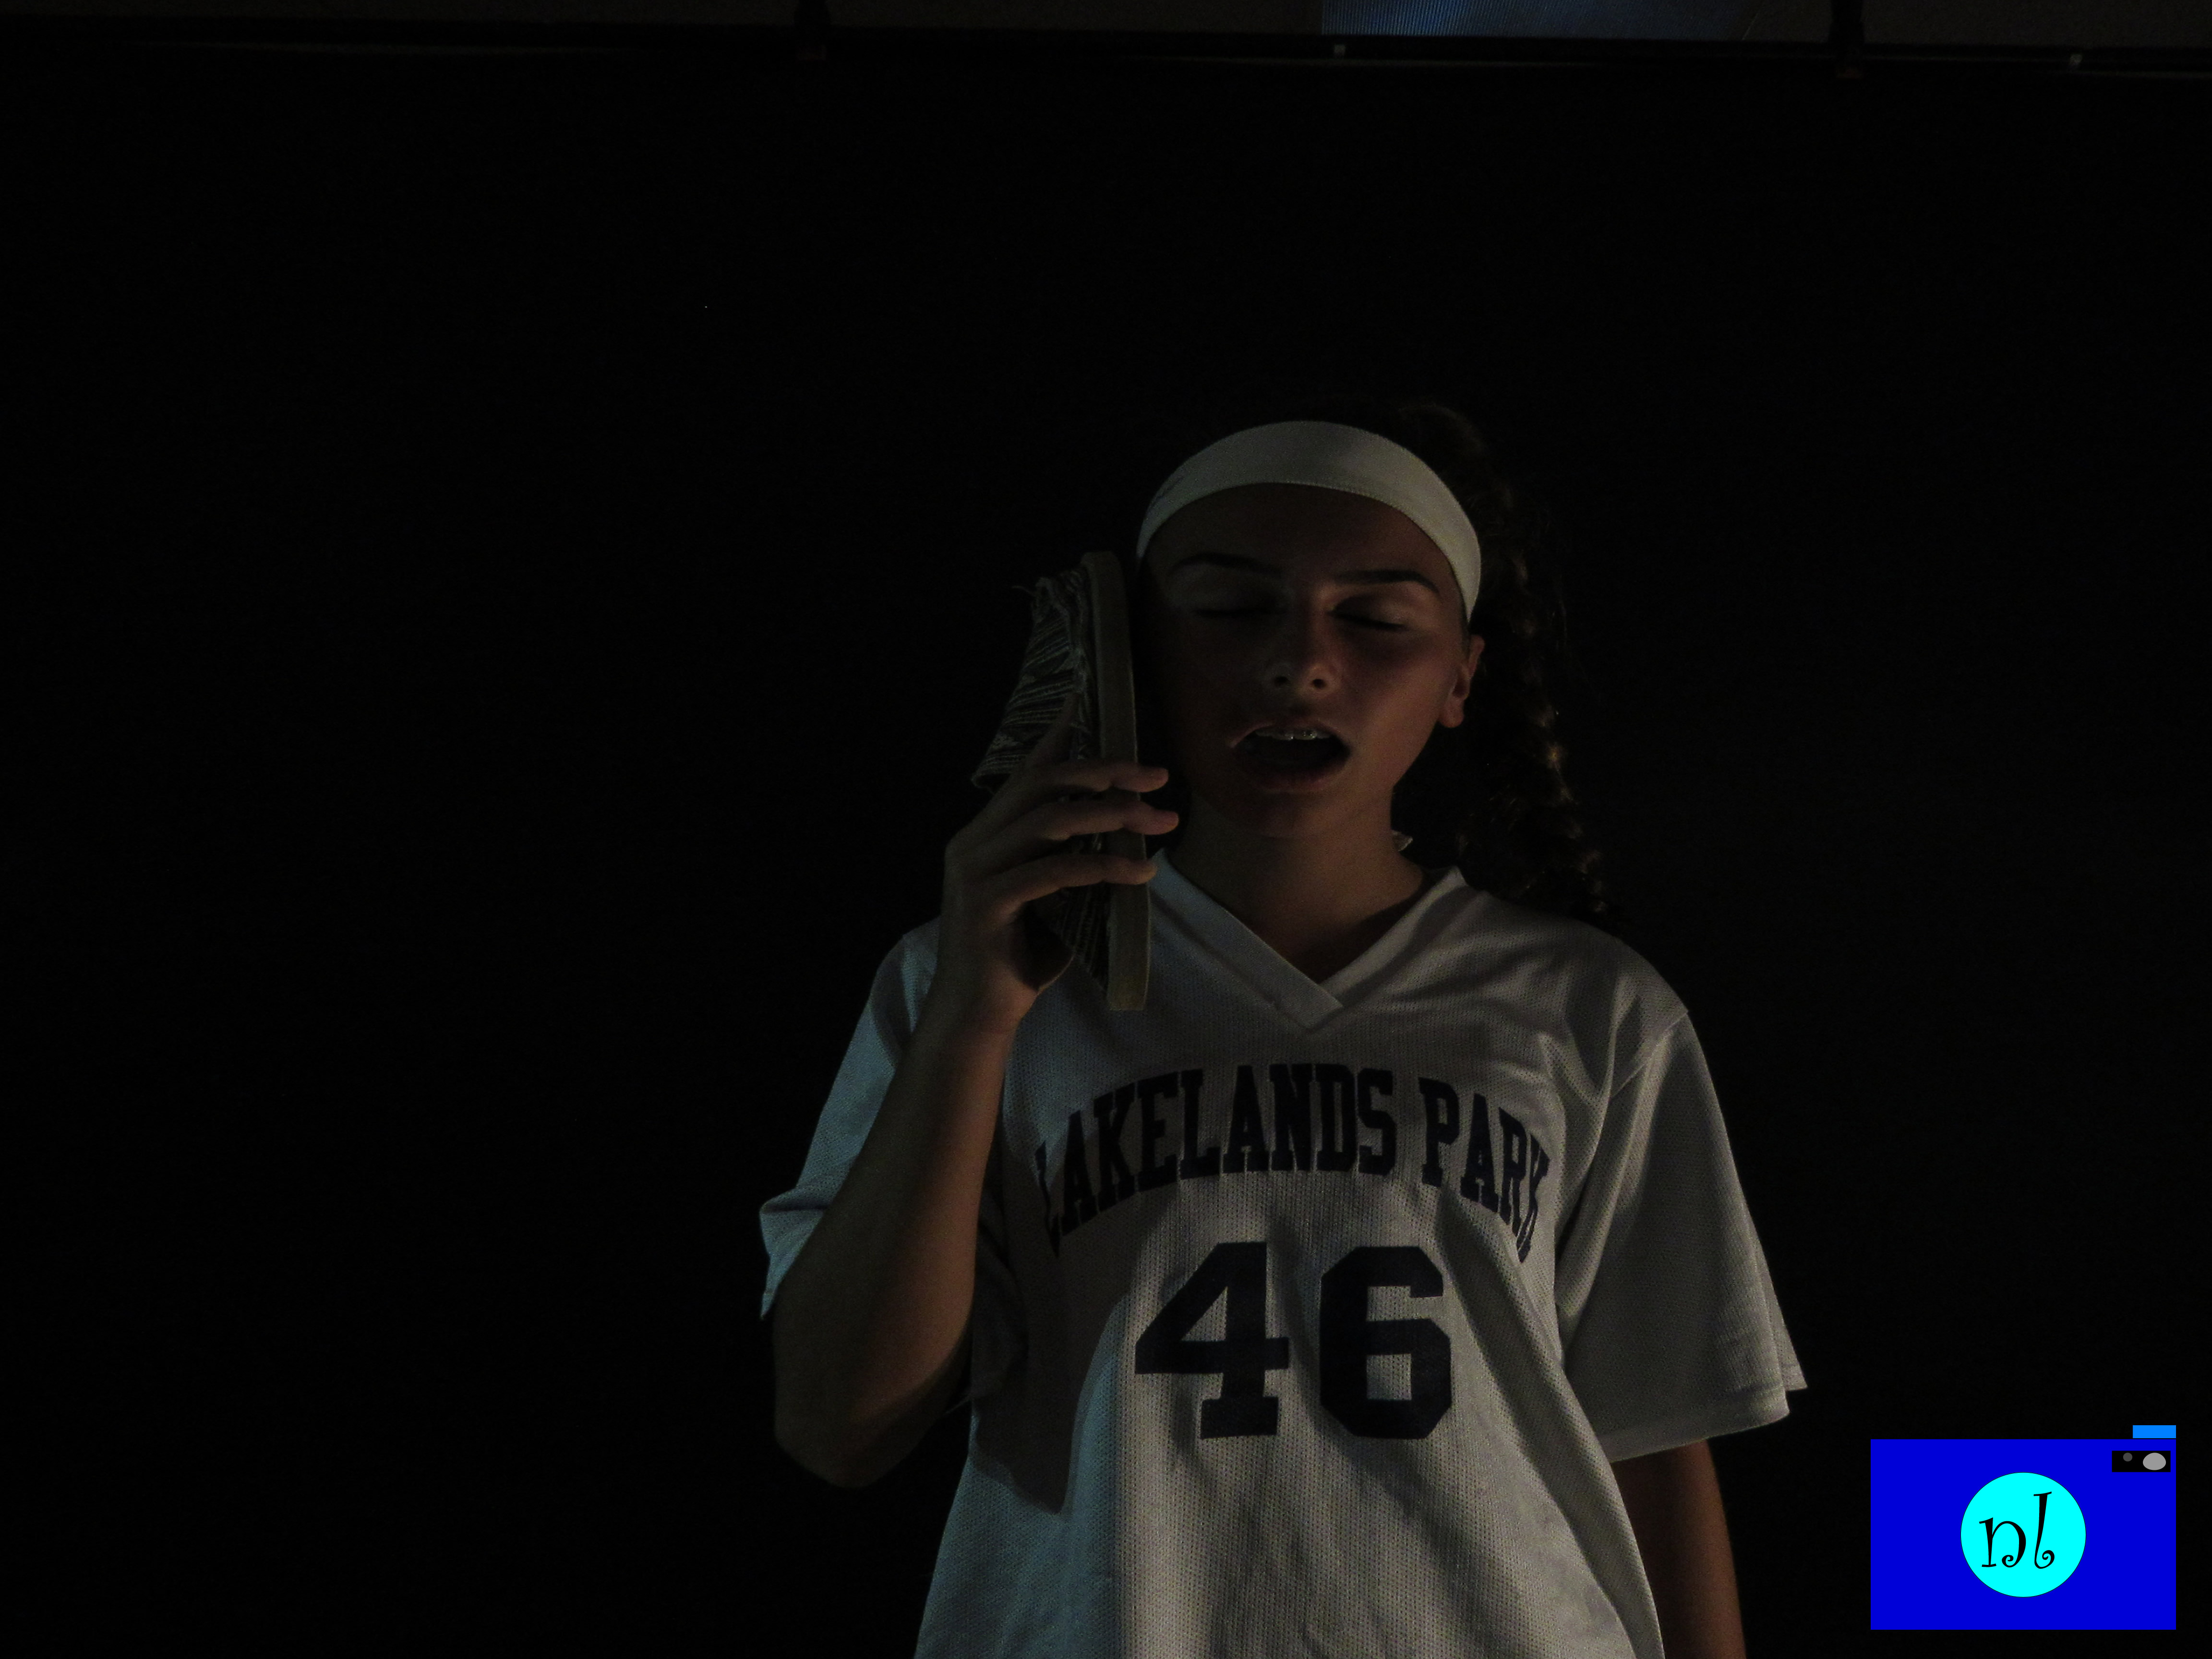
Black Background
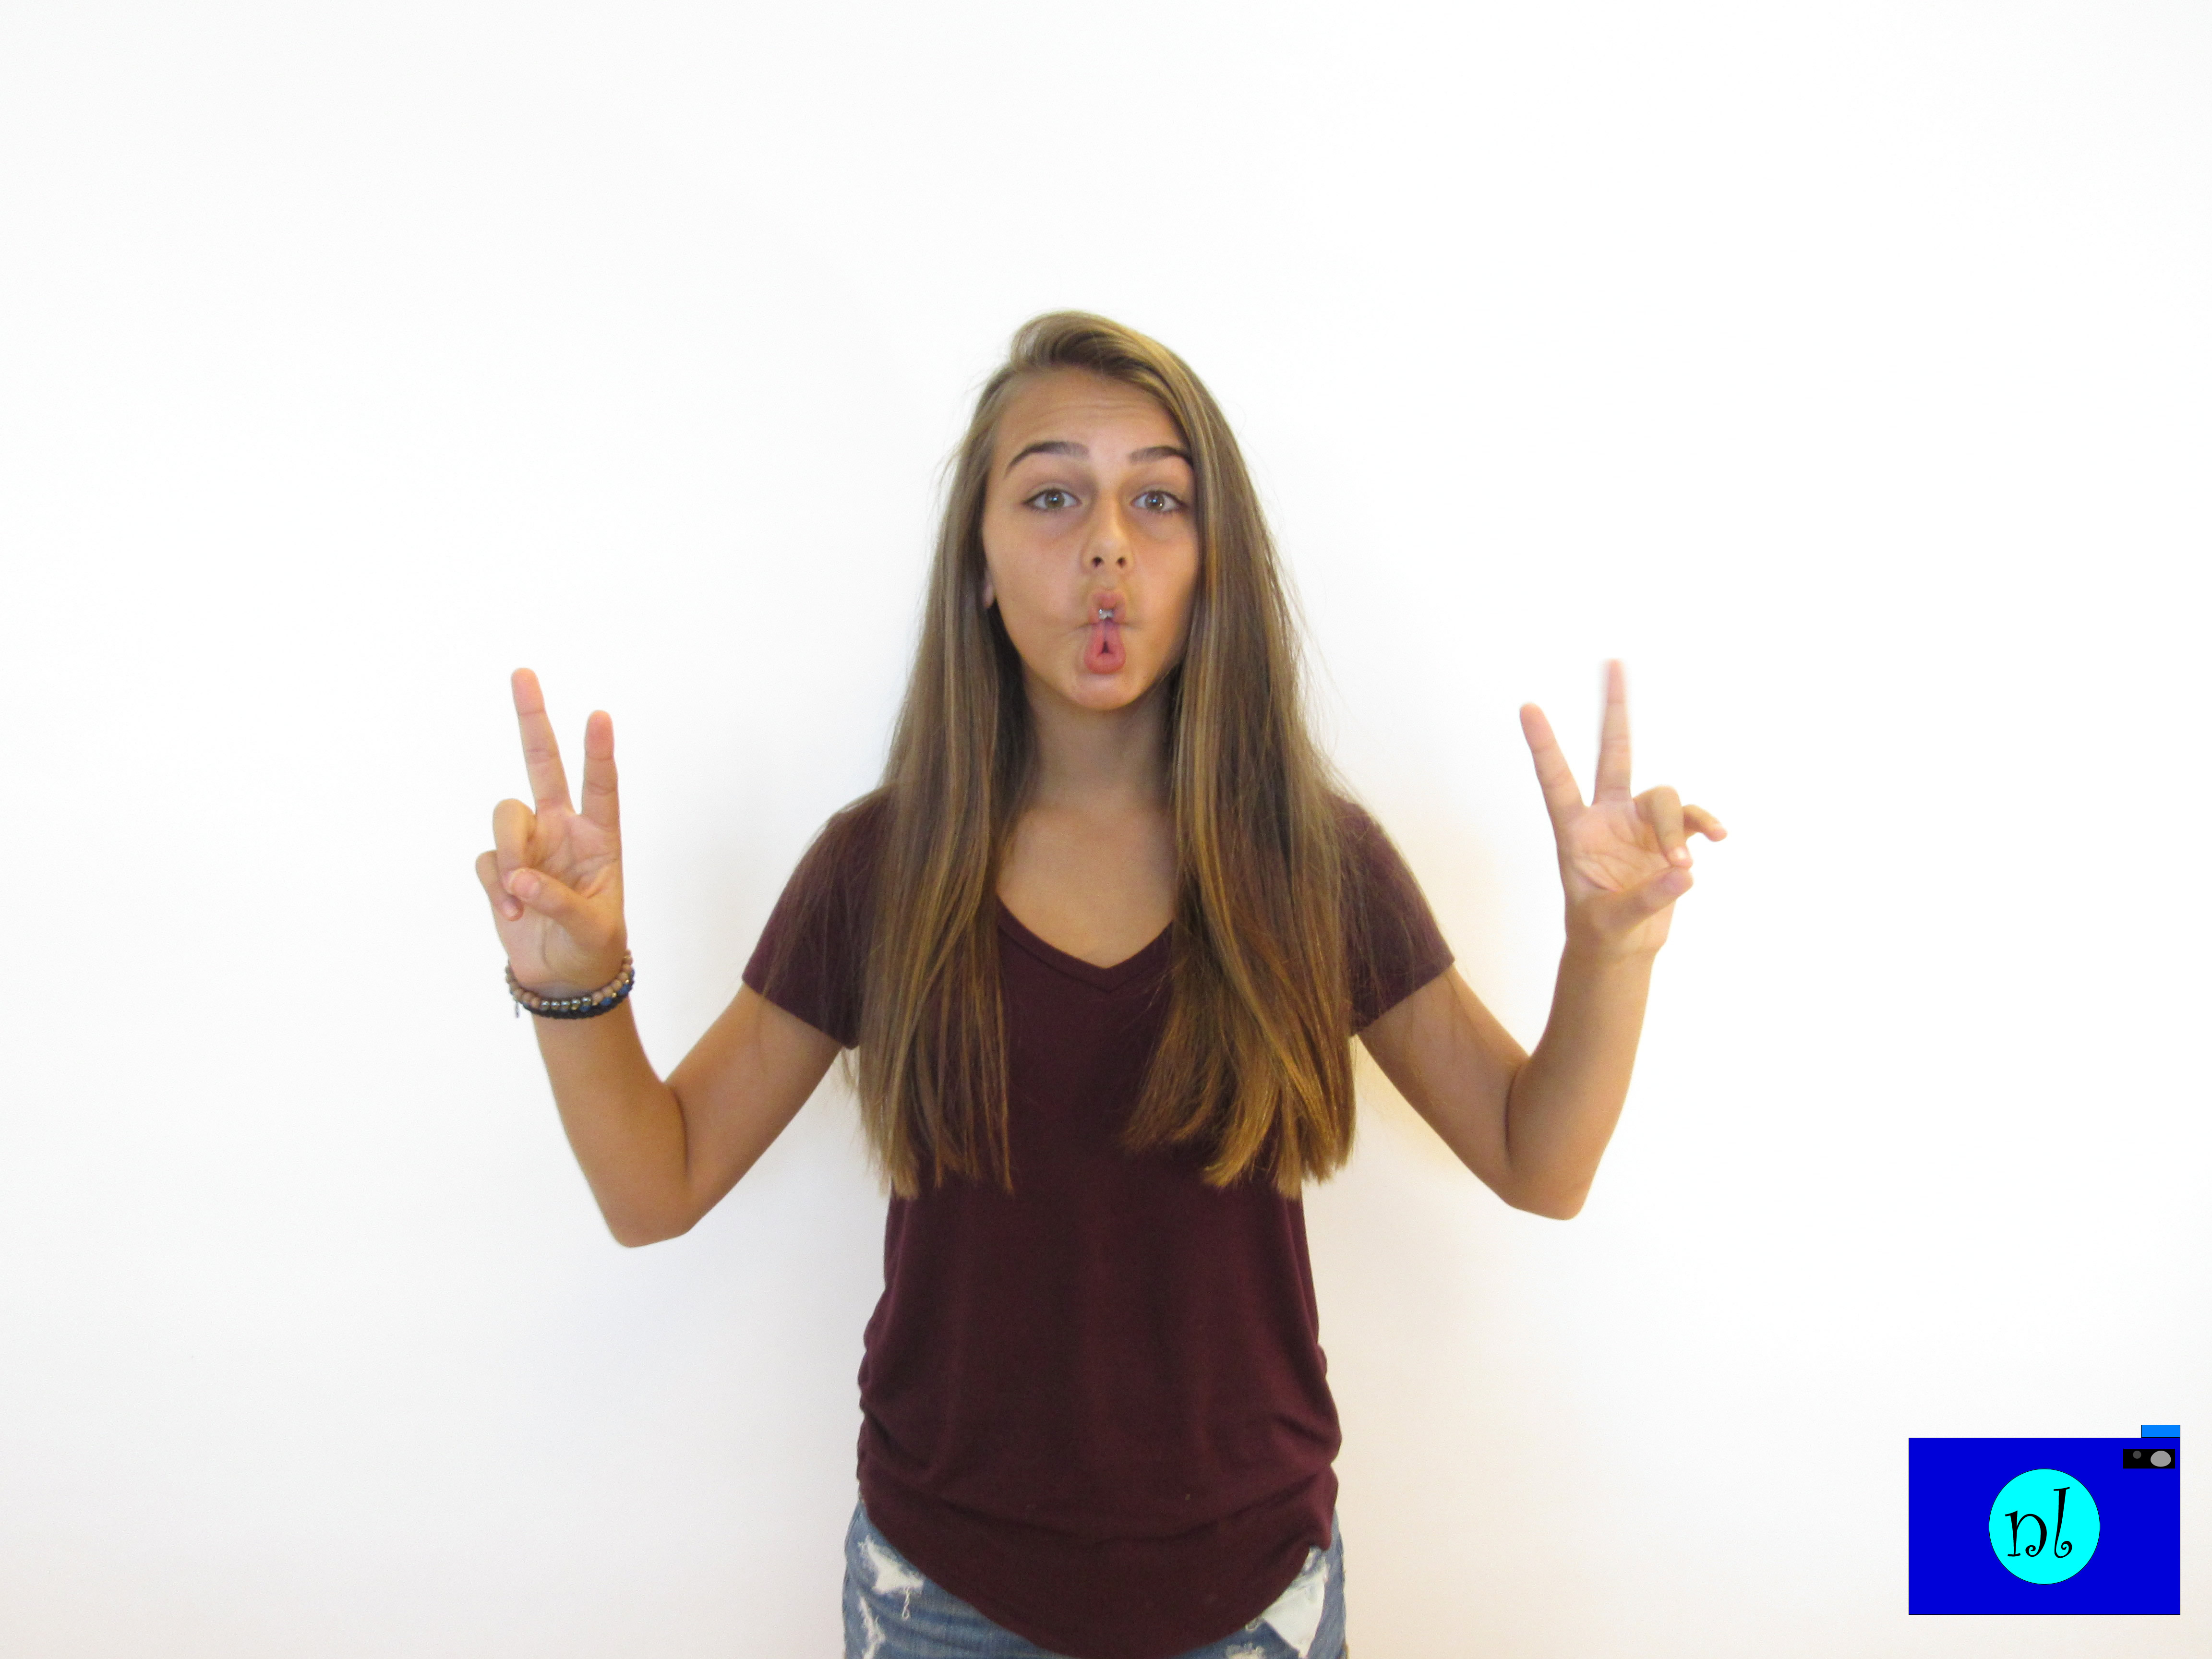
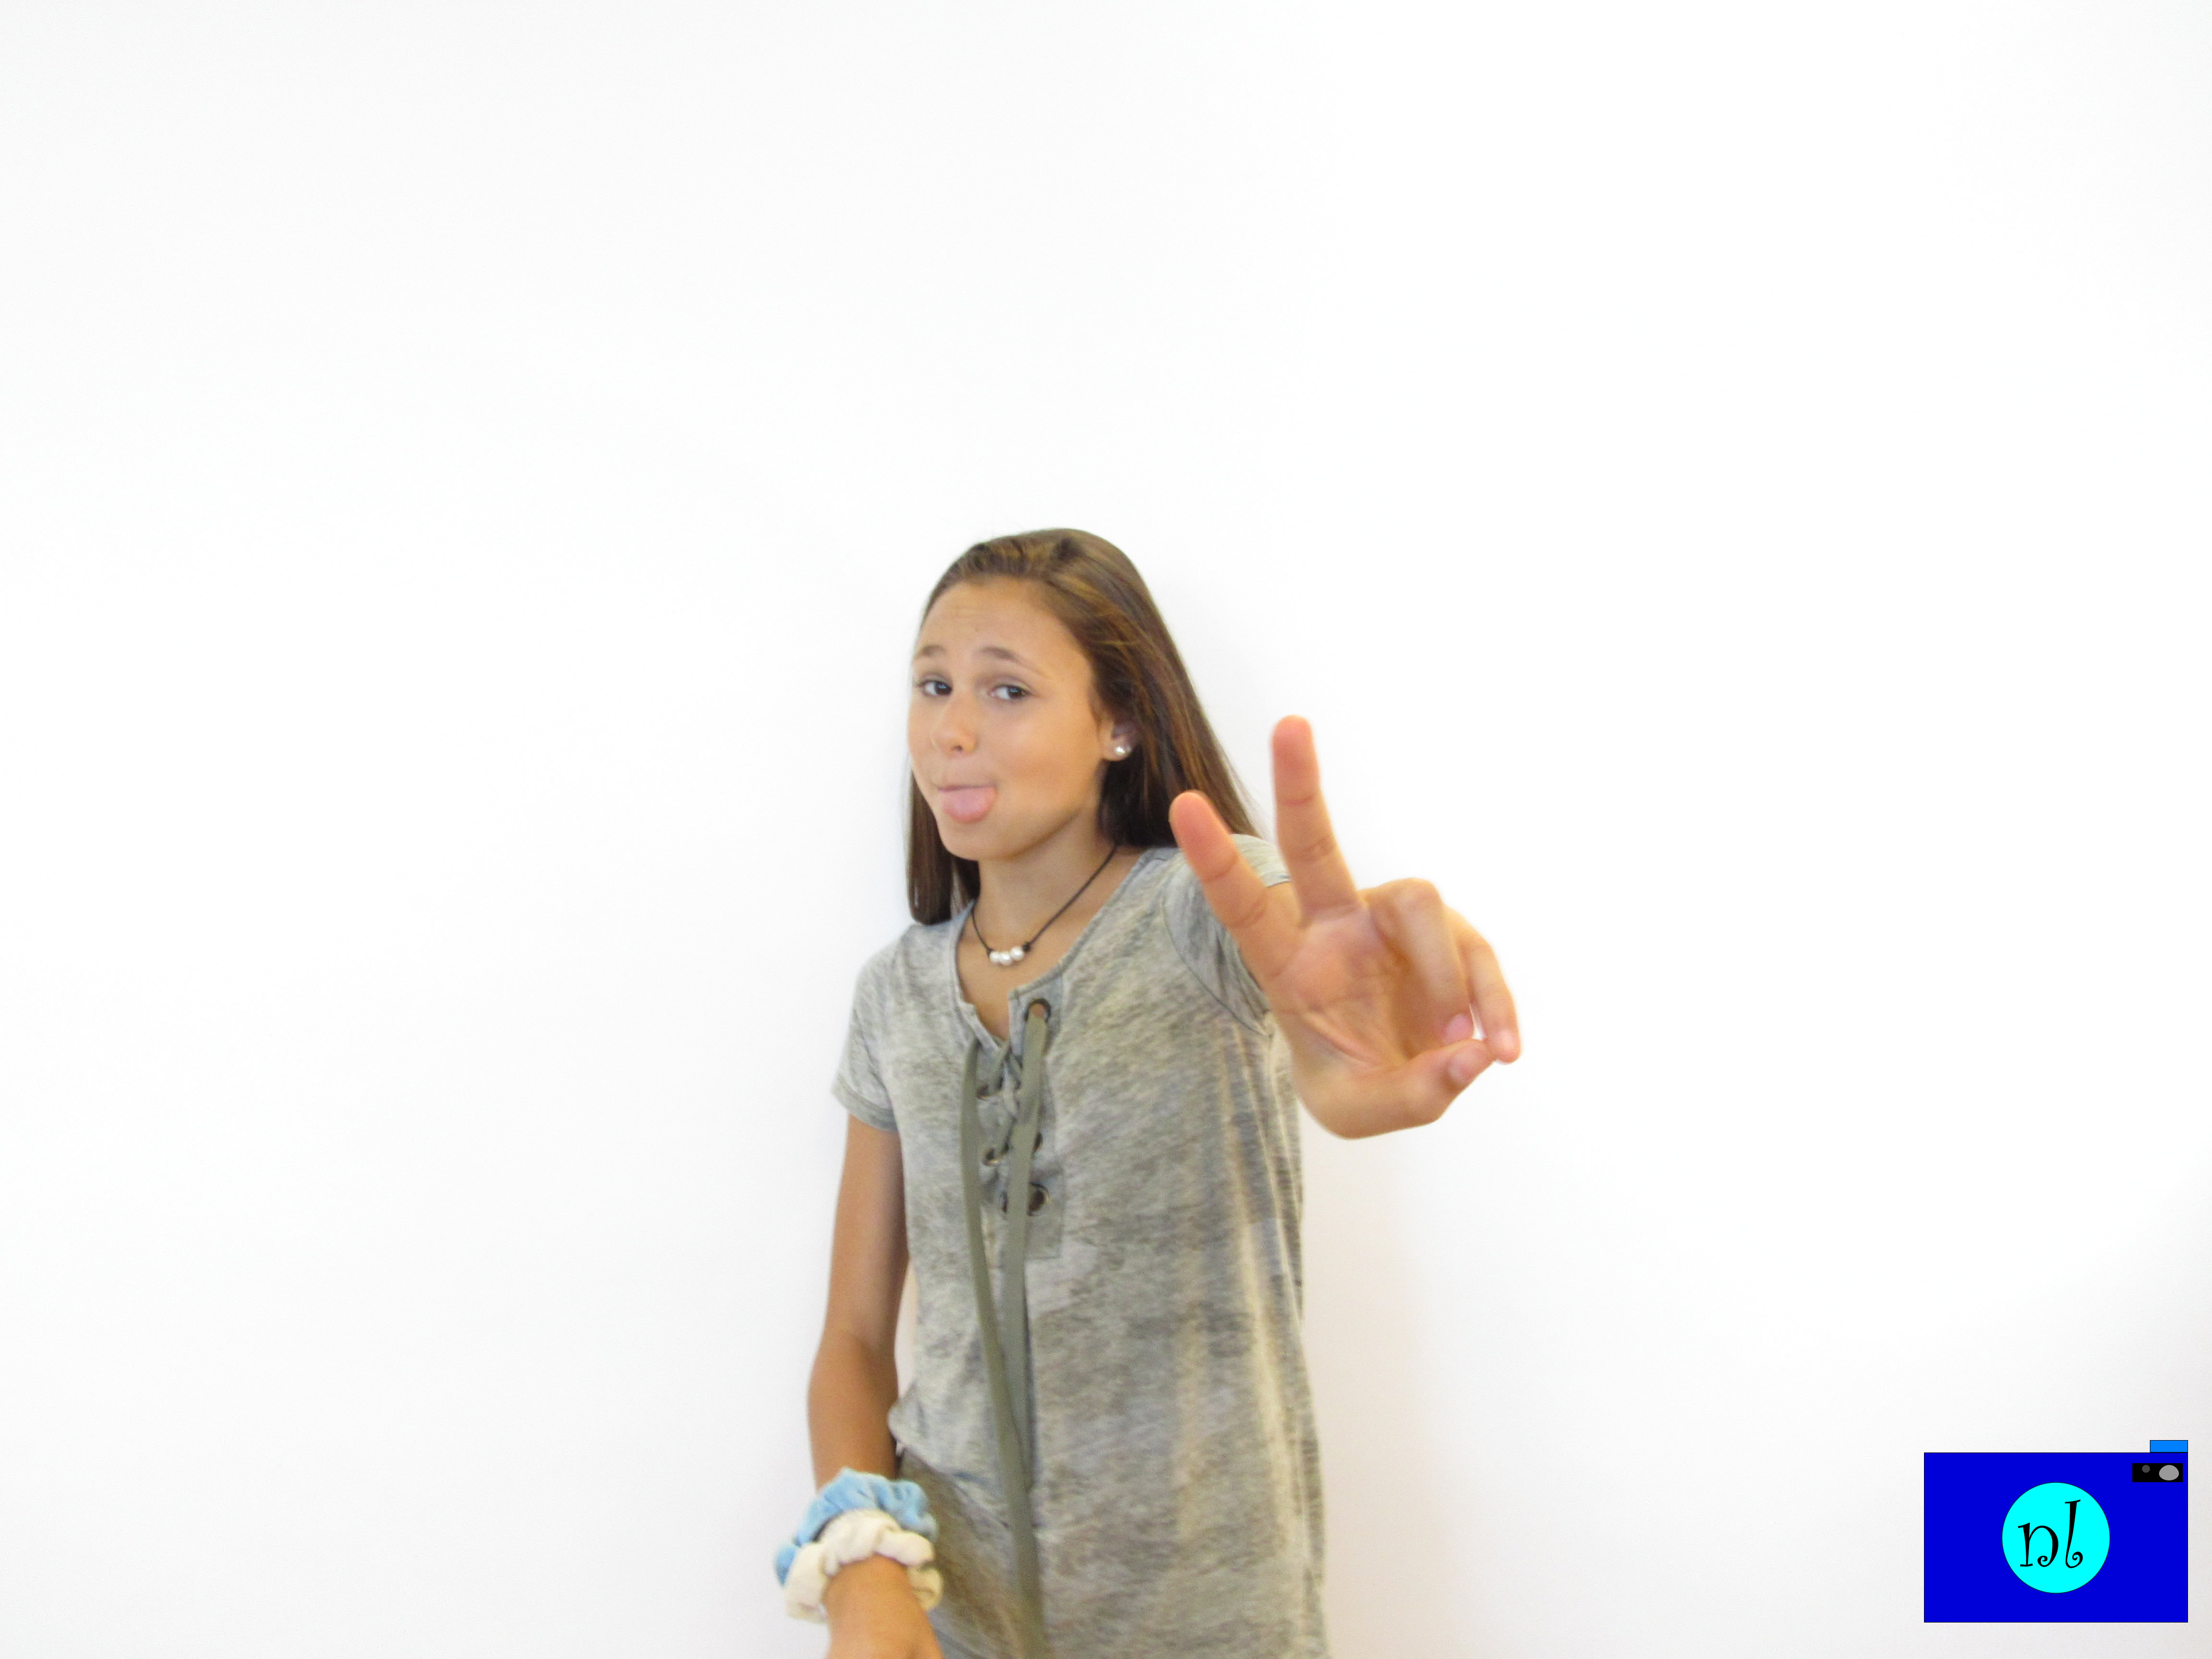
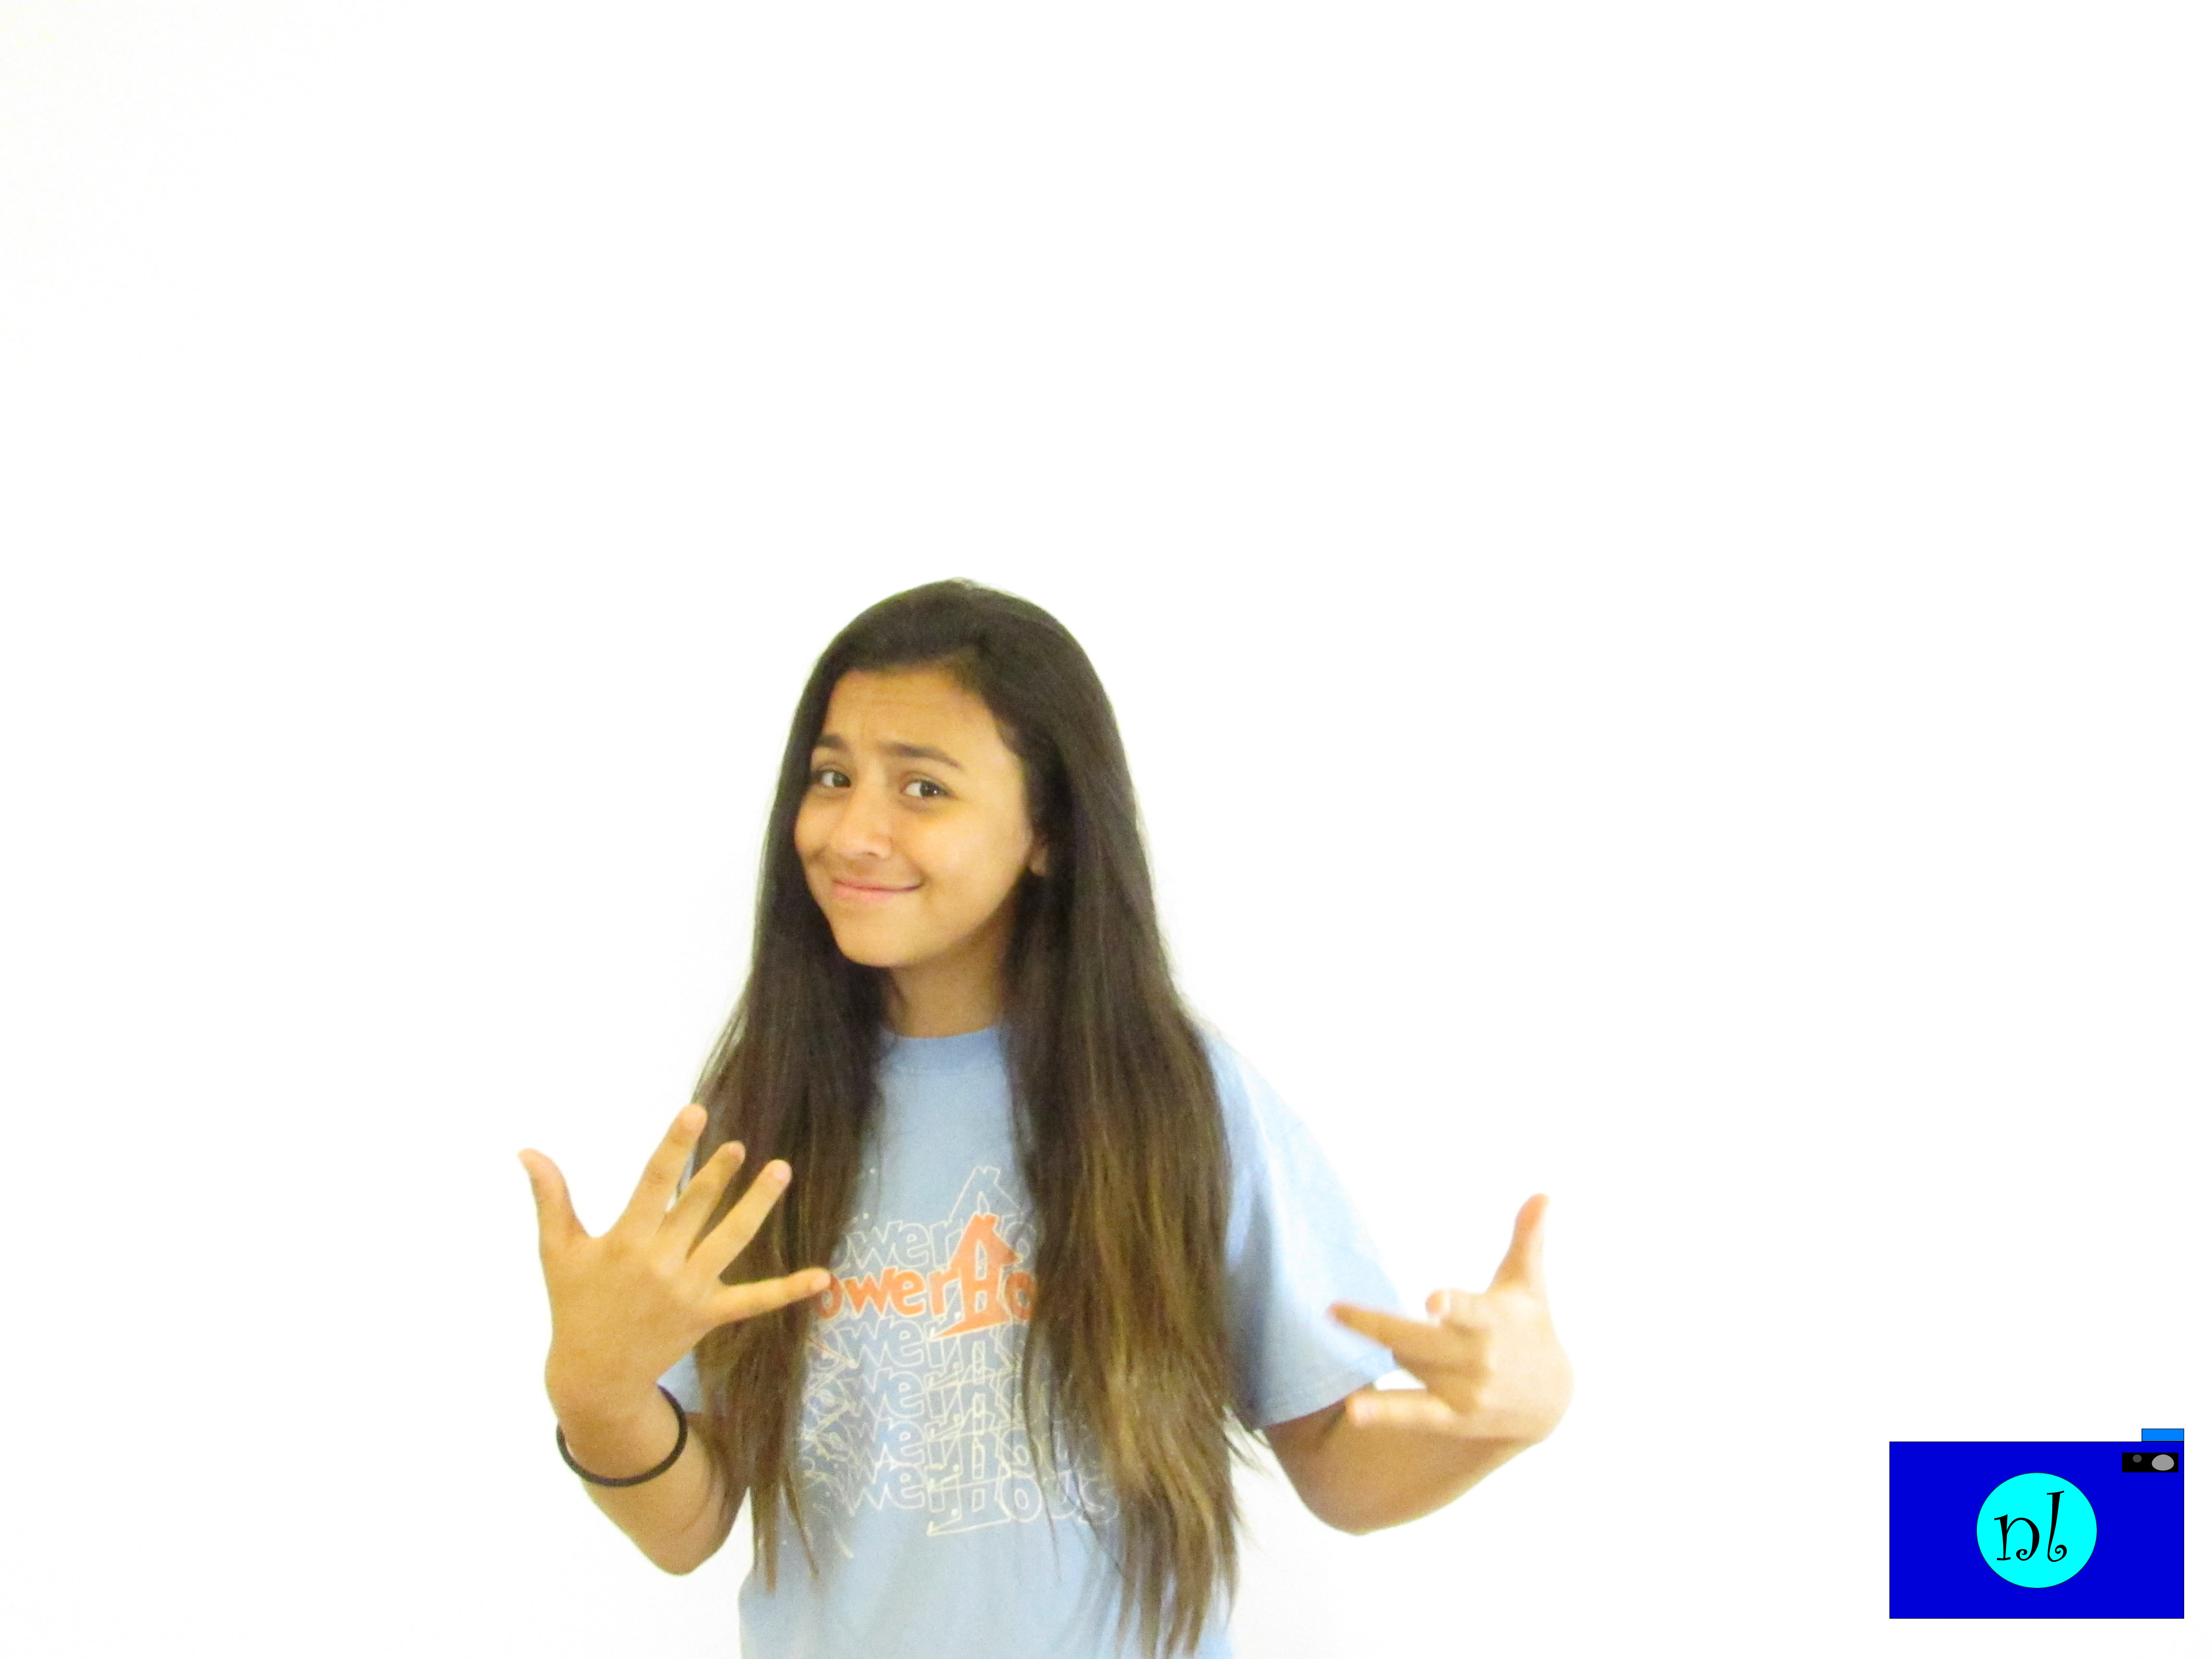
Portraits with a White Backgrounds