Month: October 2018

Light Graffiti

Light Graffiti

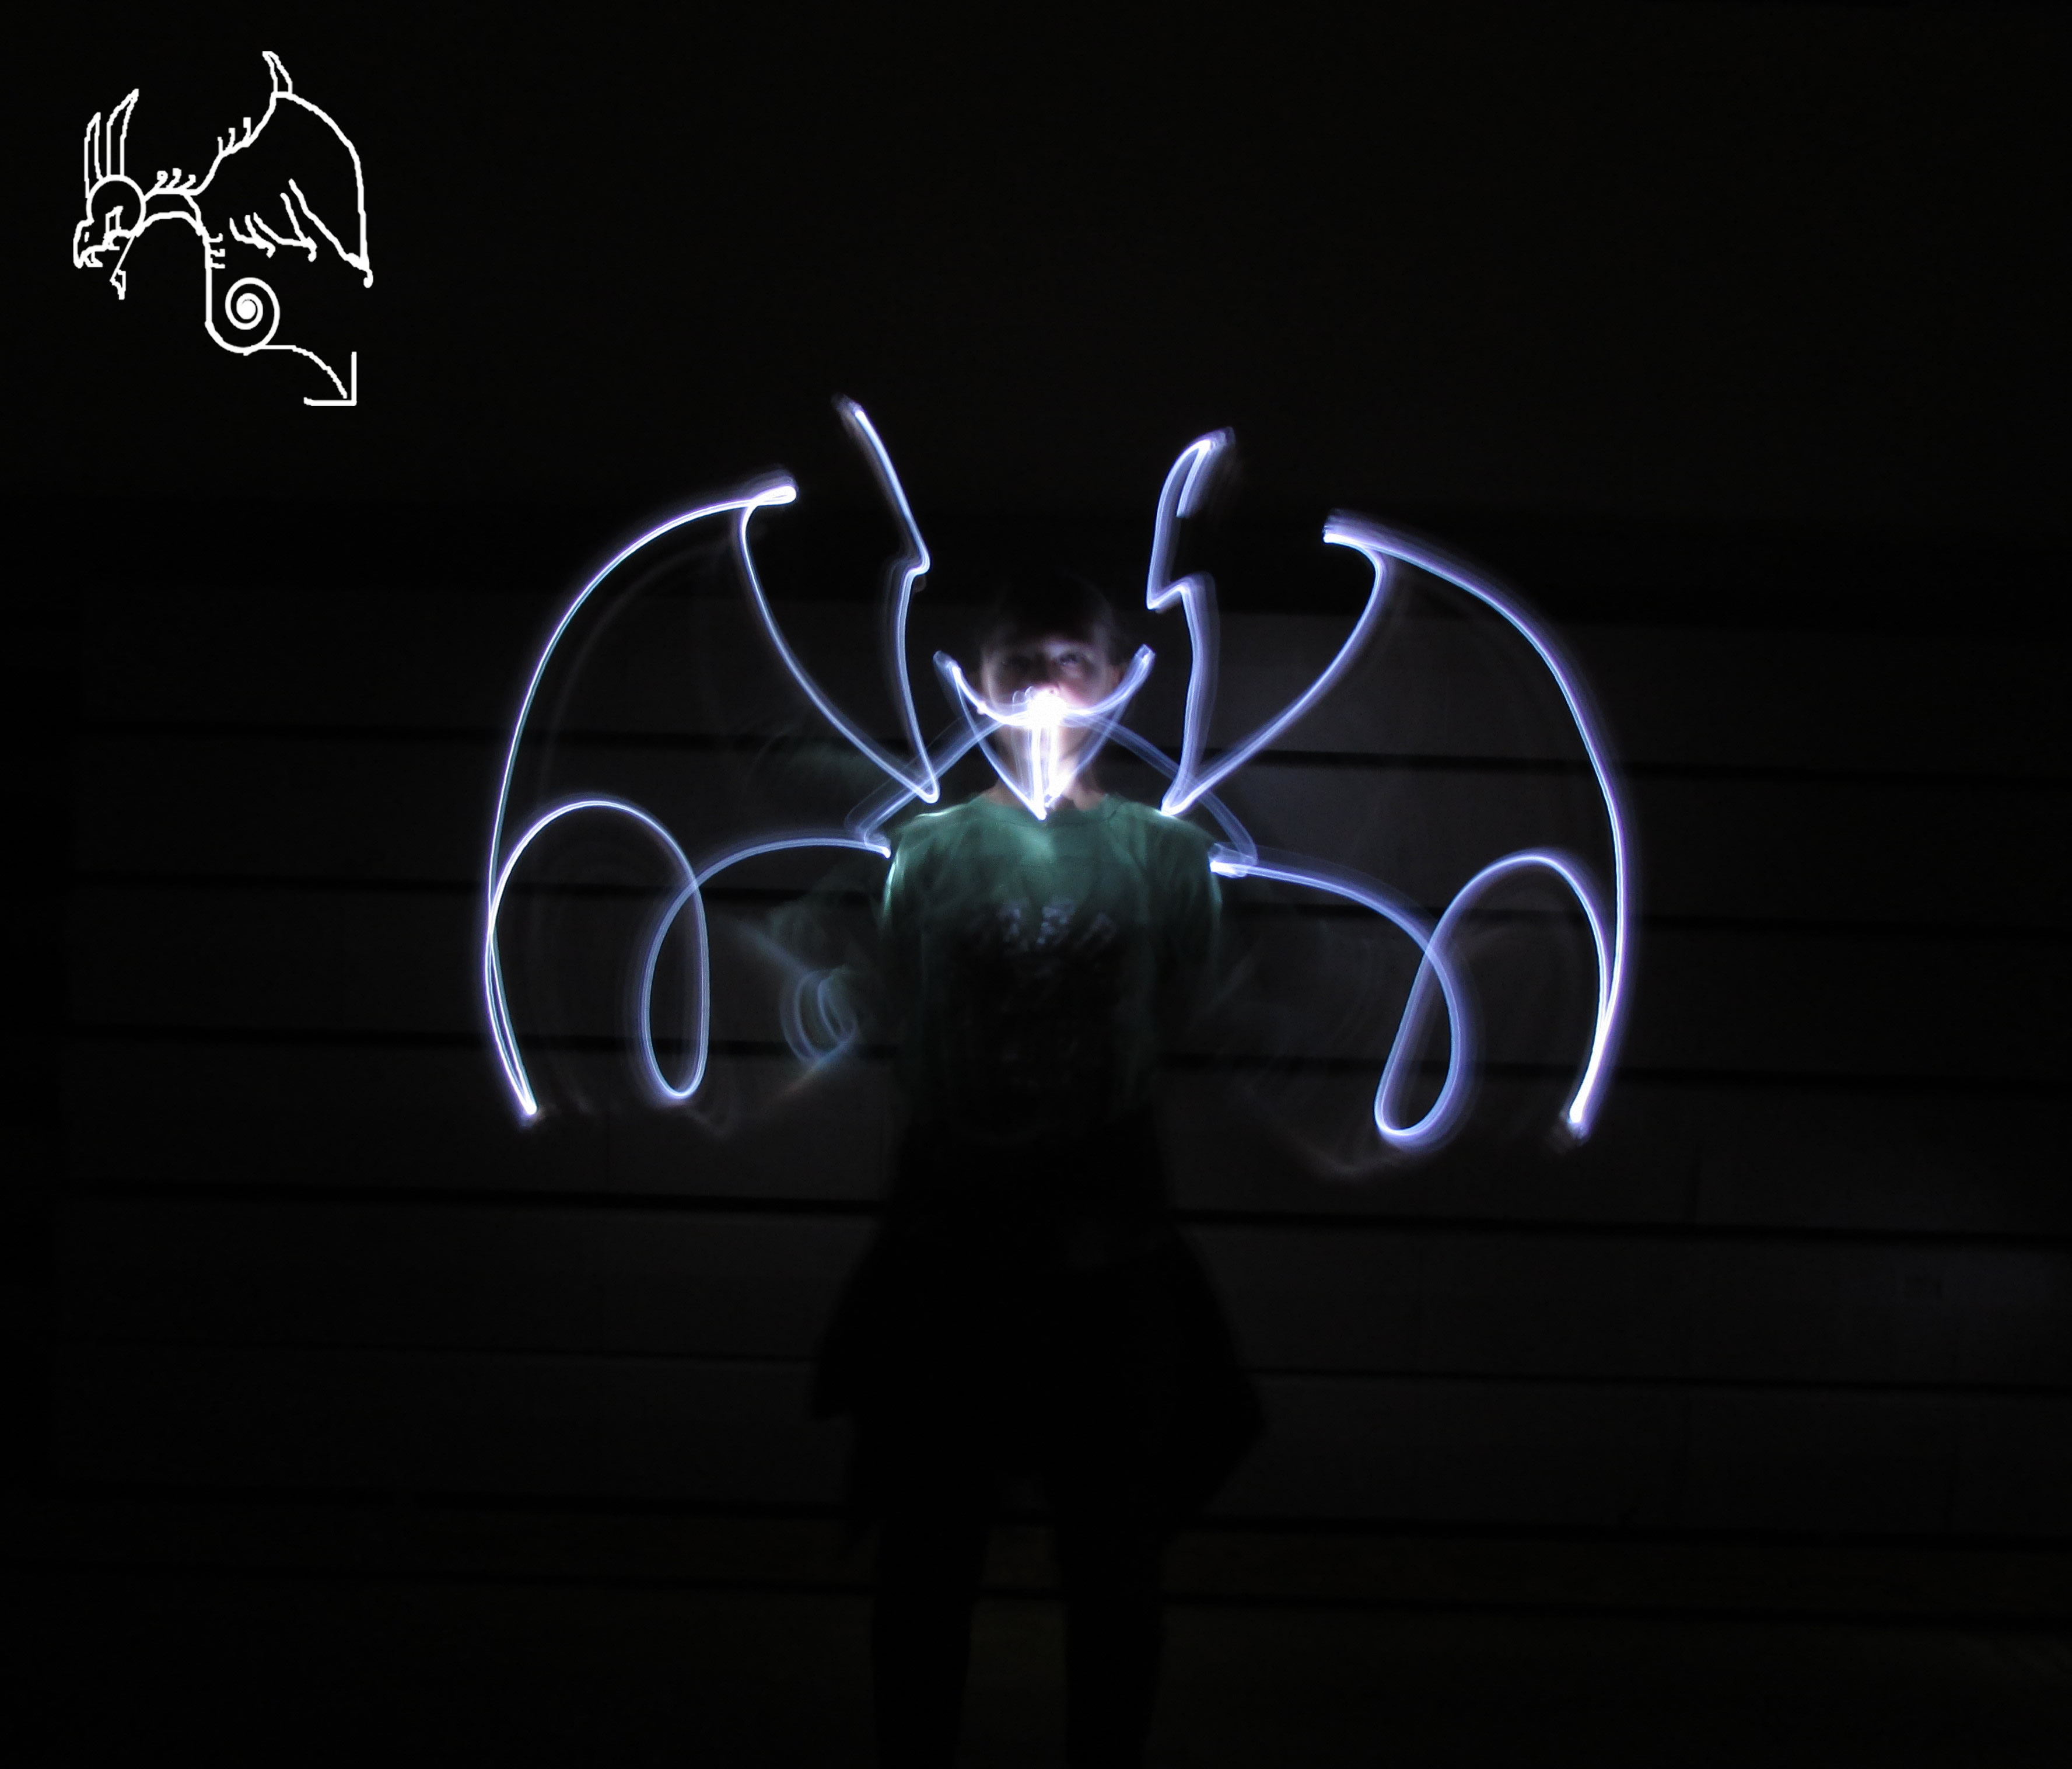
This assignment was one of the funnest and coolest things I’ve ever done in my life. I was amazed the moment I realized drawing with light was possible with my trusty camera. To take pictures of light graffiti, you’ll need to setup some settings on your camera first. To start off, you’ll need to put the settings of your camera on manual. Then, set your ISO to its lowest value, which in my case is 100. This will make it very sensitive to any light, so make sure your atmosphere is as dark as possible. Next, set up how long you want your camera to be exposed for before taking a picture by choosing the quantity of seconds. After that, draw your way with flashlights, your phone, glow sticks, and more! I got control of the settings very quickly, but there were things that were not so easy. It was difficult to understand for me and my group to know when to start drawing (at the end we concluded that we needed to wait for 2 seconds after we press the camera button to start drawing). Also, since we didn’t know how the light would show itself at the end, most of our photos turned out to be sloppy and sometimes blurry. The next time I try something like this, I’ll probably go outside at night and set up the camera’s shudder speed for as long as possible to create an epic photo with more than one light!                                                                                                                                     -Marie Valouiski
Link over here for the rest of the photos.
Rule of Thirds

Rule of Thirds

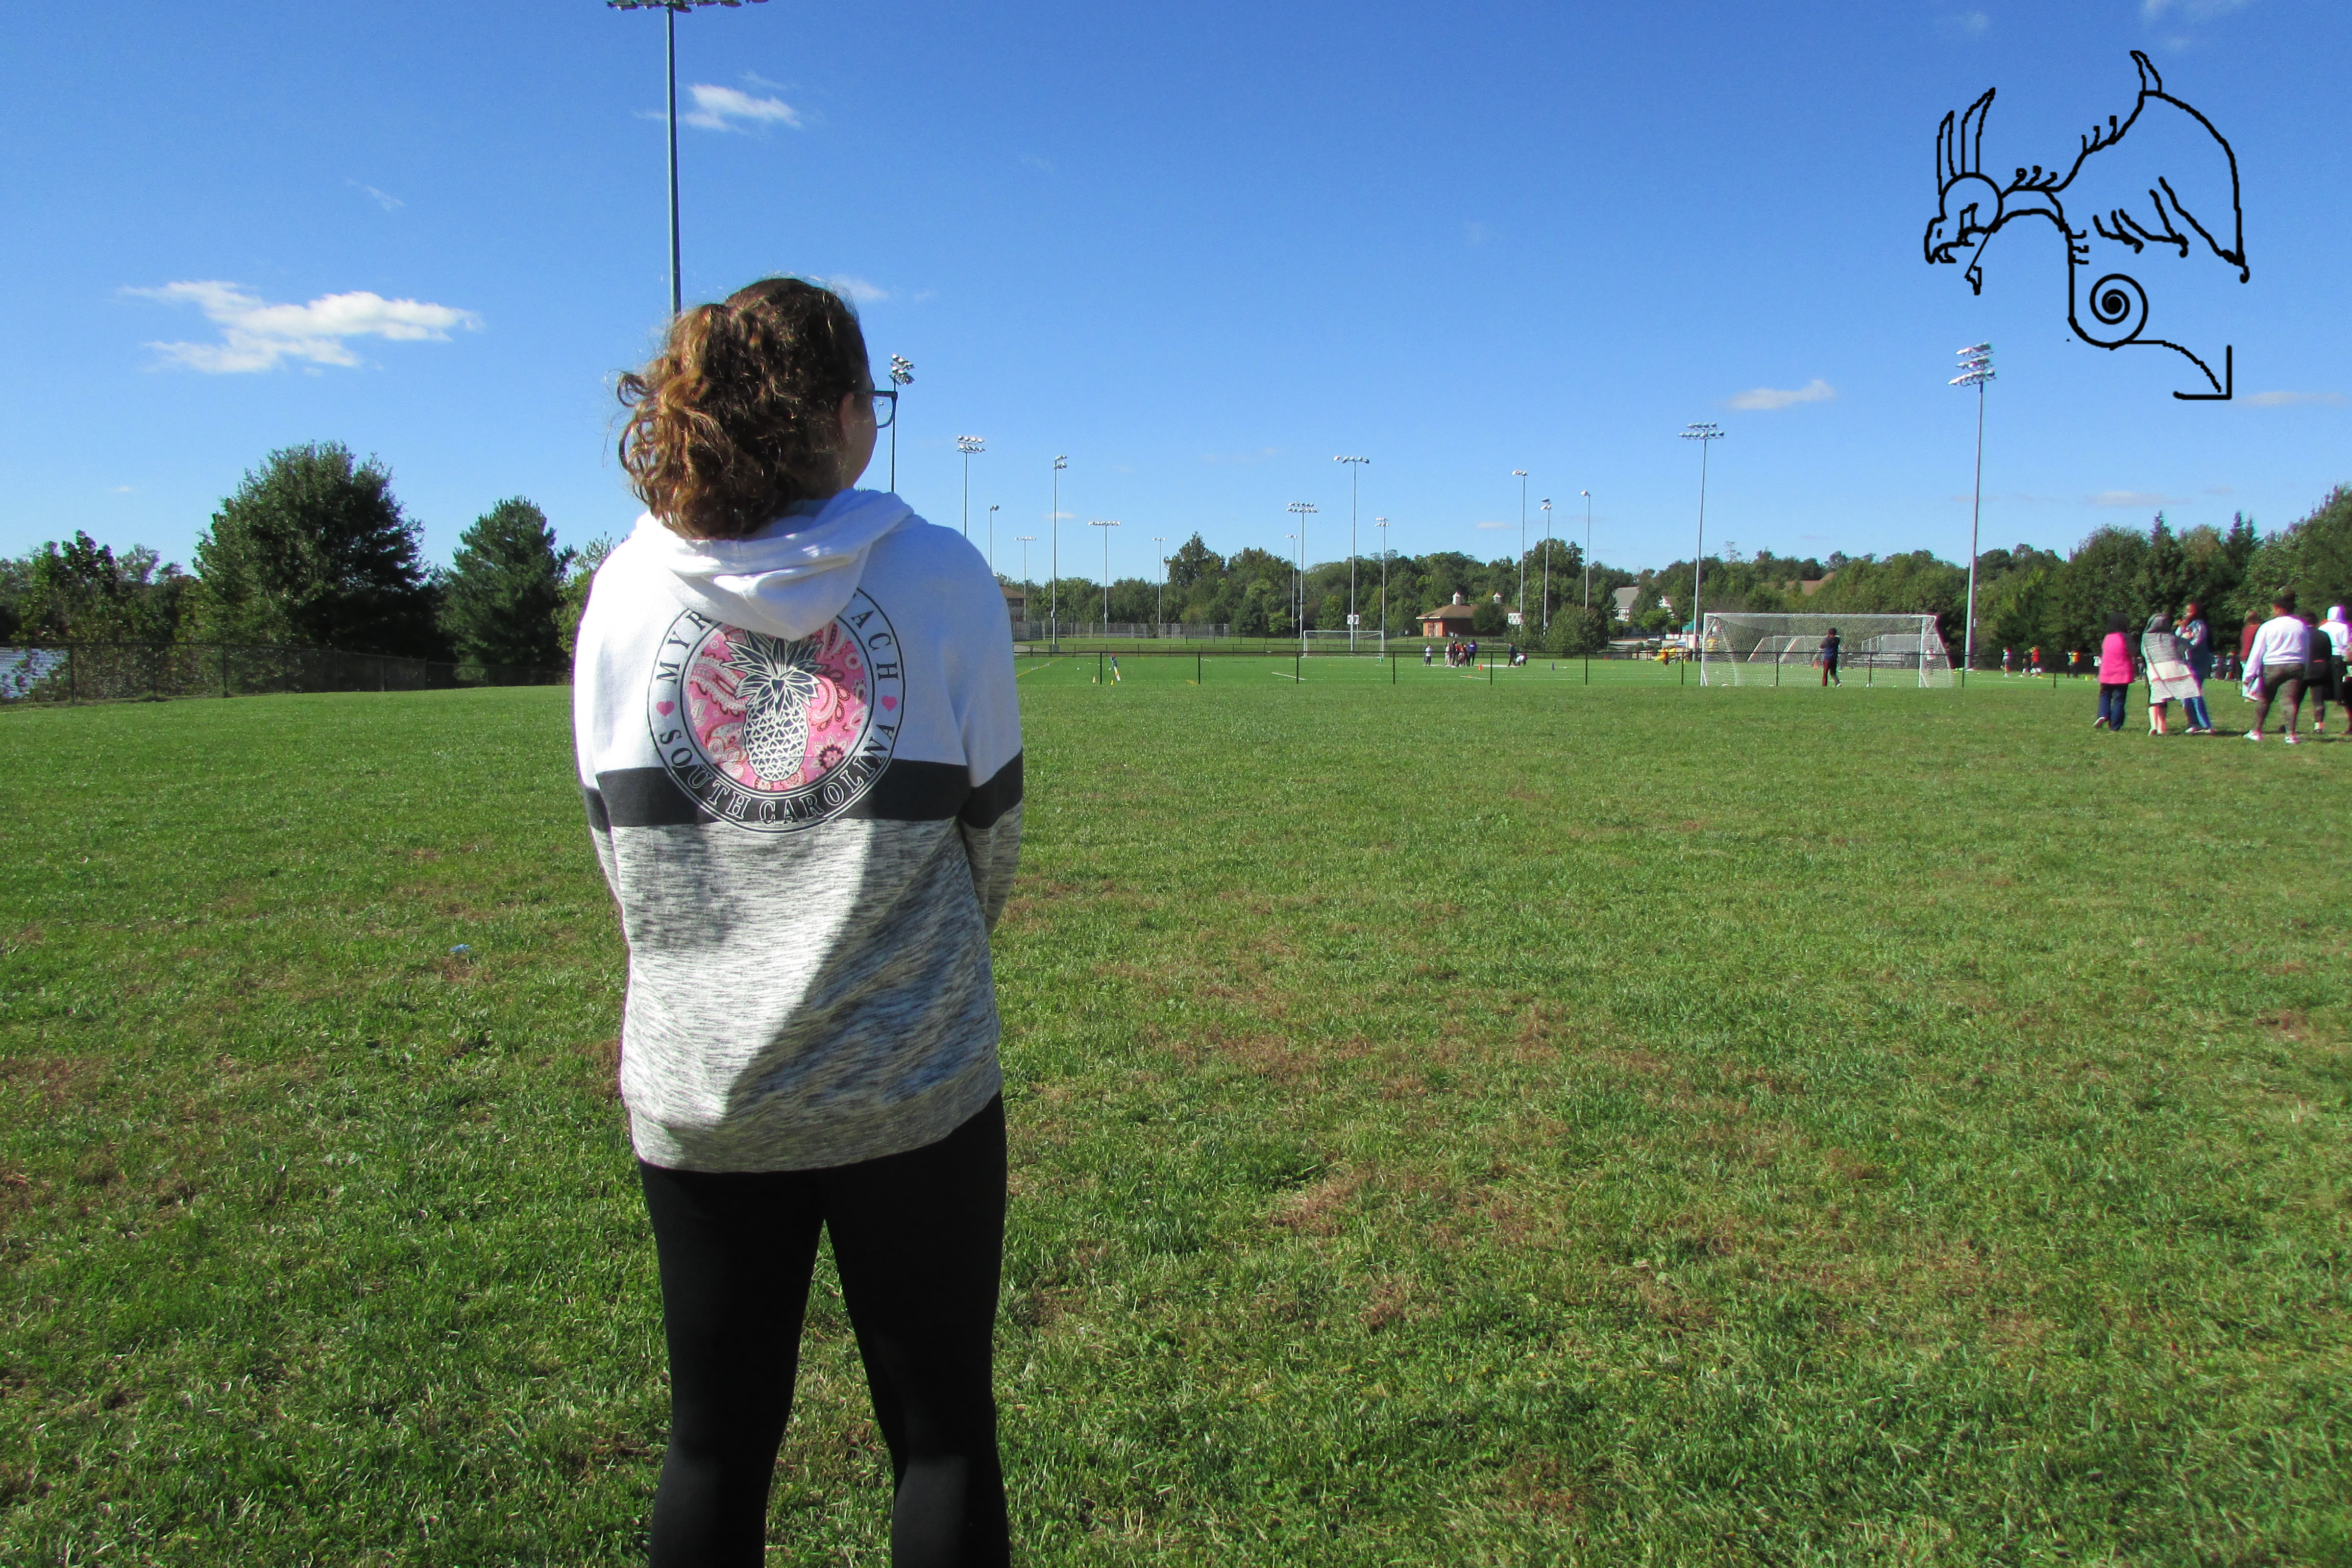
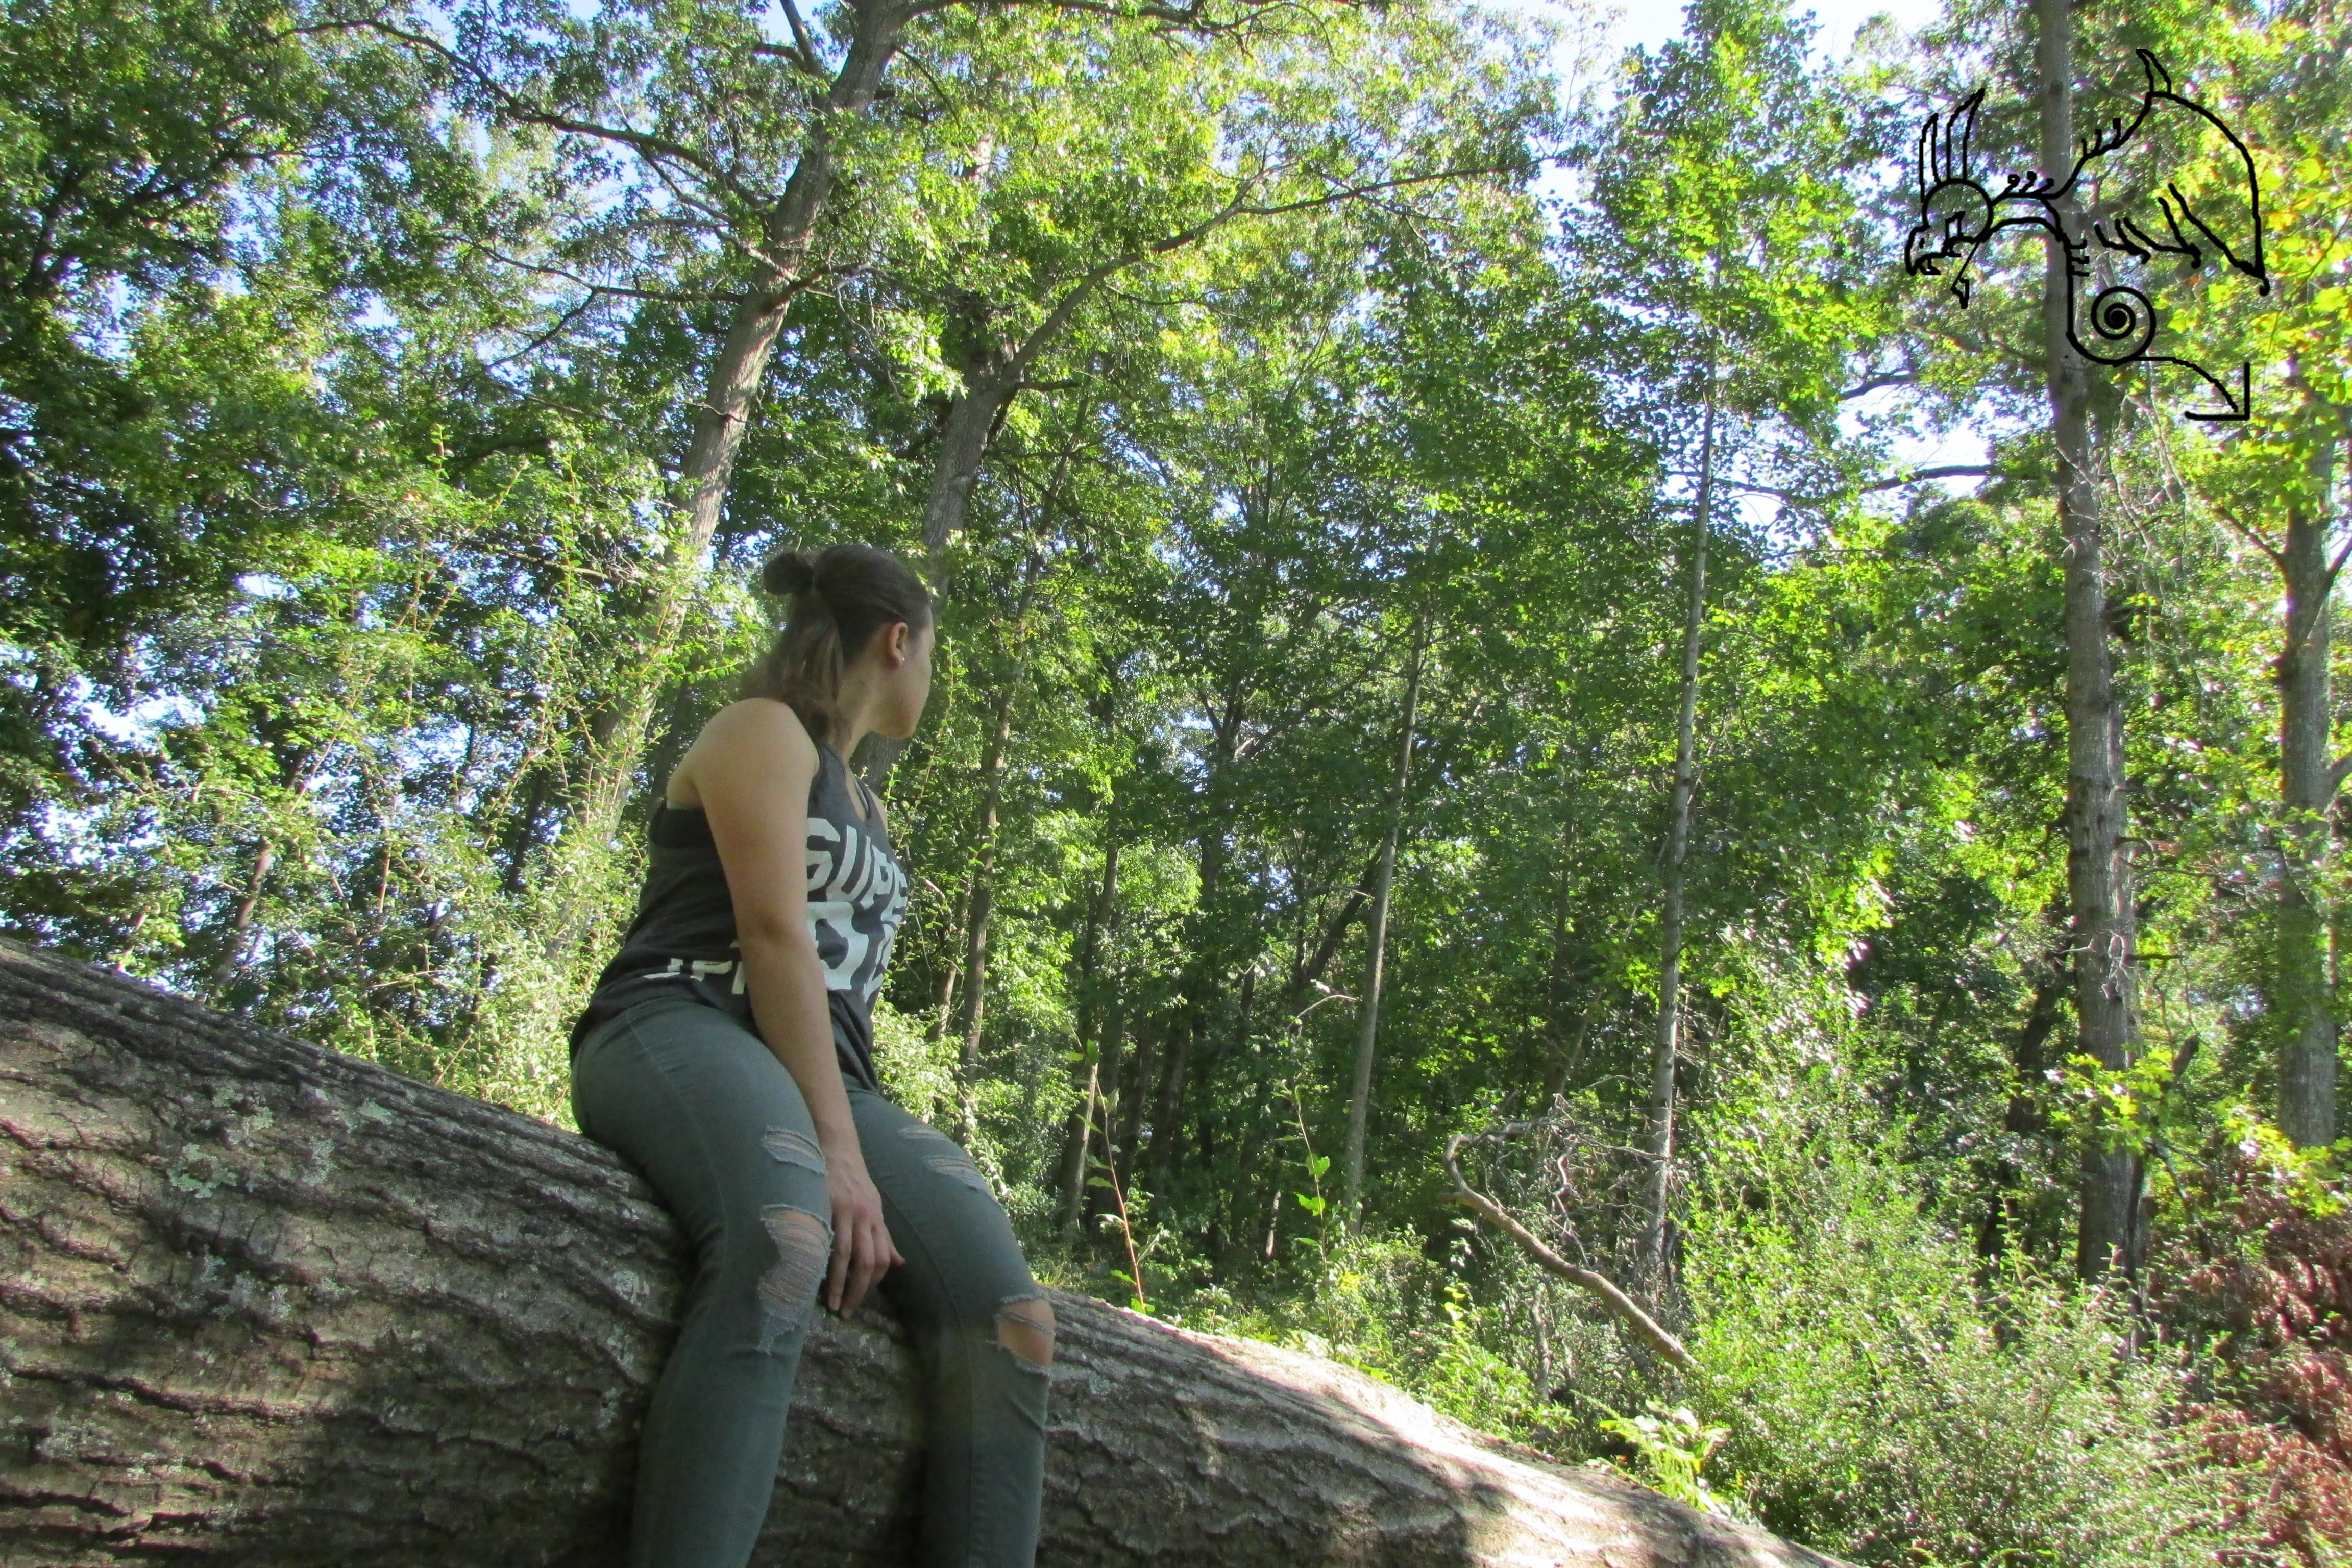
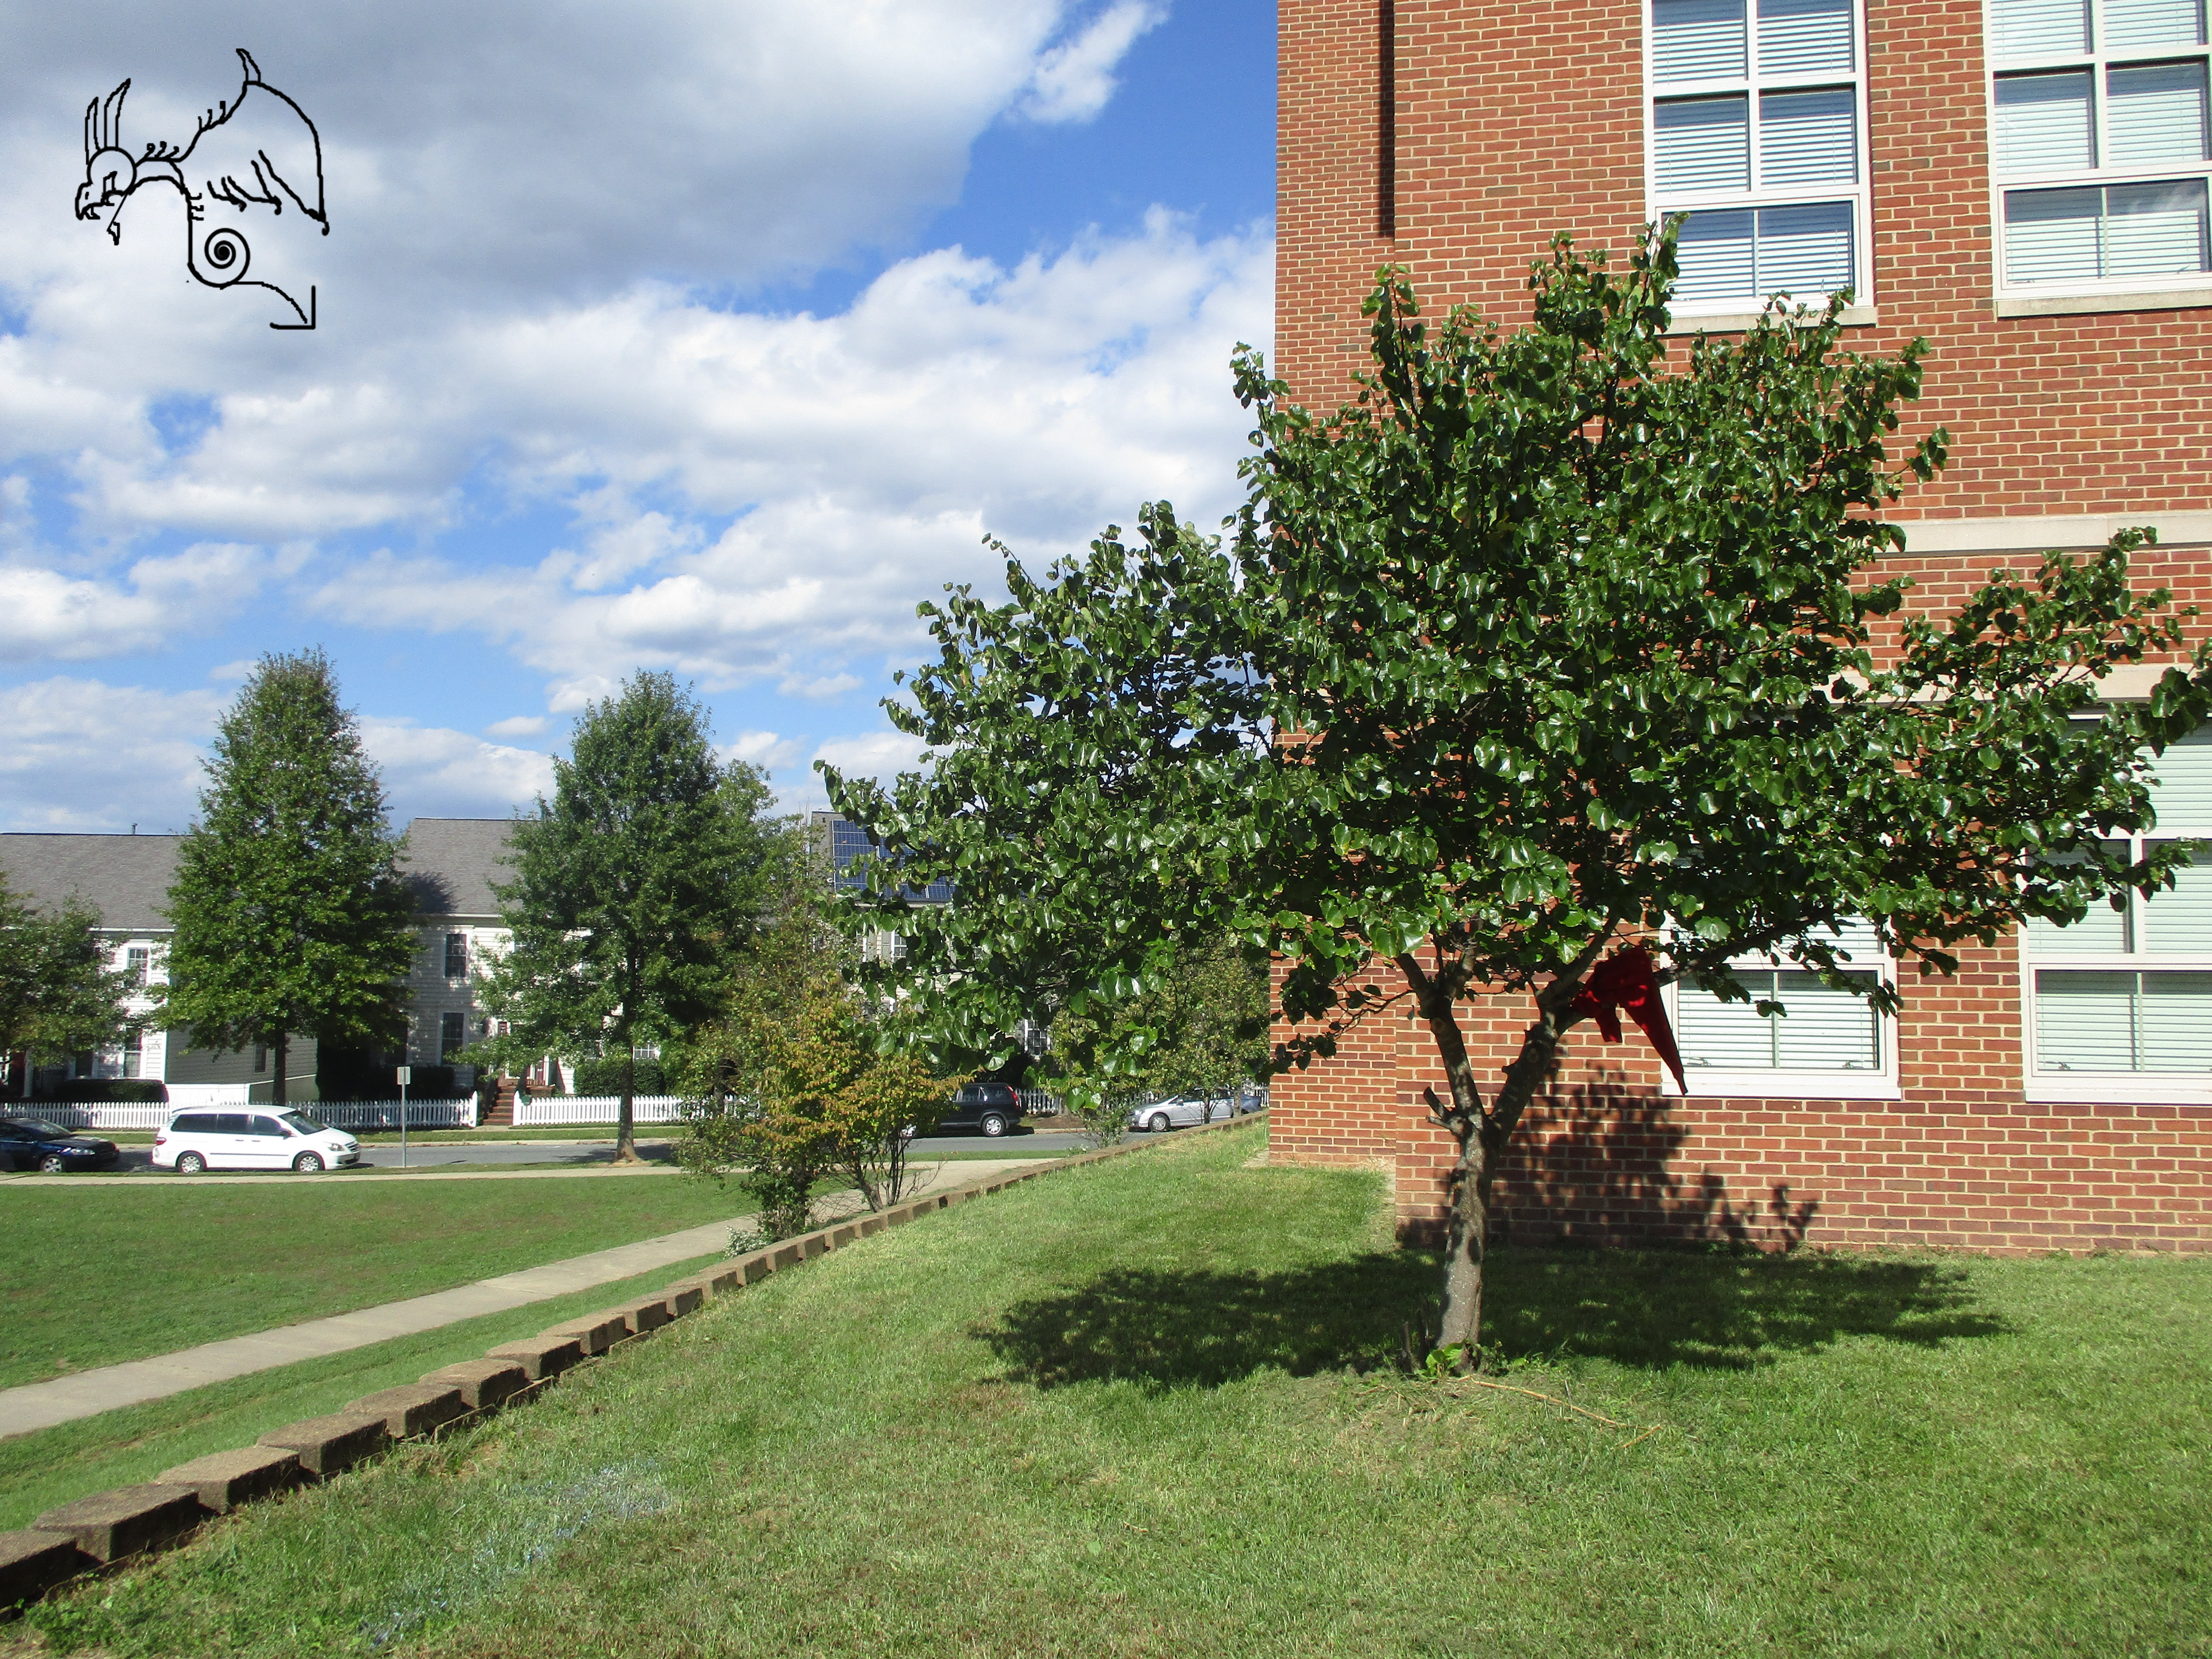
    The Rule of Thirds is an important concept in the photography world. To help practice using the Rule of Thirds, you would need to use/visualize a grid on your camera screen that is divided by three lines going vertically and horizontally. The purpose of this is to put the subject of the photo along those lines so that the viewers’ eyes would involuntarily be drawn to that part. It’s also important to keep in mind that the subject CANNOT be in the very center of the photo. Lastly, during the use of the Rule of Thirds, photographers should be mindful of the background to give the final photo a nice, finishing touch. To put these rules into examples, we can use them to describe how a photo of a person close up would be takes. The photographer may want to put the person’s face on the left side of the center line going vertically. He/she might then put the person’s eyes along the center of the line going horizontally. For the background, there might be a brick wall, but it isn’t completely against the wall and the photo is taken from a little bit of distance from it. This would add depth to the photo and make it more interesting. I quickly picked up the pattern and use of the effect, but it got much easier towards the end.  In my experience, it was easy to imply the Rule of Thirds to my photos, sense my camera provides a Rule of Thirds grid. The challenging part was finding objects with an interesting background to take a picture of. I am excited to use this technique for my photos in the future.                                                                                                                                               -Marie Valouiski

Link for photos.

Portrait with Black Background

Portrait with Black Background

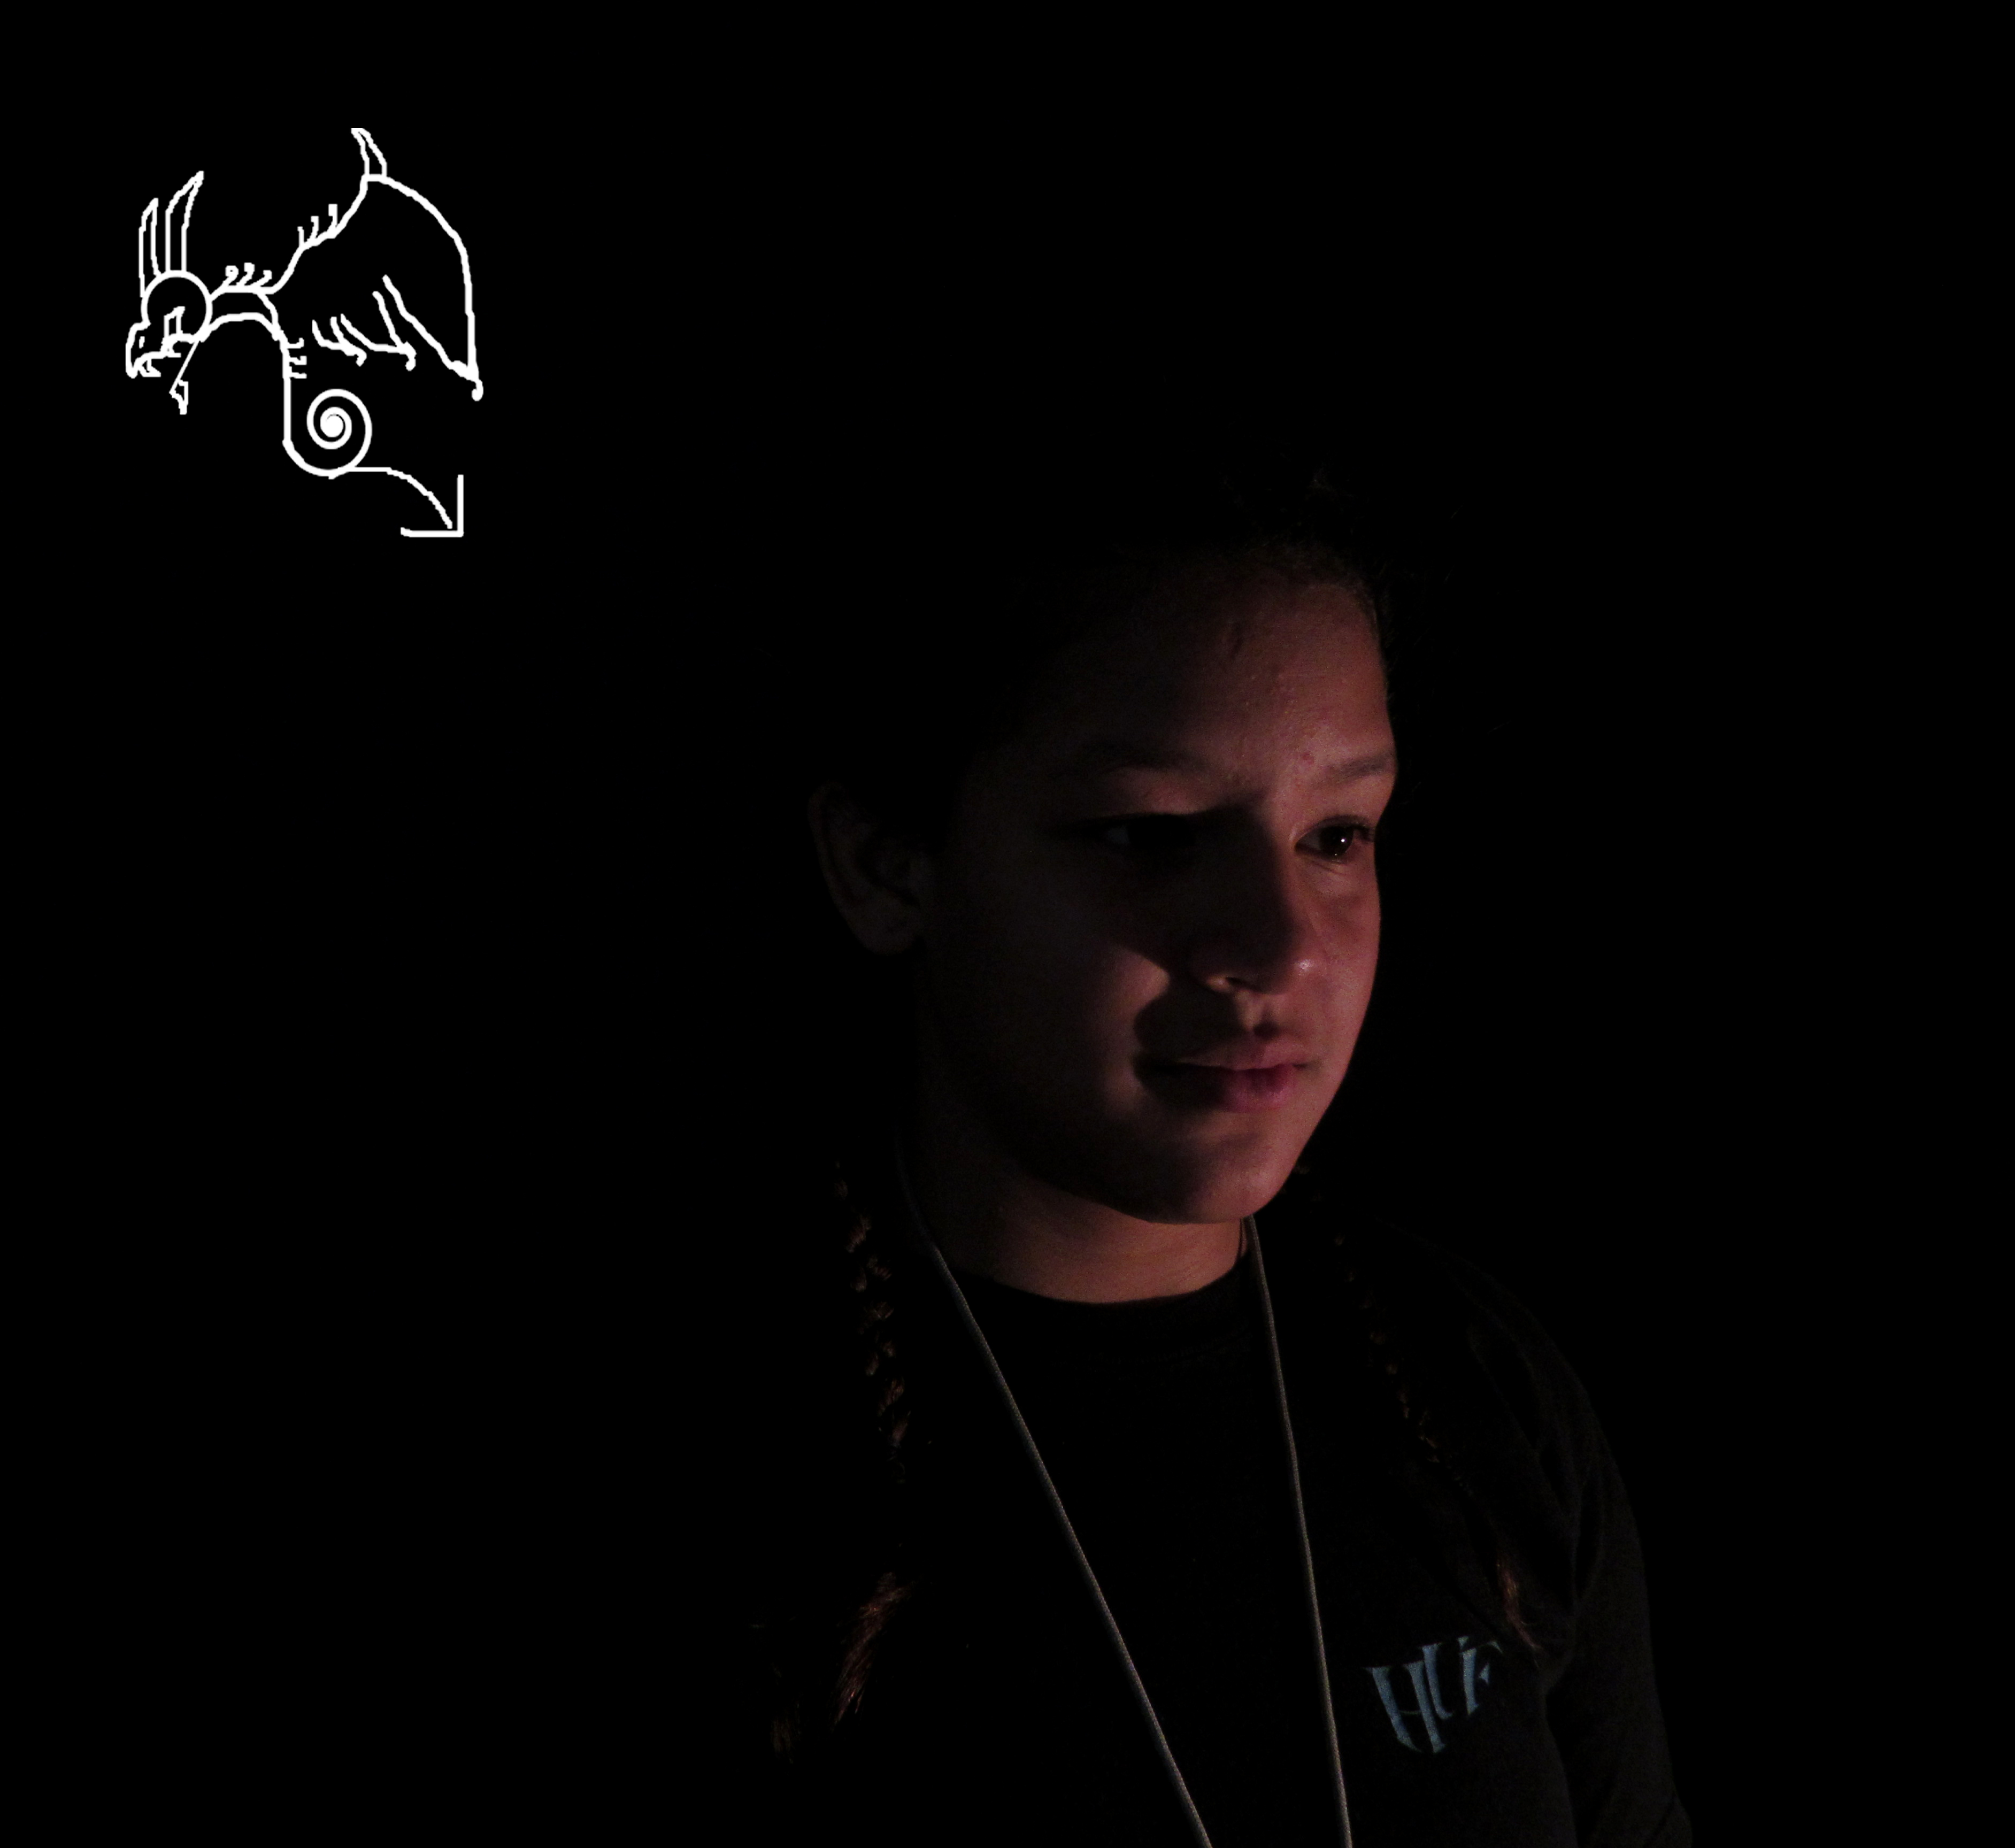
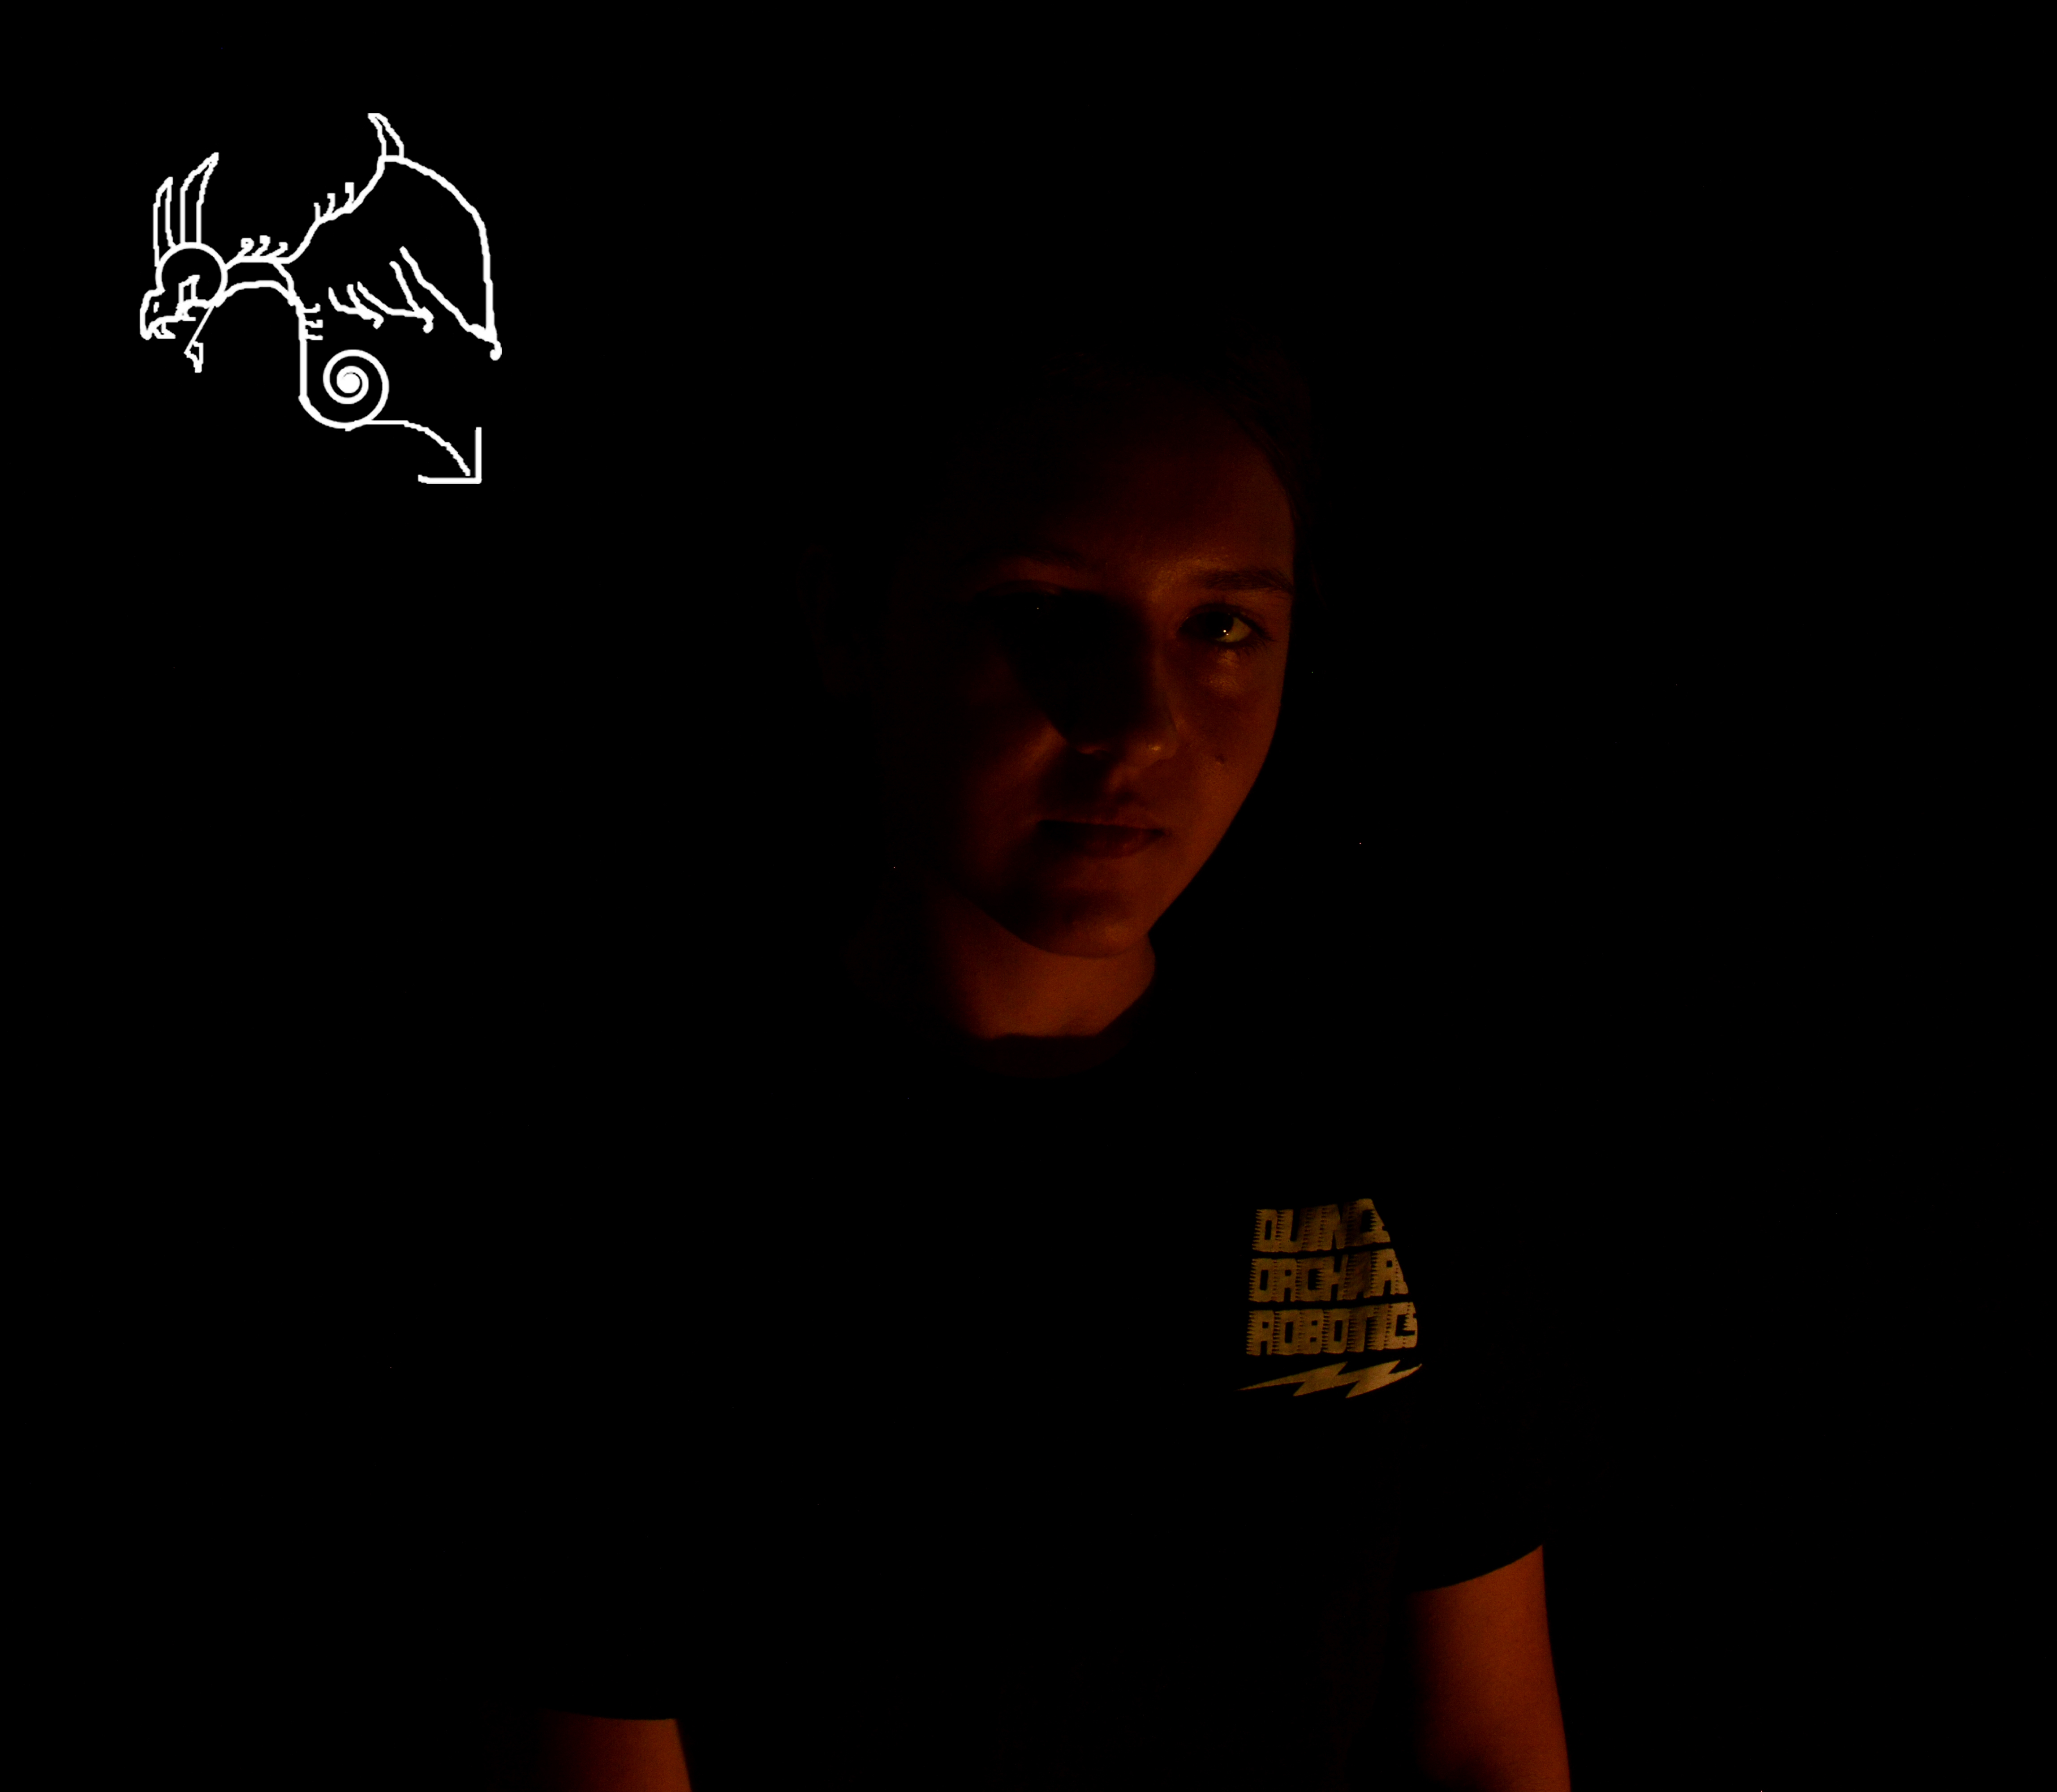
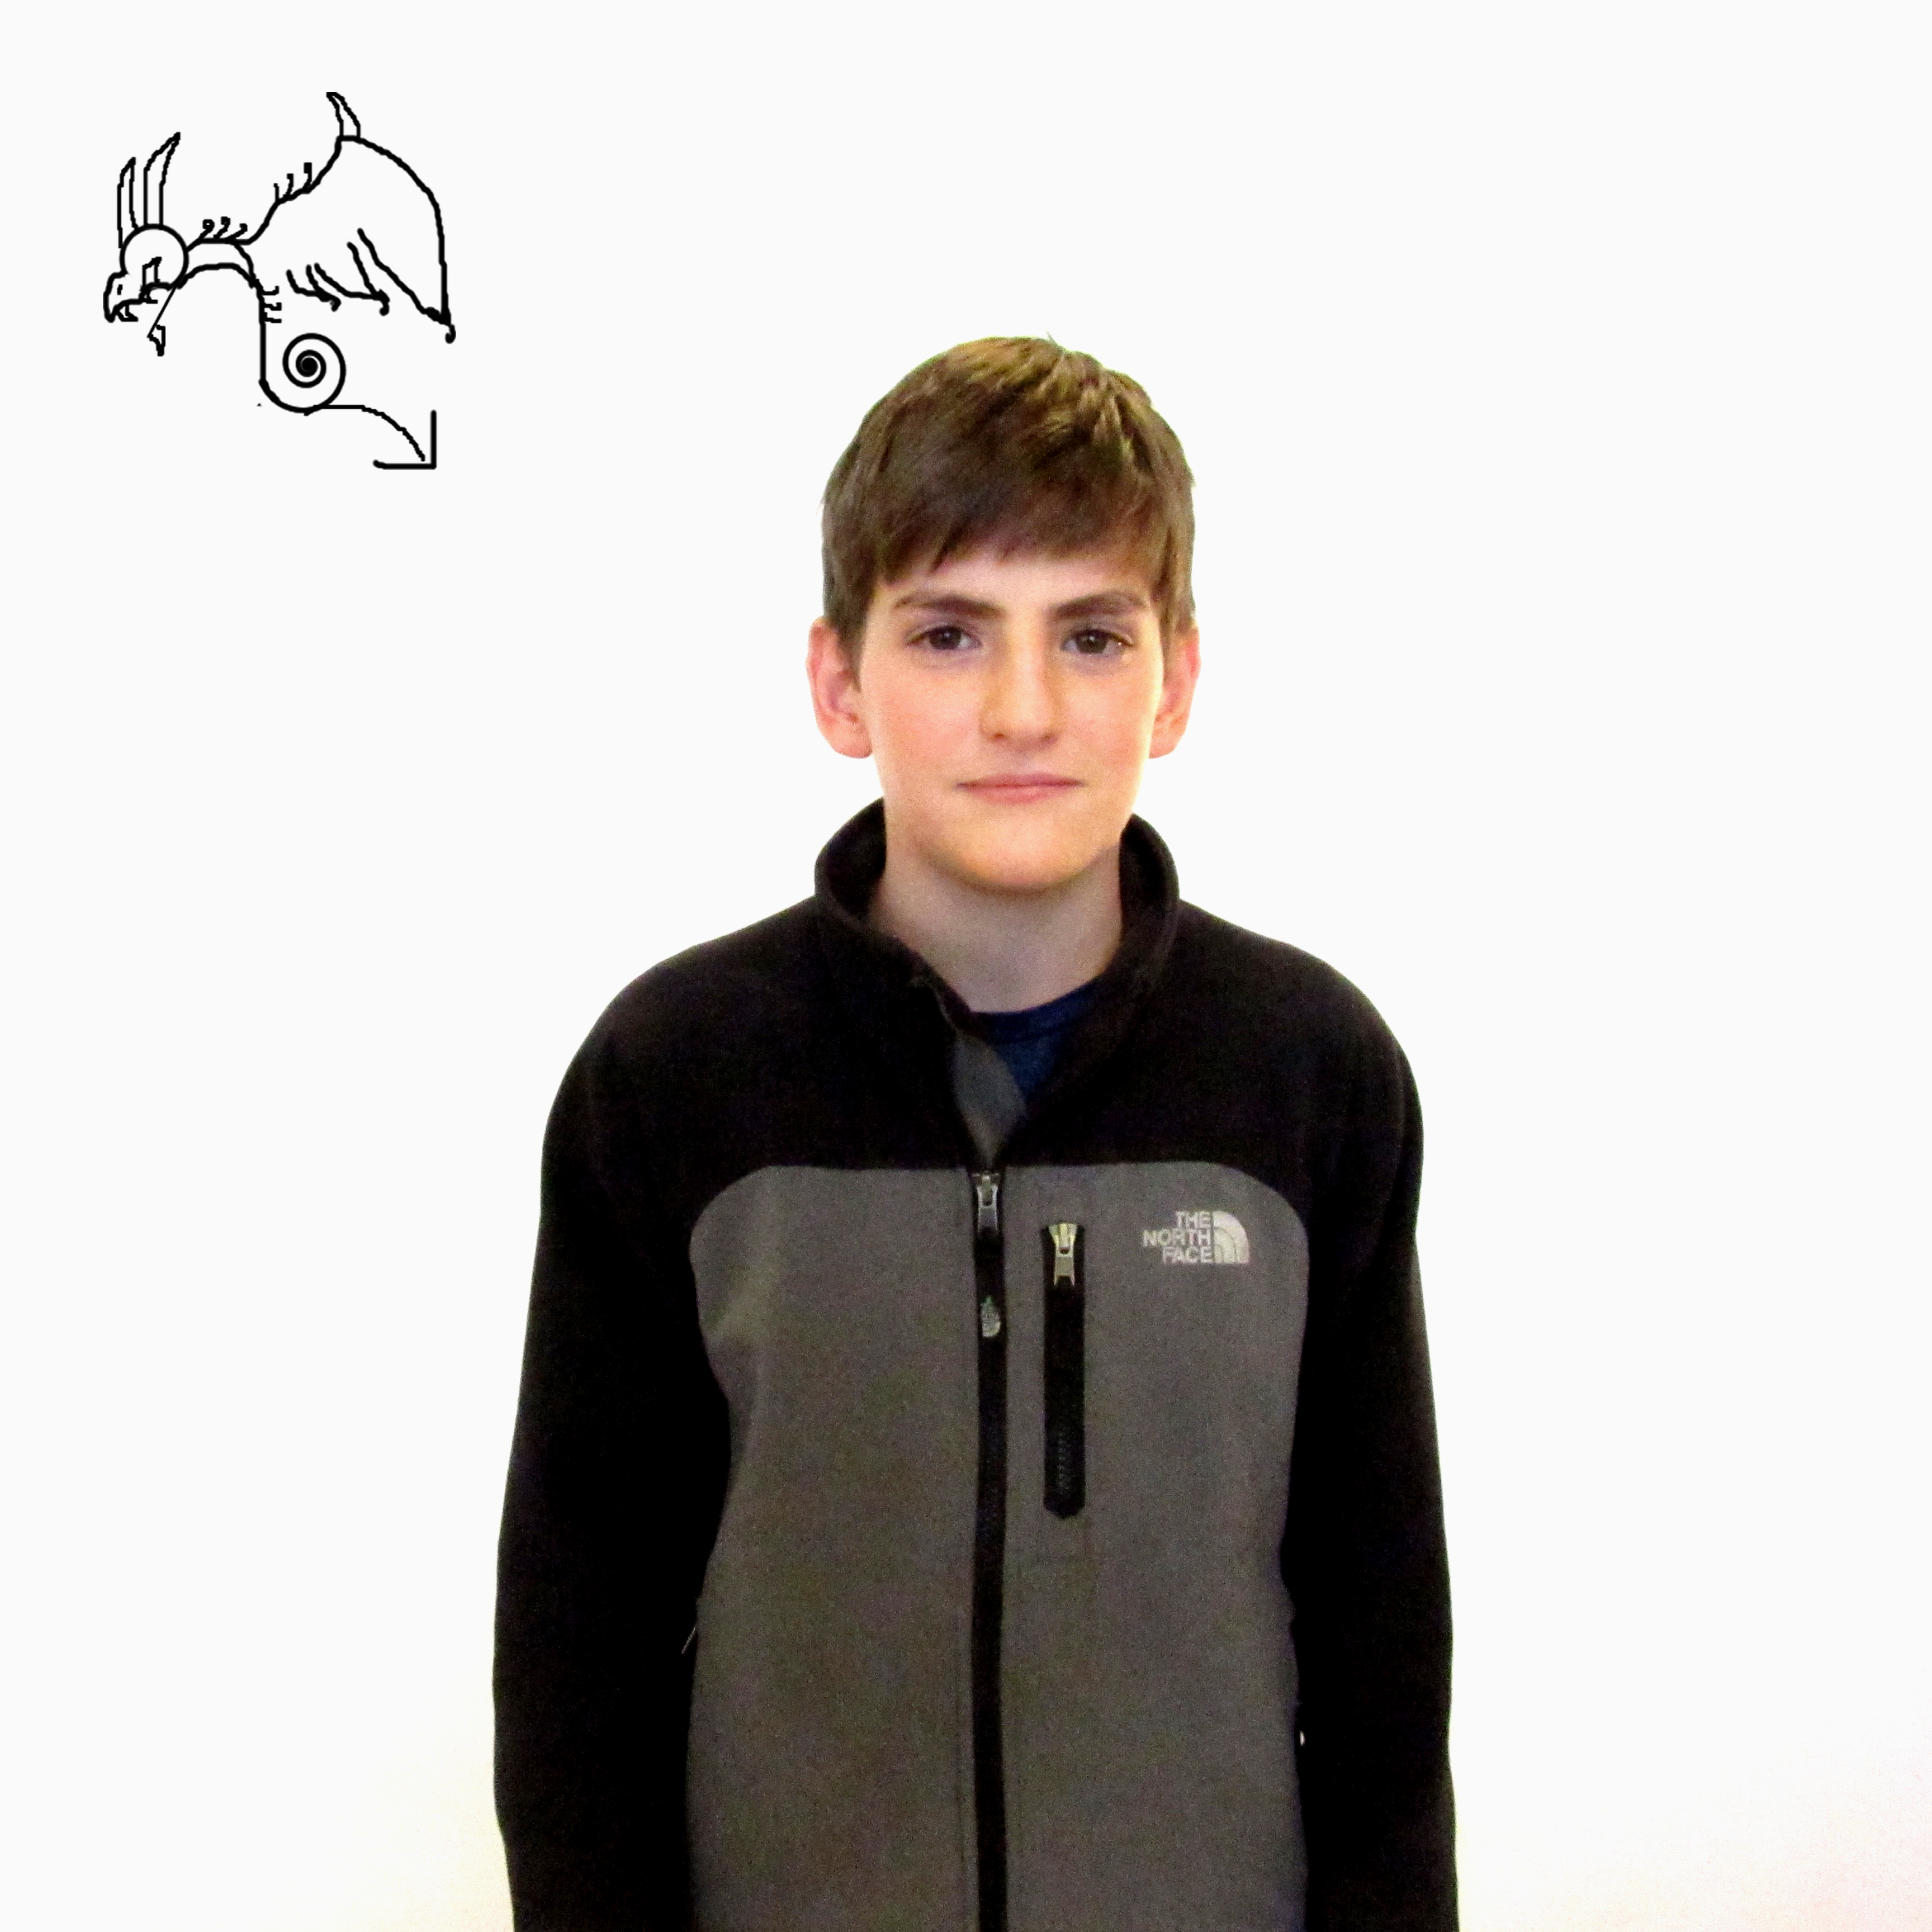
This is my second part of making portraits with an infinite background. It is just like making the portraits with the white background, except you’re using a black background. To capture the dark essence, we had to take a picture with as little light as possible and edit the photos using Photoshop. We also repeated the steps to take a good picture, using the manual setting and bring in a small, perfect amount of lighting using ISO and shutter speed. To edit the photos in Photoshop, instead of editing like we did with the white backgrounds, we had to make the background darker and the figure lighter. We also cropped out some shadows and things outside of the black screen. Our faces are a little too orange and kind of creepy, but the pictures do capture that dark essence and make the photos look infinite. Can’t wait to see what we’ll do next.                                                                                                                                         -Marie Valouiski

Link to photos here.

Portrait with White Background

Portrait with White Background

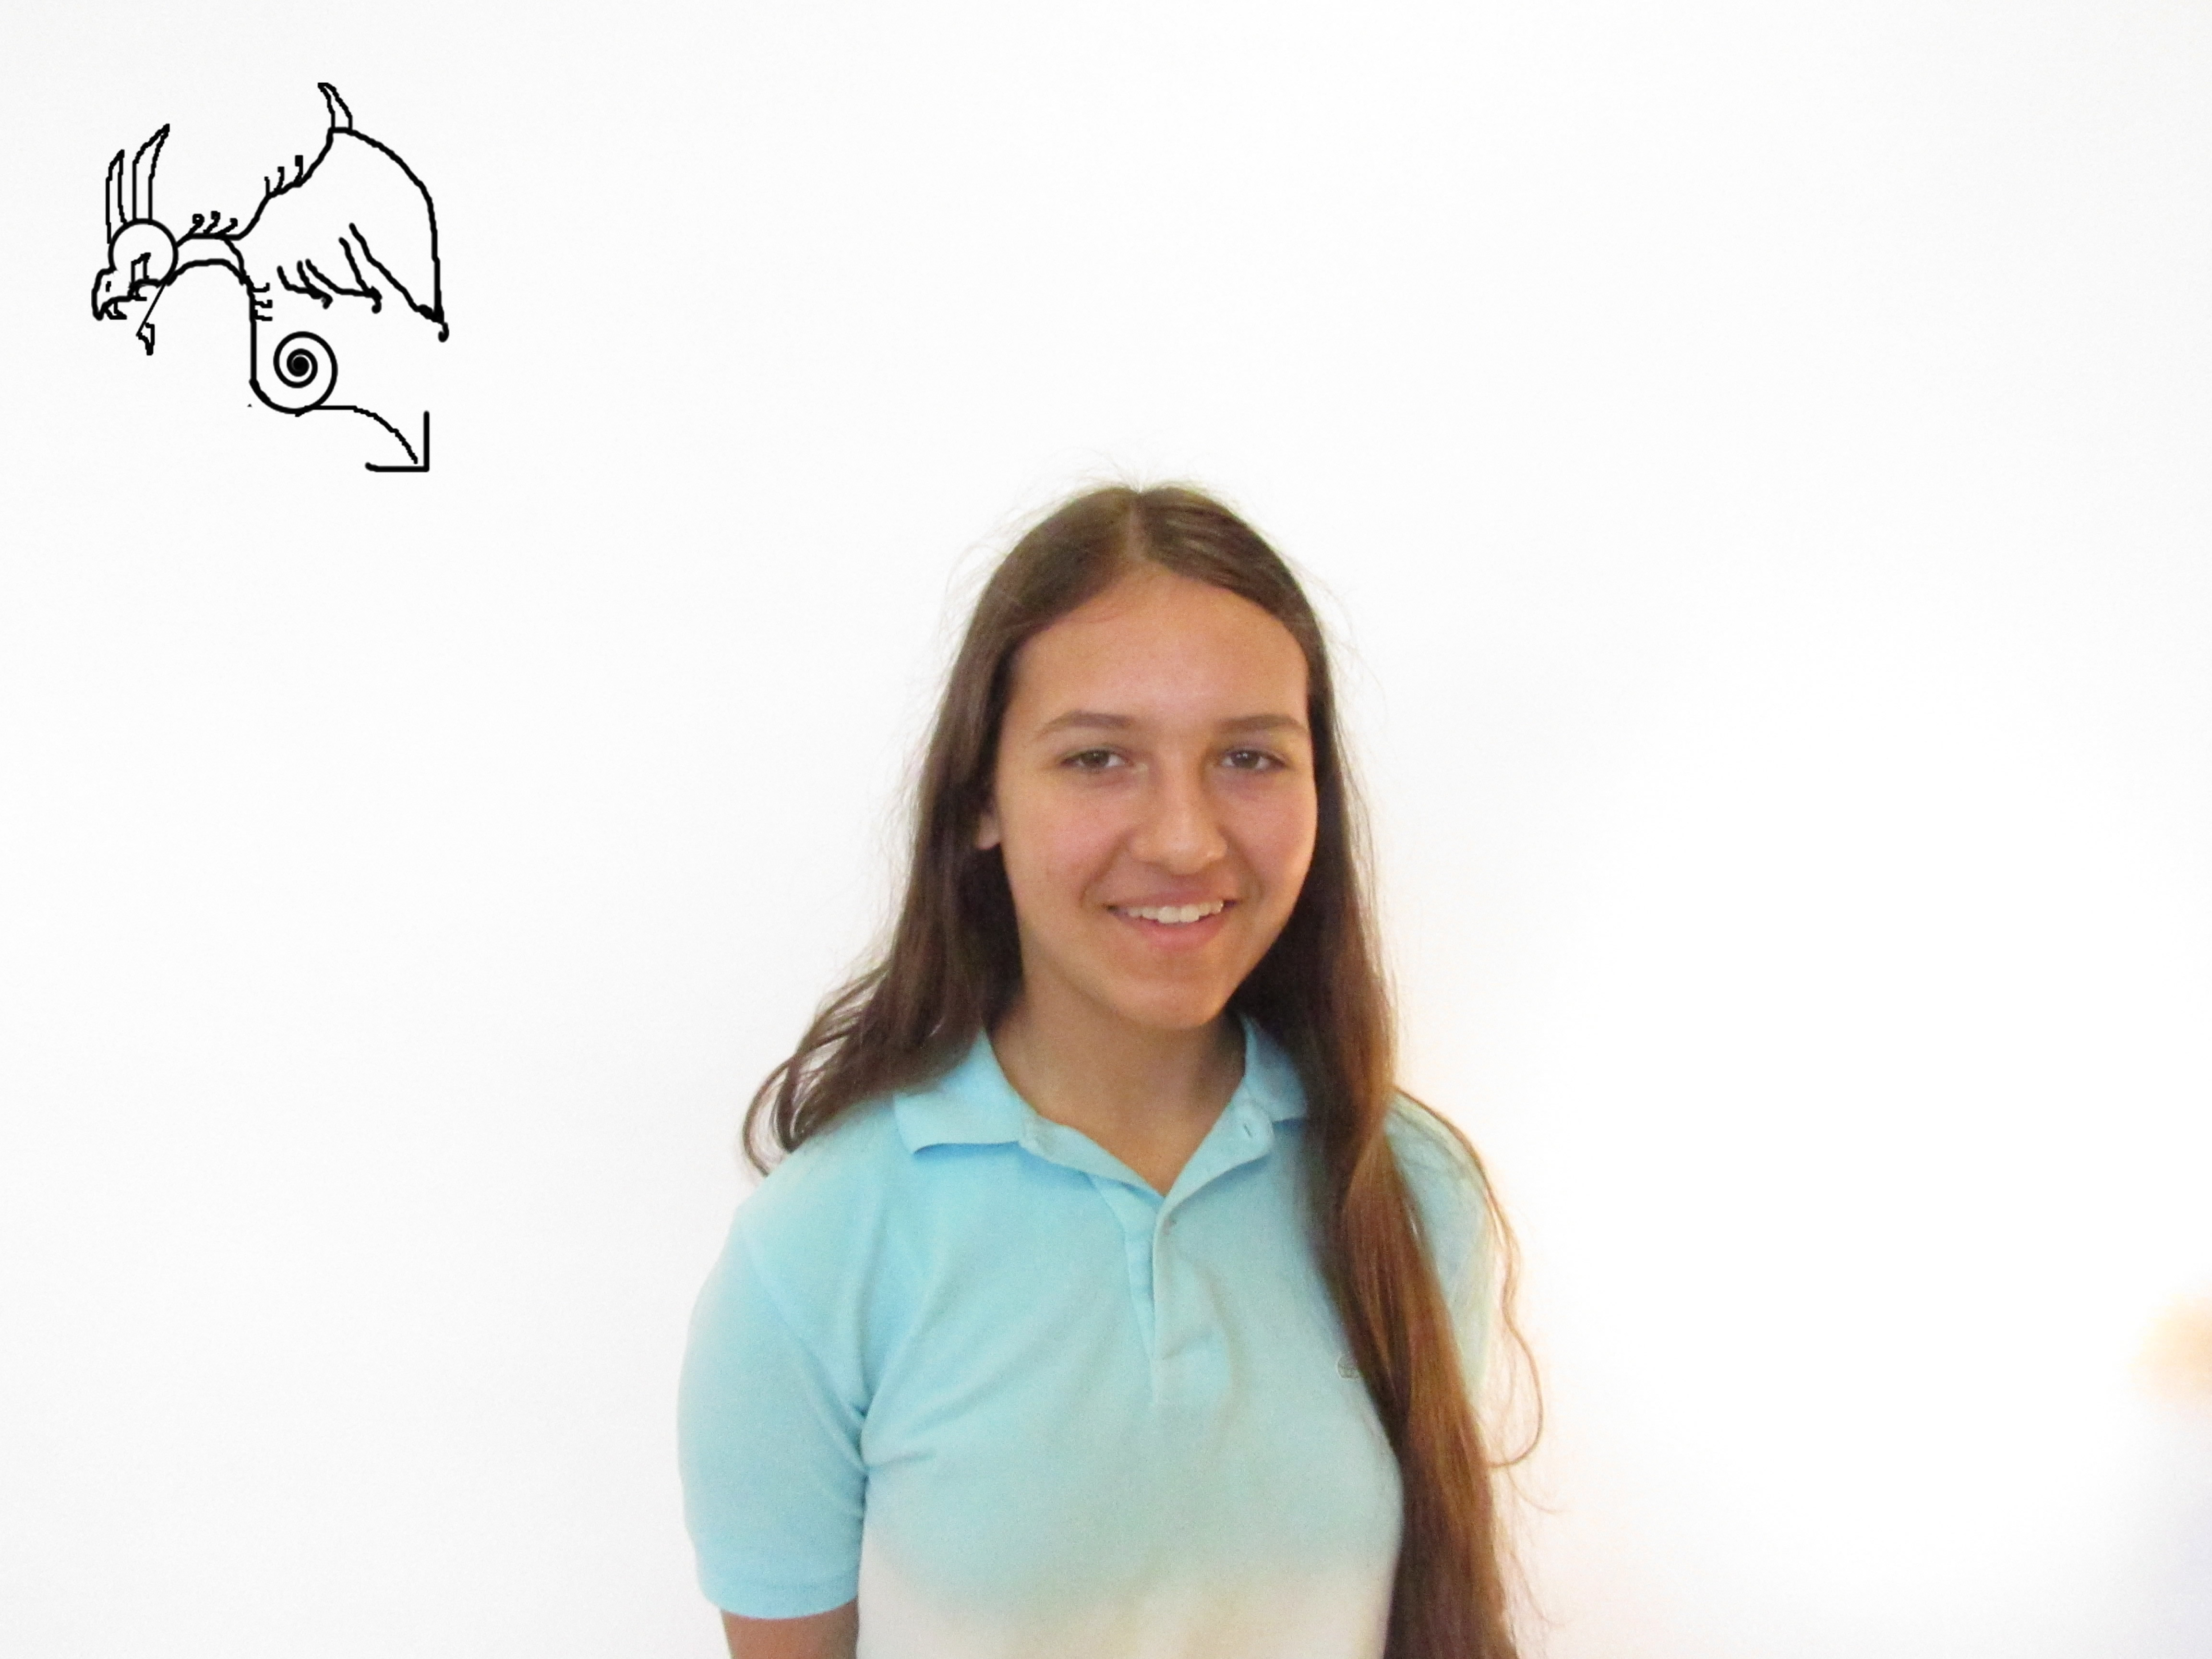
This assignment was pretty unique from the other projects. In this one, we had to take a picture of a person with a white background then edit the photo via photo shop. This makes the background look infinite or like there’s nothing there. To take a picture, we had to use the manual setting and take in the perfect amount of lighting and quality using ISO and shutter speed. Then we took the photo to photo shop, made the background lighter, the person a little darker, crop out the leftover shadows, and vola. The pictures turned out perfect and it worked really well. It took a while to edit all our photos however, and we needed to fix many mistakes along the way, but it’s all good now. 

5 Shots

5 Shots

During this assignment, we had to take 5 pictures each of three, unmoved objects. It sounds pretty straight forward and simple, however the purpose of the lesson is for each photo to be at a different angle and camera position. This means that each photo has to show a different side or view of the object without moving it, but only moving the camera around. The challenging part of the project was to get the camera into a position so I could take a picture of (mostly the back) of the objects. It was very fun and interesting to see how the background, source of lighting, and position influenced each outcome of the photo. My favorite set of photos are the ones with my sister in it because she is the best person in my life. The assignment helped me know how to make pictures more eye-catching and interesting to look at. I really enjoyed this project and can’t wait to see what I’ll have to do next!                                                                                                             -Marie Valouiski

Here’s the link for my photos.