Light Graffiti

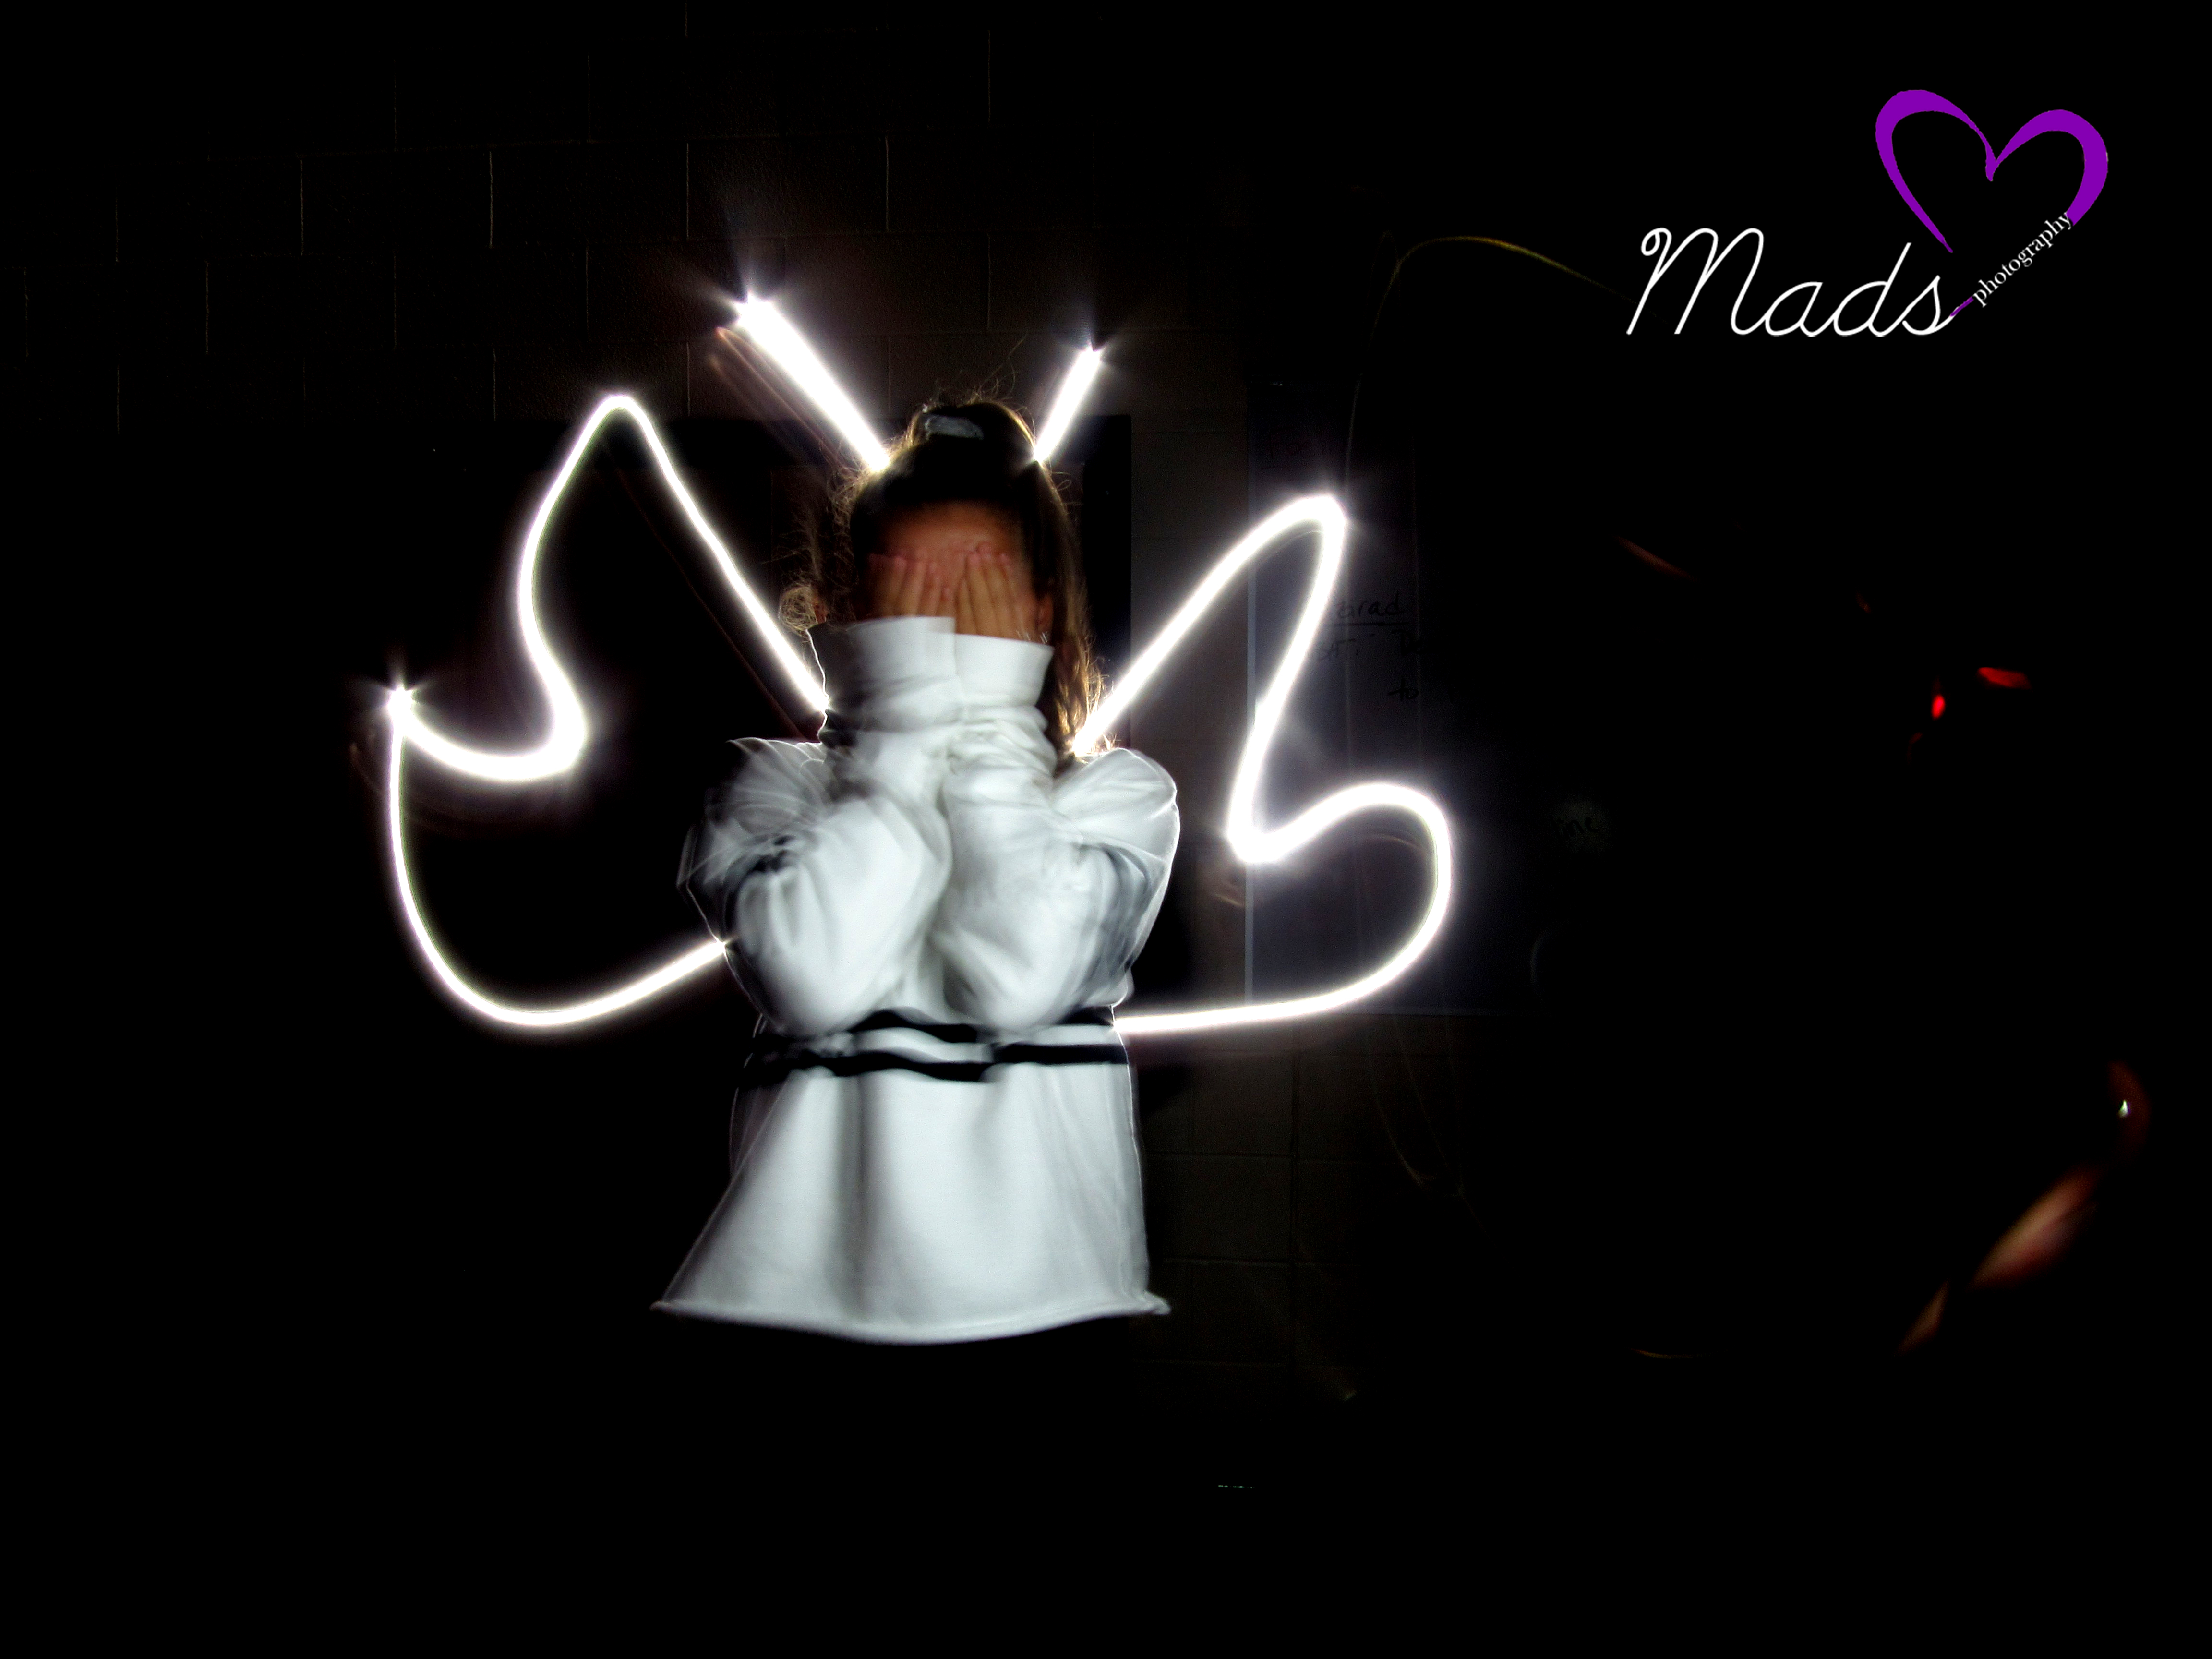
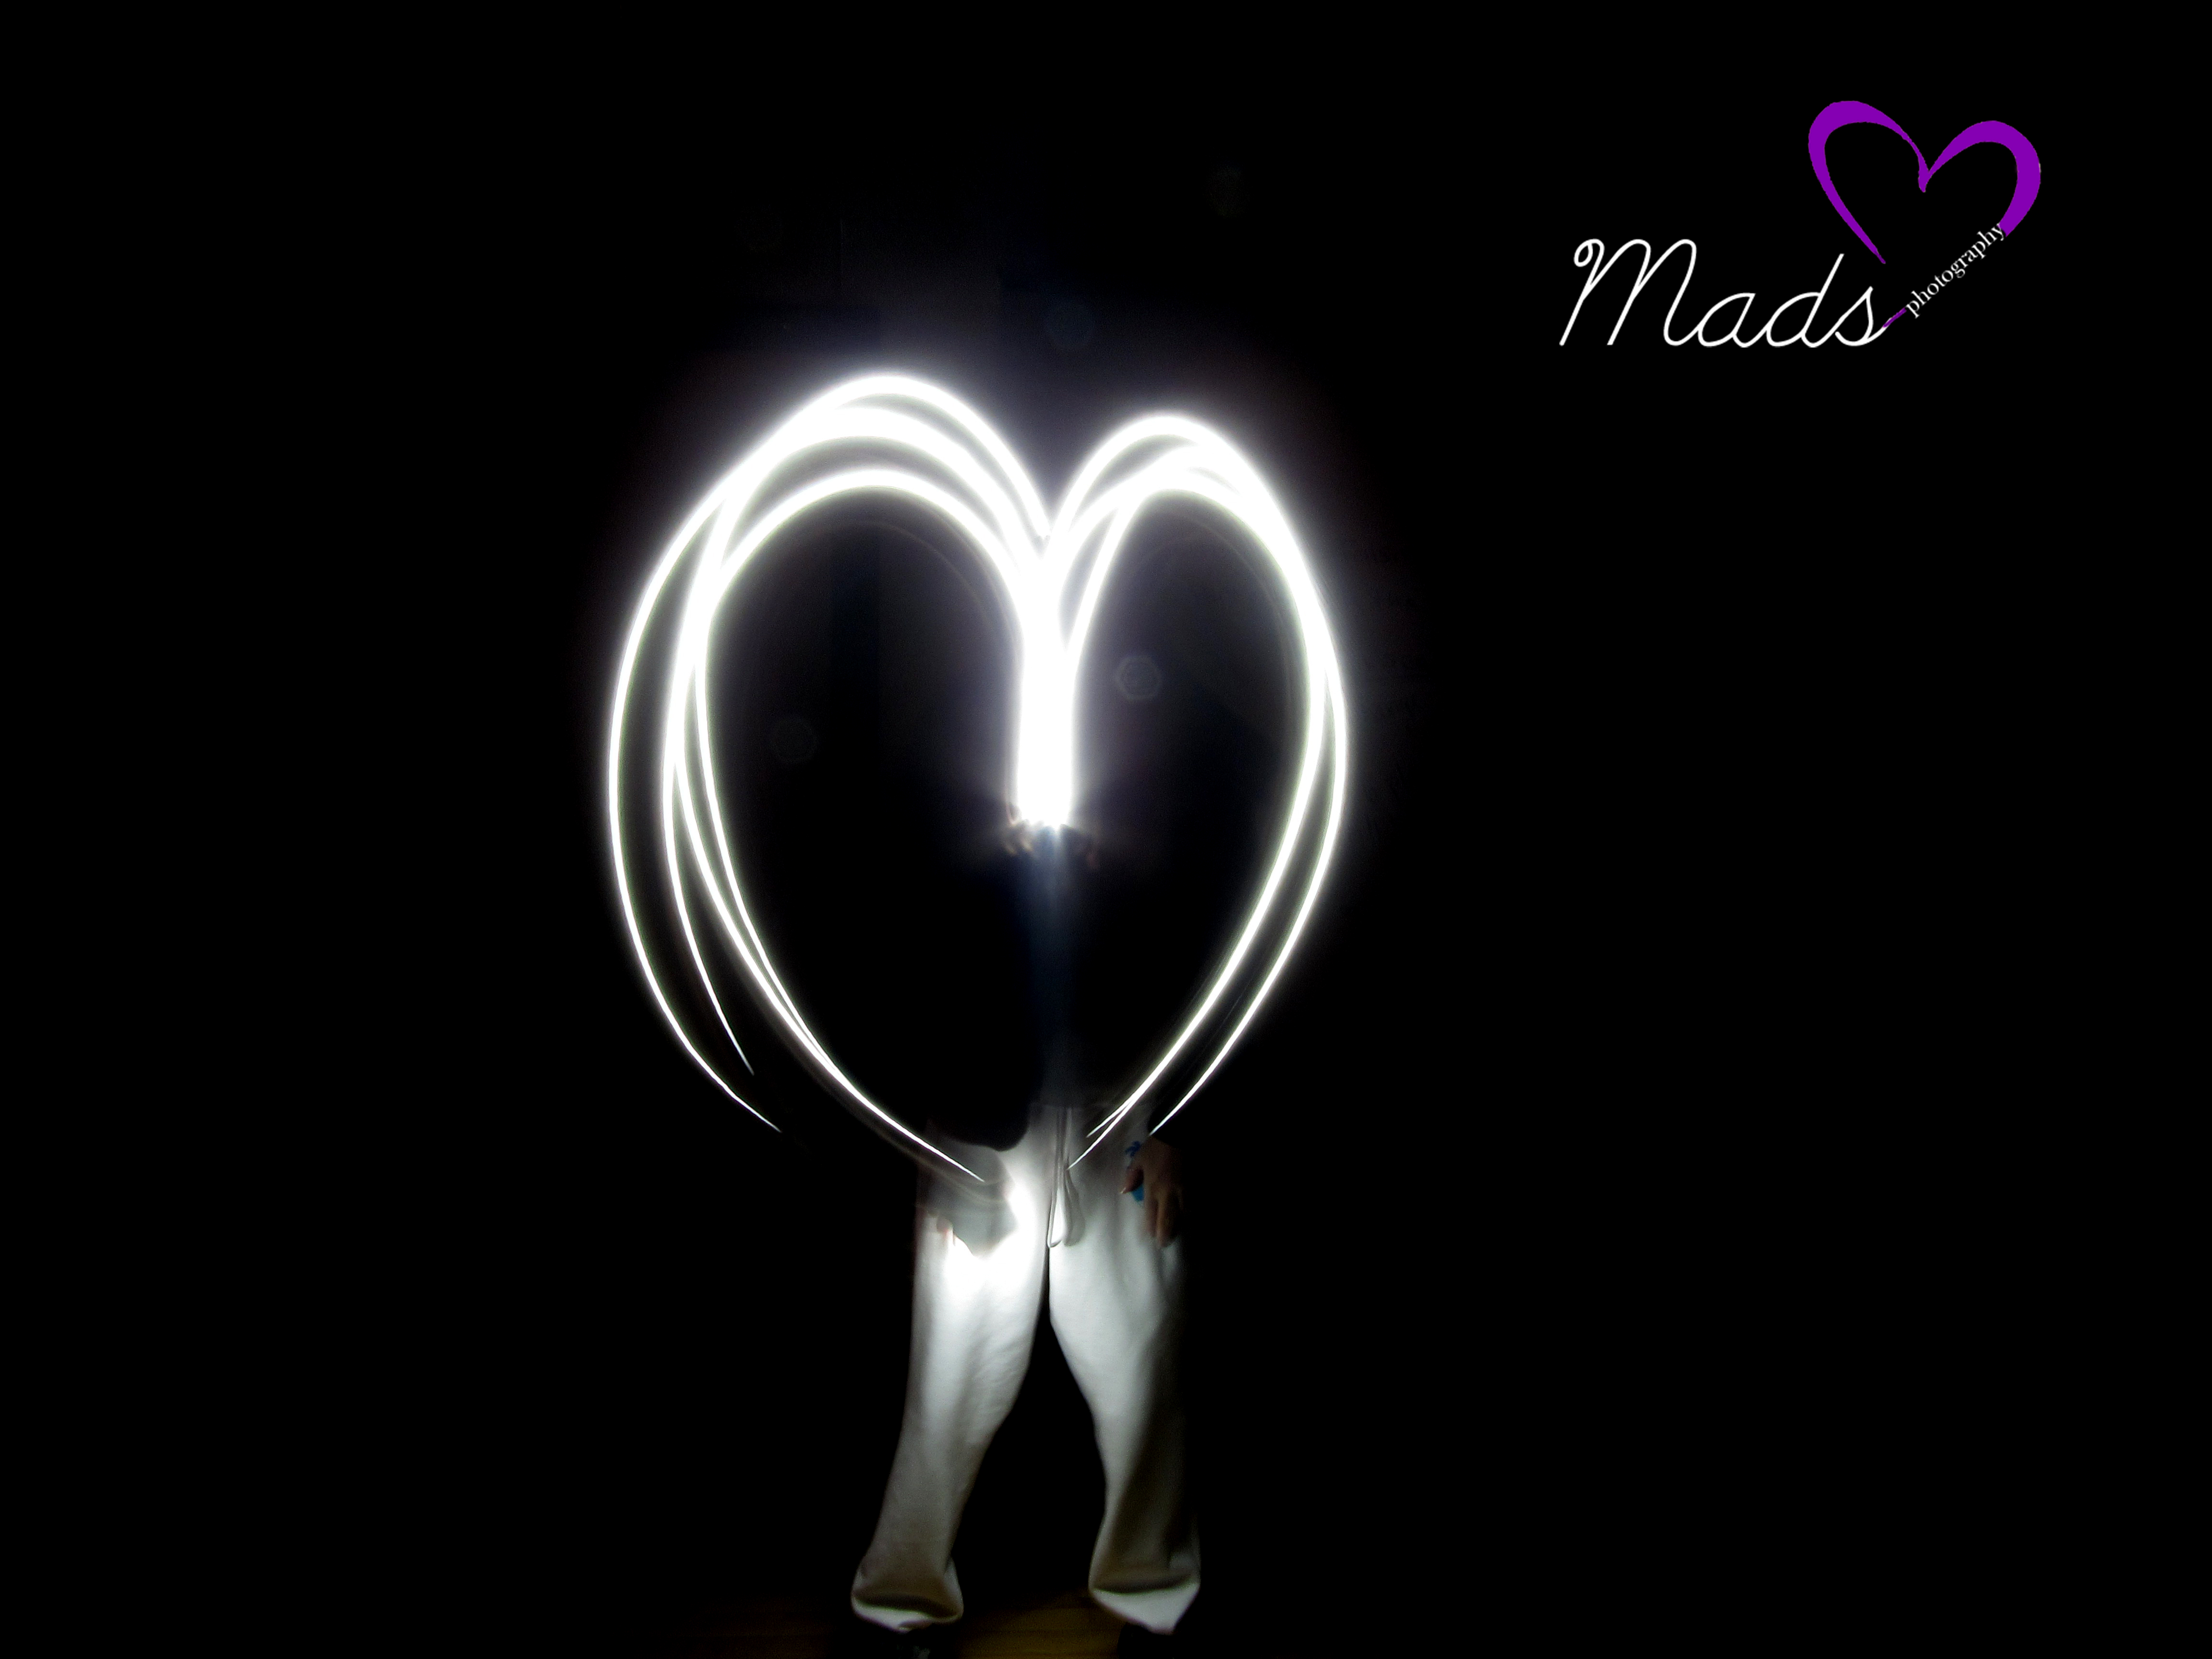
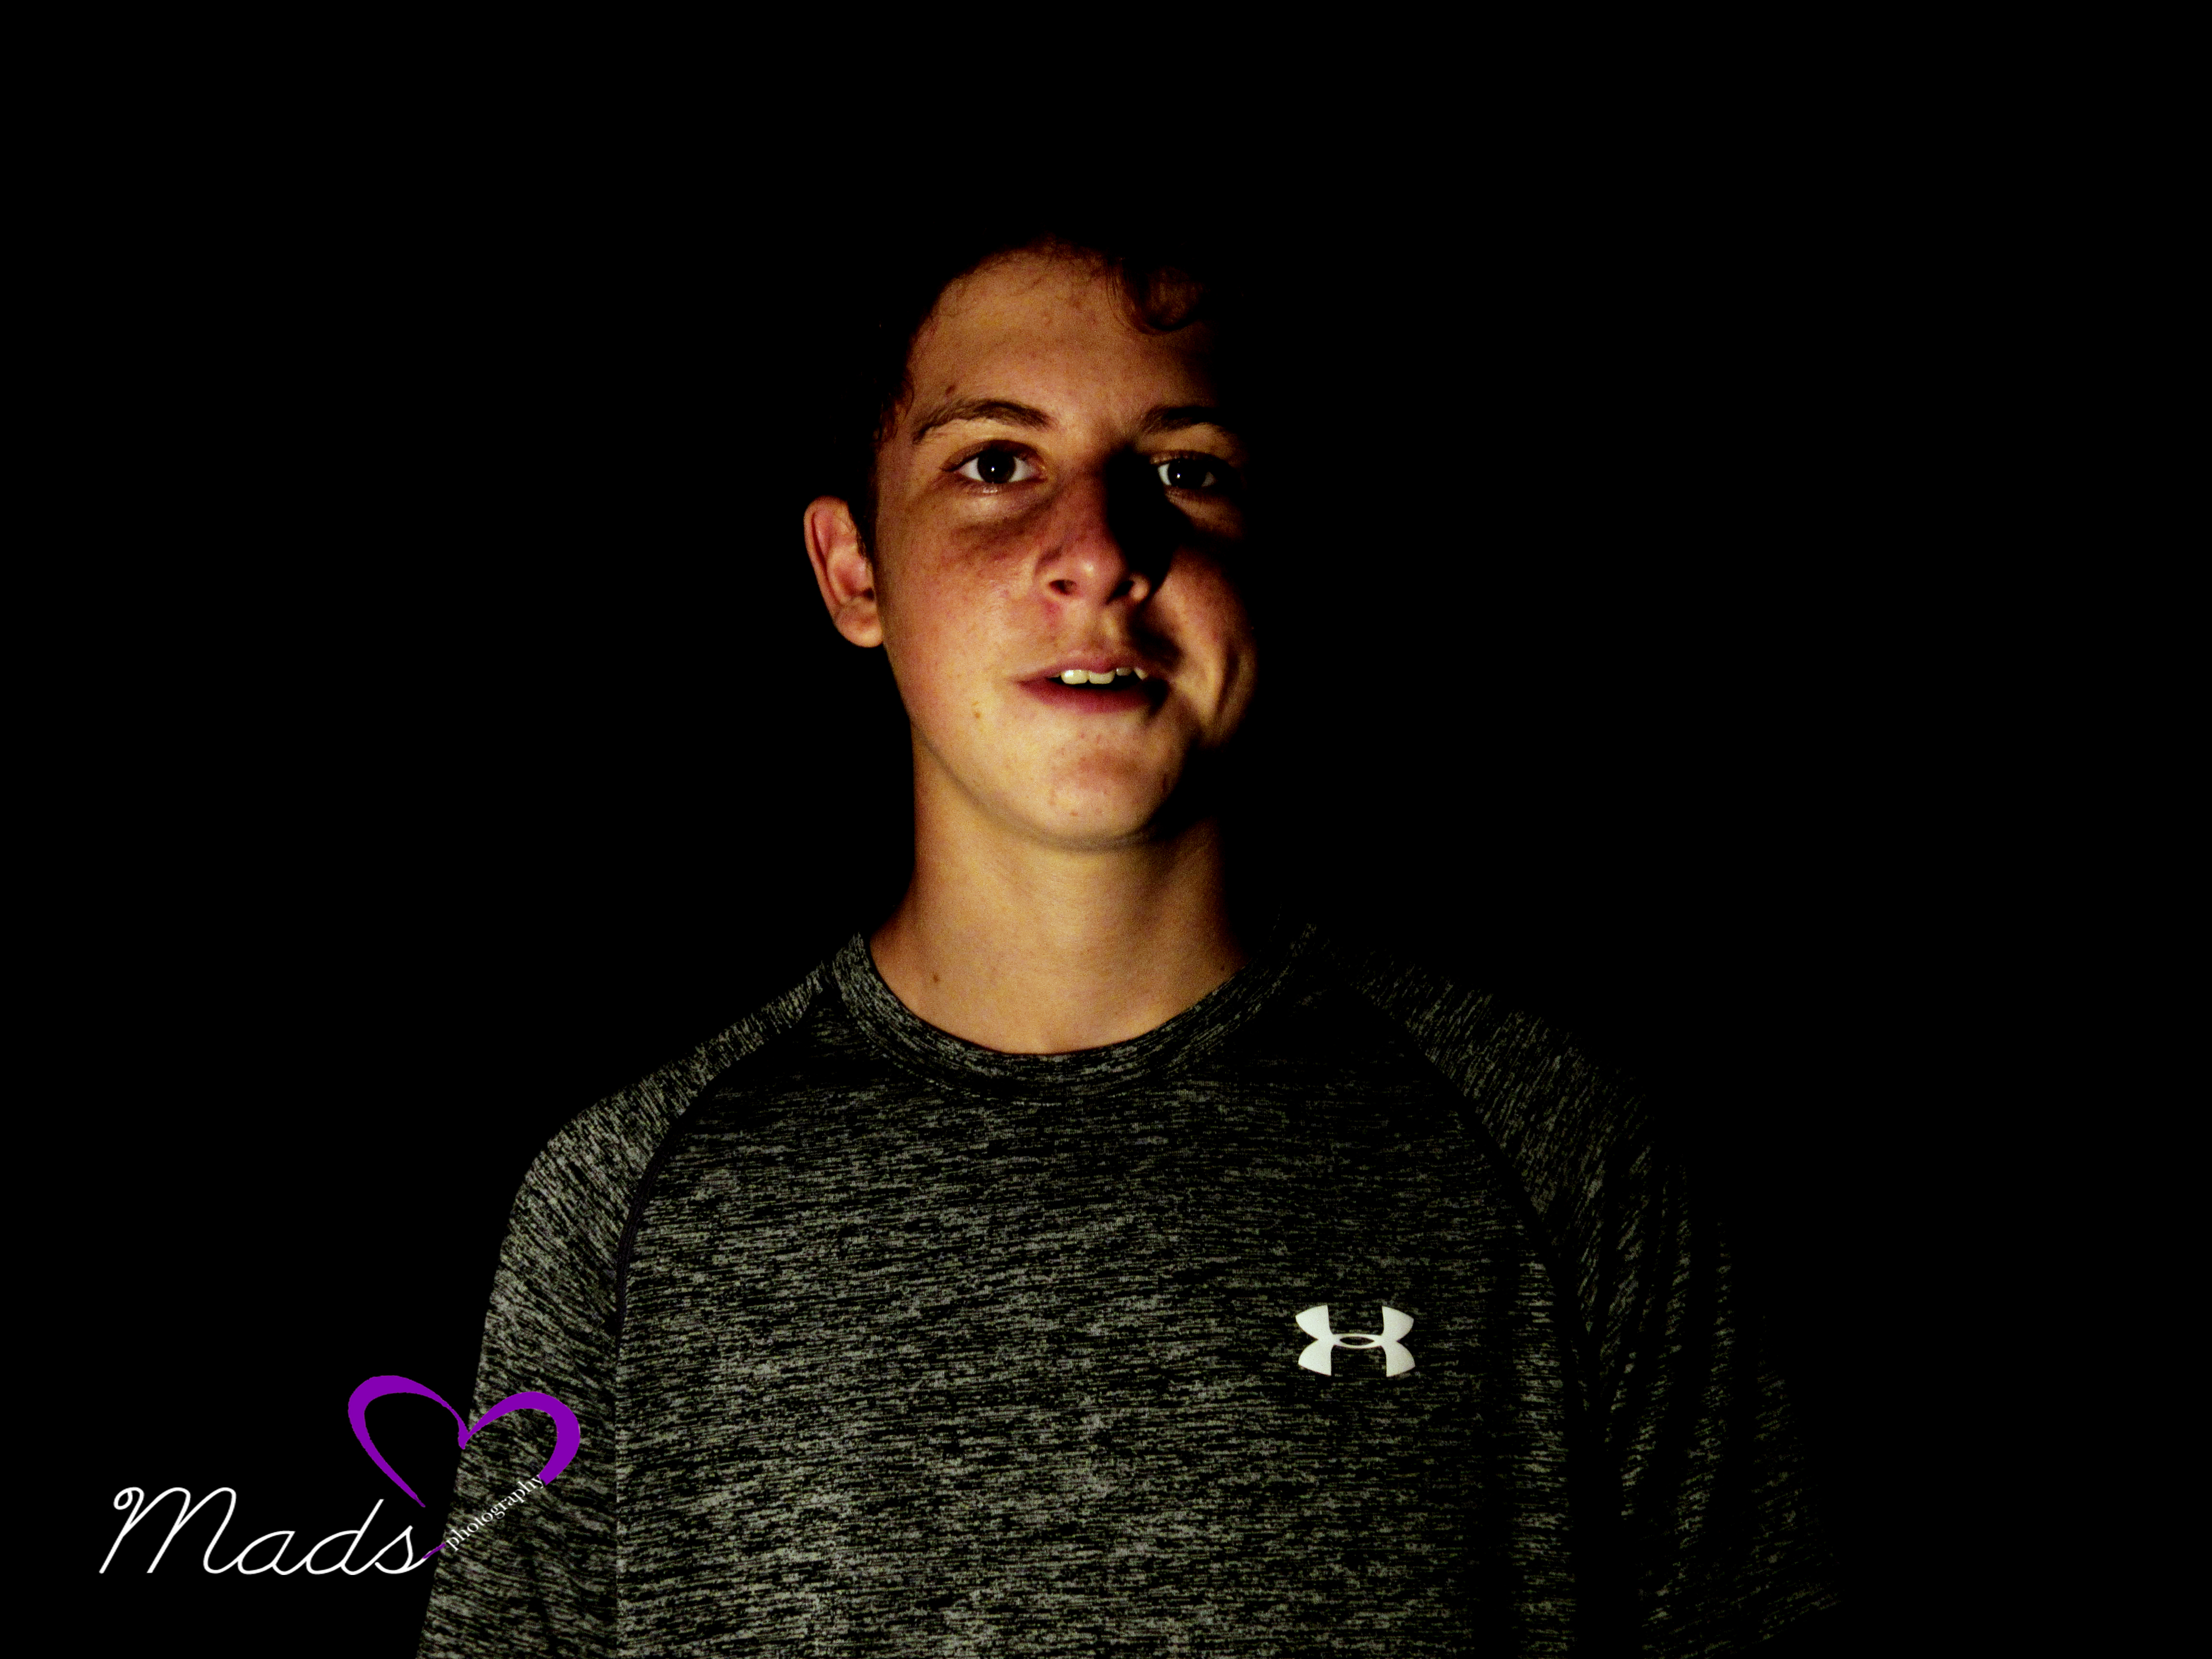
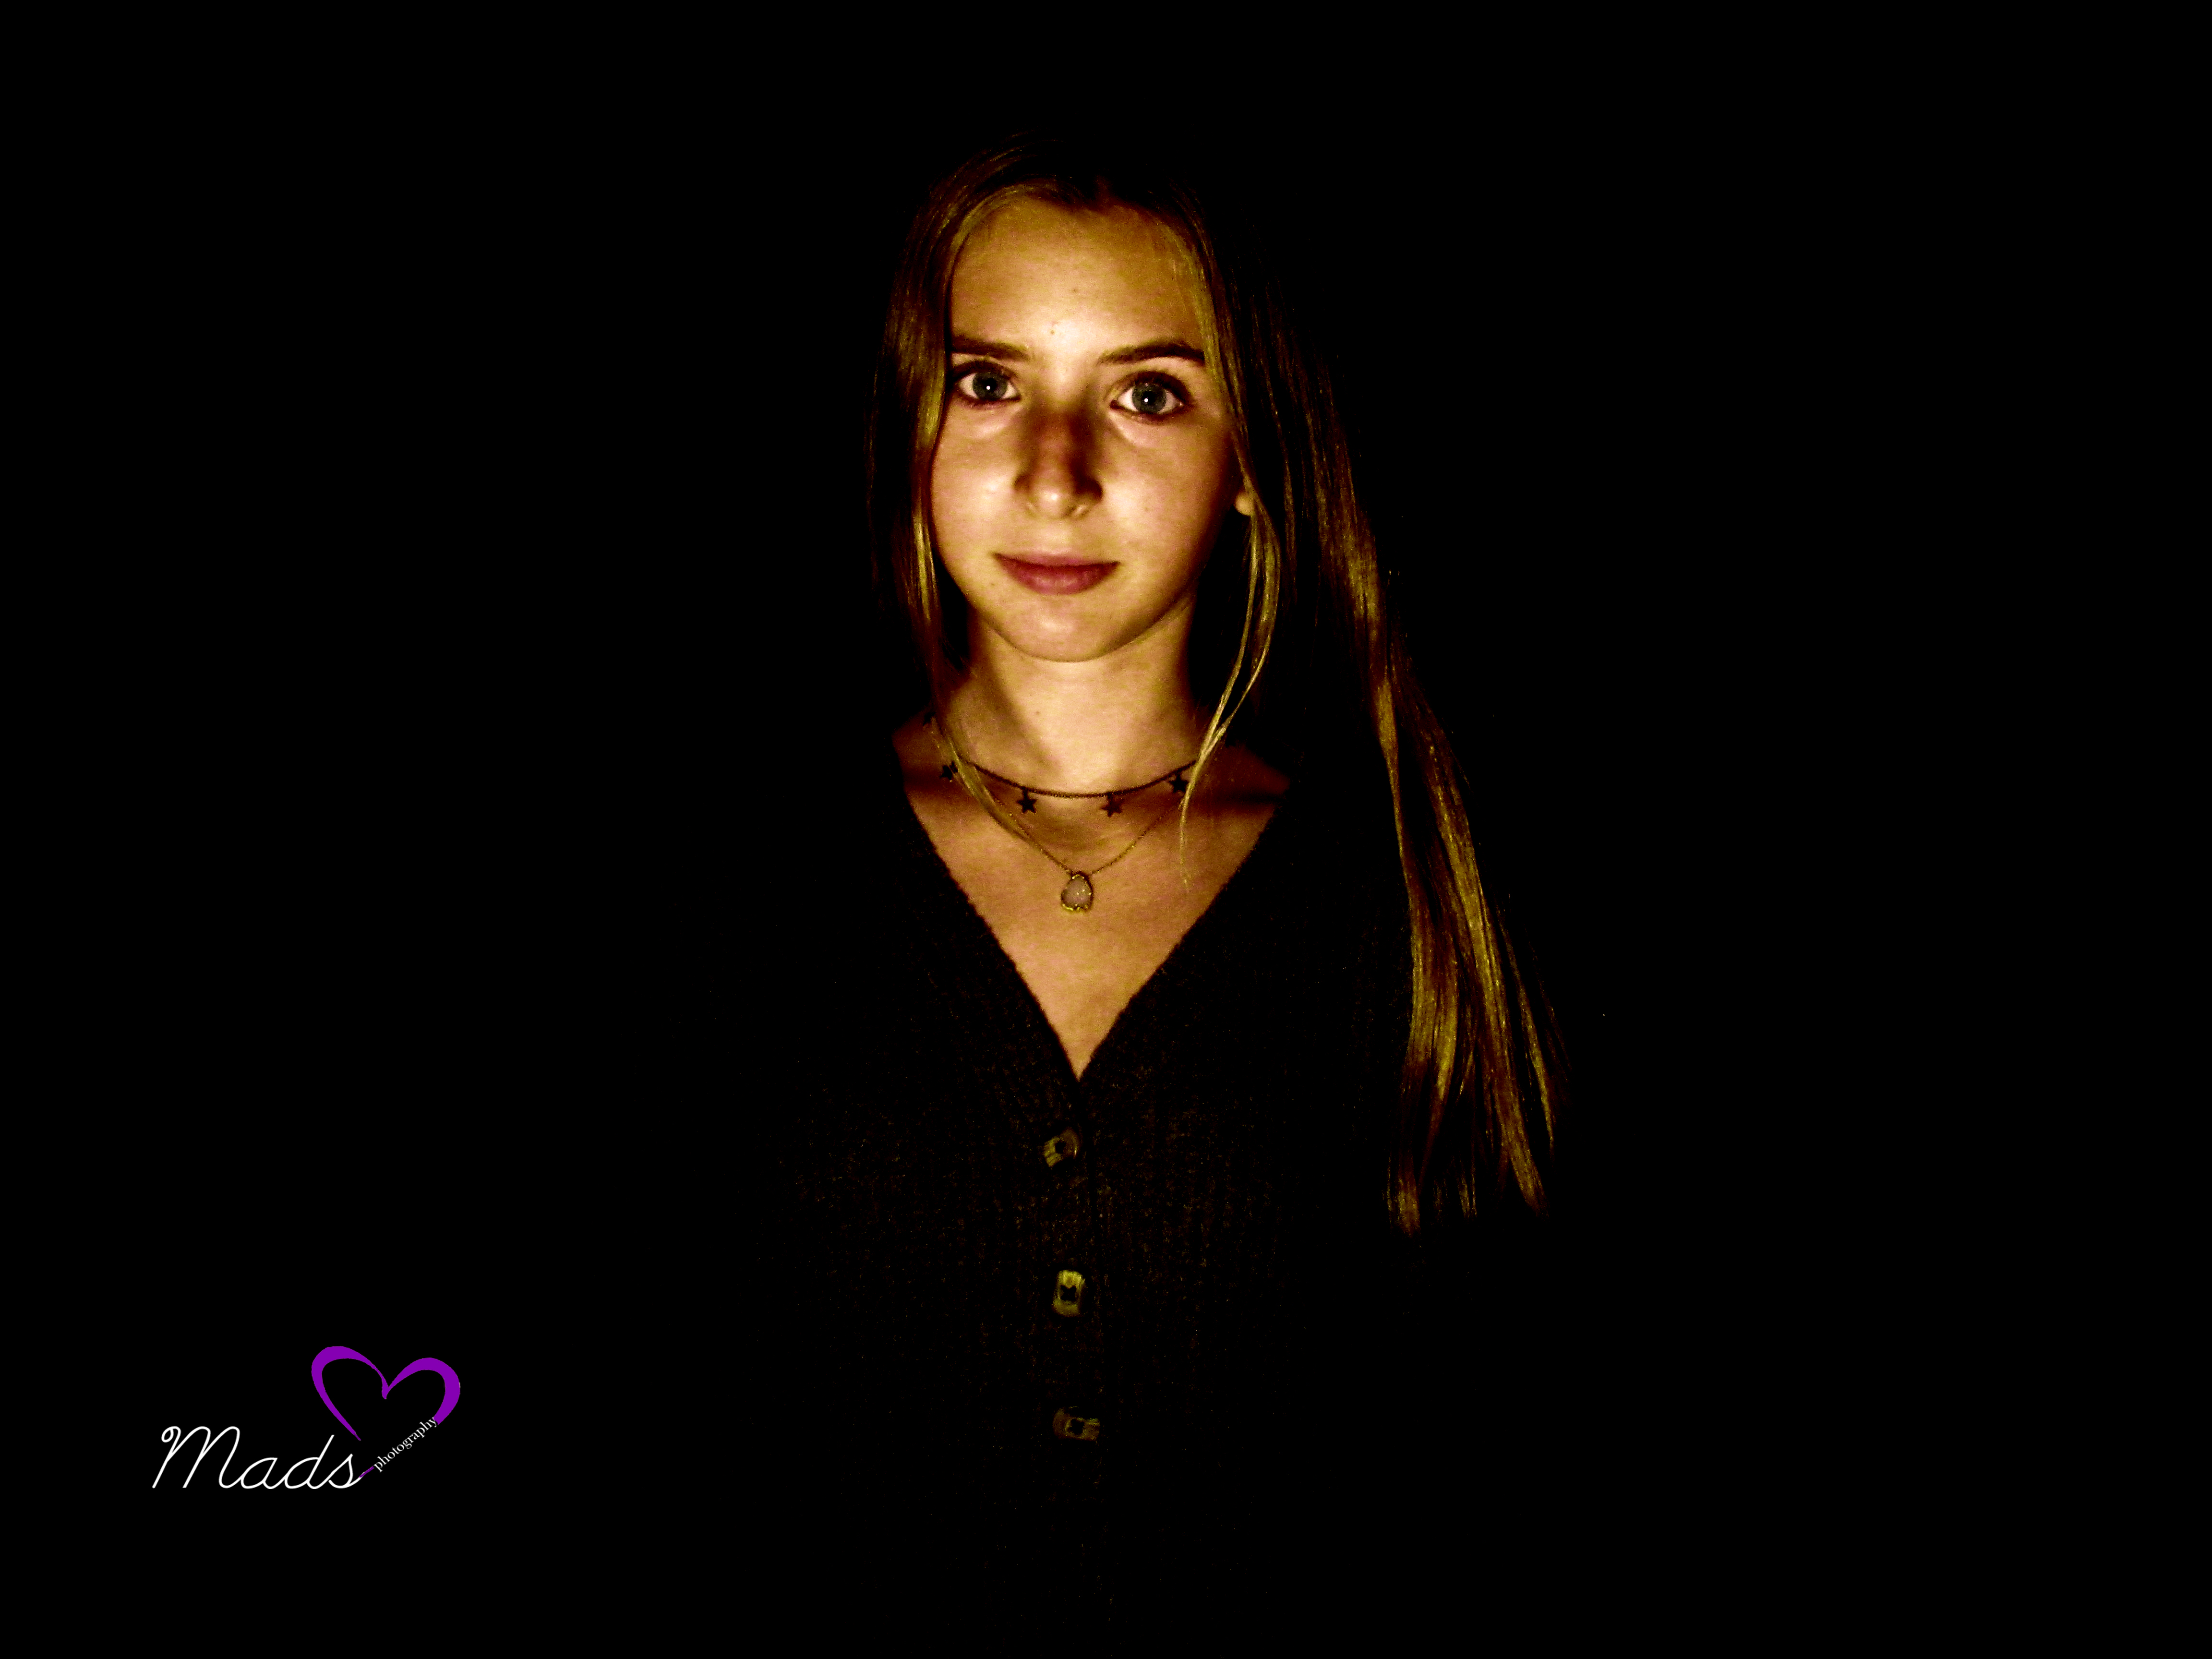
For this project we had to change the camera settings so that the camera could focus on the light of our flashlights in the dark. We had to change the shutter speed to 10 seconds and change the ISO to 100 so that we could draw with our flashlights for 10 seconds. This was the most stressful part of the project. We had to draw everything we wanted to draw in 10 seconds! We also had to make sure that the flashlight was directly pointed to the camera. In this project taking photos of one person worked. When we had multiple people, it didn’t really work. For example, in the tree photo we took, Lauren and Mr. Fitz had to connect the lines of their flashlights so that the leaves of the tree would connect to the stump of the tree. If we did this project in the future, I would want to use more color lights so that we can create more ideas that we had. Click here to see the rest of my photos, here

Rule of Thirds

When taking my photos for the rule of thirds, it was easy to set up the shot. On settings on my phone I turned on the grid for my camera. Using the grid on my camera, I lined up my person and/or my objects on one third of the grid on my phone. Your eye automatically focuses on the rule of thirds. In this project, it was hard to edit the photos so that the object or person is exactly on the rule of thirds. Before this project, I had no clue what the rule of thirds was, but now, I can use it with any pictures I take. Click here to see all of my photos, here.


Portraits with an Infinite Background

The process for taking these photos consisted of taking pictures in front of a black background using multiple camera settings to portray an infinite background. After we took the pictures, we edited them in Photoshop so that the background was completely black. Then, I added my, “dark logo,” so that you can see my logo. In this project, the tripod worked well. The tripod allowed us to take better photos because the camera didn’t move. The lighting didn’t work for us because it was hard to figure out where the placing of the light should go. If we didn’t get the lighting right, there was a shadow. Click here to see the rest of our photos, here.

Portraits with an Infinite Background

The process of taking these photos consist of taking a portrait using different camera settings in front of a white background. After we took our photos, we went to photo shop to edit them. In photo shop, we could change the colors of the photos, and we can change the lighting of the photos. Then, after I had the edited photos, I went to fireworks to add my logo.  The lighting worked for this assignment. We found out that natural lighting coming from outside, was the best lighting to use for this project. However, sometimes the settings wouldn’t work. We had to learn to adjust the camera settings everyday so that you could get the effect of having an infinite background. Click here to see the rest of our group photos, here.