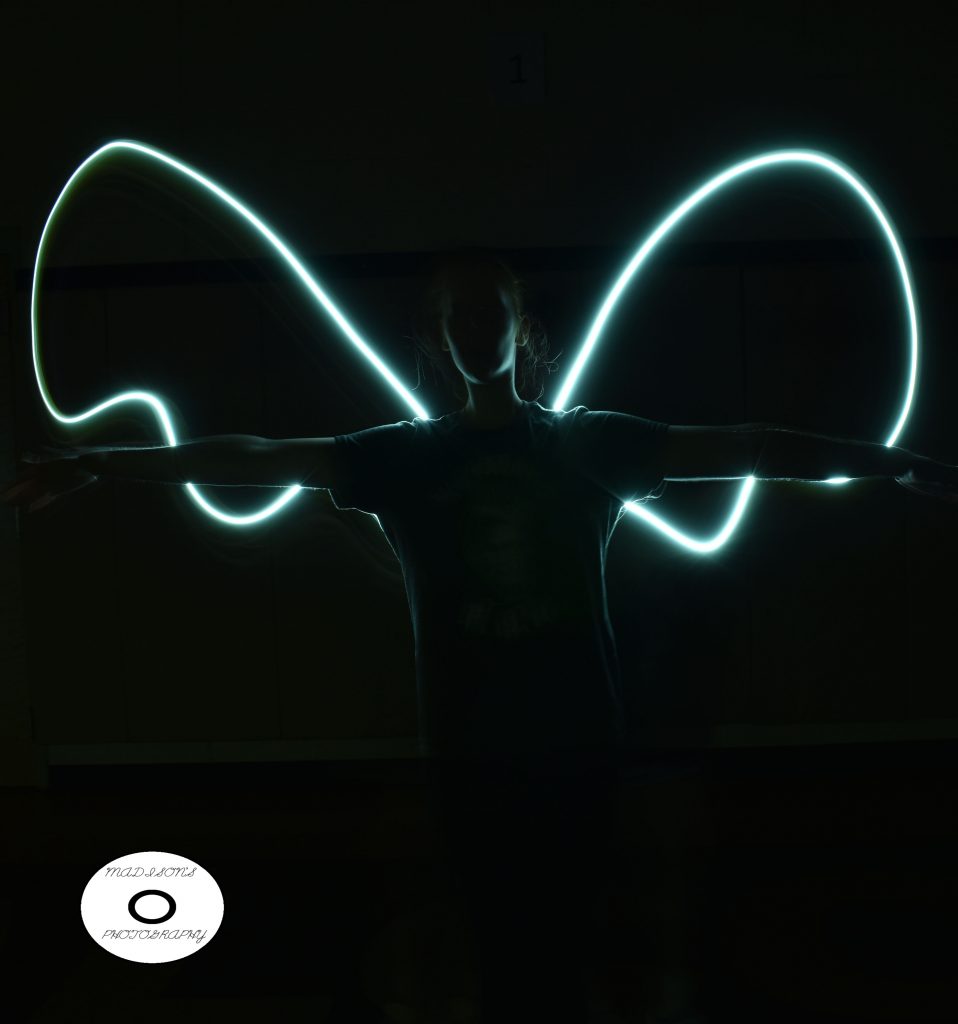
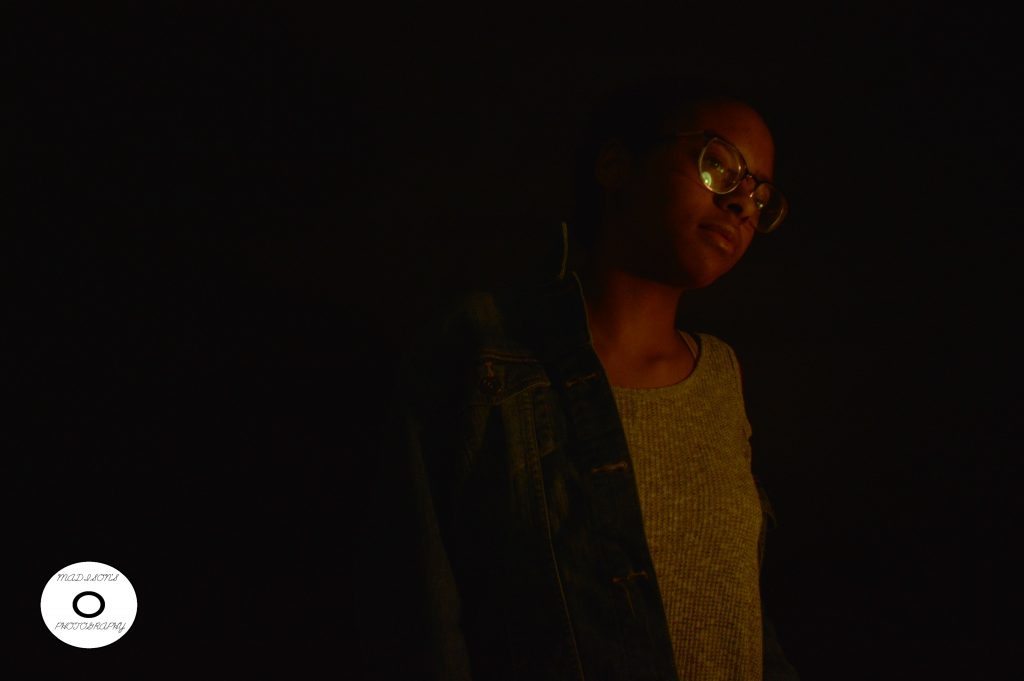
Category: Period 7

Light graffiti

Light graffiti

click to see more

We took these photos by making sure that everyone knew what we were doing. my group also made sure that the shutter wasn’t on for long and that most of the light wouldn’t be absorbed. the first step of this project was that we had to set up the camera and make sure the setting were right. next we had to have the flashlight or color light draw what they are making. Making angel wings behind someone really worked well for my group. it was frustrating when the pictures didn’t come out how we wanted it to. in order to take this up to the next level I would use more colors and make harder drawings.

Lego photography

Lego photography

in this project we had to take pictures of Lego figures, like there were human sized. they also had to be in a pose that made them look like they were alive or in motion. when taking the photos i used skills from the previous projects like the angle and the lighting. Finding a story for the pictures were a really big challenge for me. if i had to take five more pictures i would like to photograph Lego figures in scenery.

evening drive
looking out into the world
race to the finish
Close Up

Close Up

In this assignment we get close up to an object and take a photo including a lot of detail. What worked well for this assignment was getting really close to your subject so the photo would show the subject and have a lot of detail. One challenge I faced was getting all the details in the photos. If I had the time and equipment to do this I would take photos of butterflies and rain .

Click here to see more photos

Catch the action

Catch the action

click to see more

for this assignment we had to take pictures that were in motion. For this assignment we took all the picture we took and made it into one showing that the person was in motion. I messed with the lighting and the angle in order to take good photos. One tip I have for taking action photos is to make sure your in the right position to get the whole frame of the picture. i would want to photograph a football game if I could.

Framing Your Subject

Framing Your Subject

click here to see my photos

For this project we had to frame a person or objects by using objects to create a focal point. this project is very different than the rule of thirds instead of having you subject int he last box on the grid you have you subject in the middle. there were a few challenges, the biggest challenge I faced was finding a good area to take the picture in. This picture is my favorite because it shows the beauty of the flowers and nature.

Rule of Thirds

Rule of Thirds

click to view my photos

In this project we had to take picture using the rule of thirds. In the beginning of this project I thought that the rule of thirds would help the photos. By the end of this project my thoughts changed, I see how the the rule of thirds helps photos. Using the grid helped lineup the photo. The hard part was getting the picture straight and getting good angles. The grid helped line up the photos, for example in the picture below I used the grid to help line up the photos.

click to view my photos

Portraits with Black Backgrounds

Portraits with Black Backgrounds

click here to see my photos

For this project we had to take pictures of people with a black background and make it look infinite. While taking pictures with the camera, we had to make the camera less sensitive to the light. when we tried to take photos against the black background with a lot of light sensitivity the picture looked like we were standing behind a background.

Portraits with White Background

Portraits with White Background

click here to see my photos

For this project we had to take pictures of people with a white background and make it look infinite. While taking pictures with the camera, we had to make the camera more sensitive to the light. when we tried to take photos against the white background with no light sensitivity the picture looked like we were standing behind a background.

5 shots

5 shots

for this assignment I had to take 5 different angles of 2 objects and 1 person. One challenge I faced was finding different angles. the hardest object I had to do was the shoes. the shoes were the hardest because you had to get behind the boot and under it. This project helped me learn that there are so many camera angles you can work with to take good photos.

click here to see my photos

24 colors

24 colors

I made these photos by going around the school and looking for colors that match all 24 crayons. The hardest part of this project was finding colors in the school. This school doesn’t have a lot of color. The easy part of this project was getting good angles for the photos.

click here to see my photos