Month: October 2018

Light Graffiti

Light Graffiti

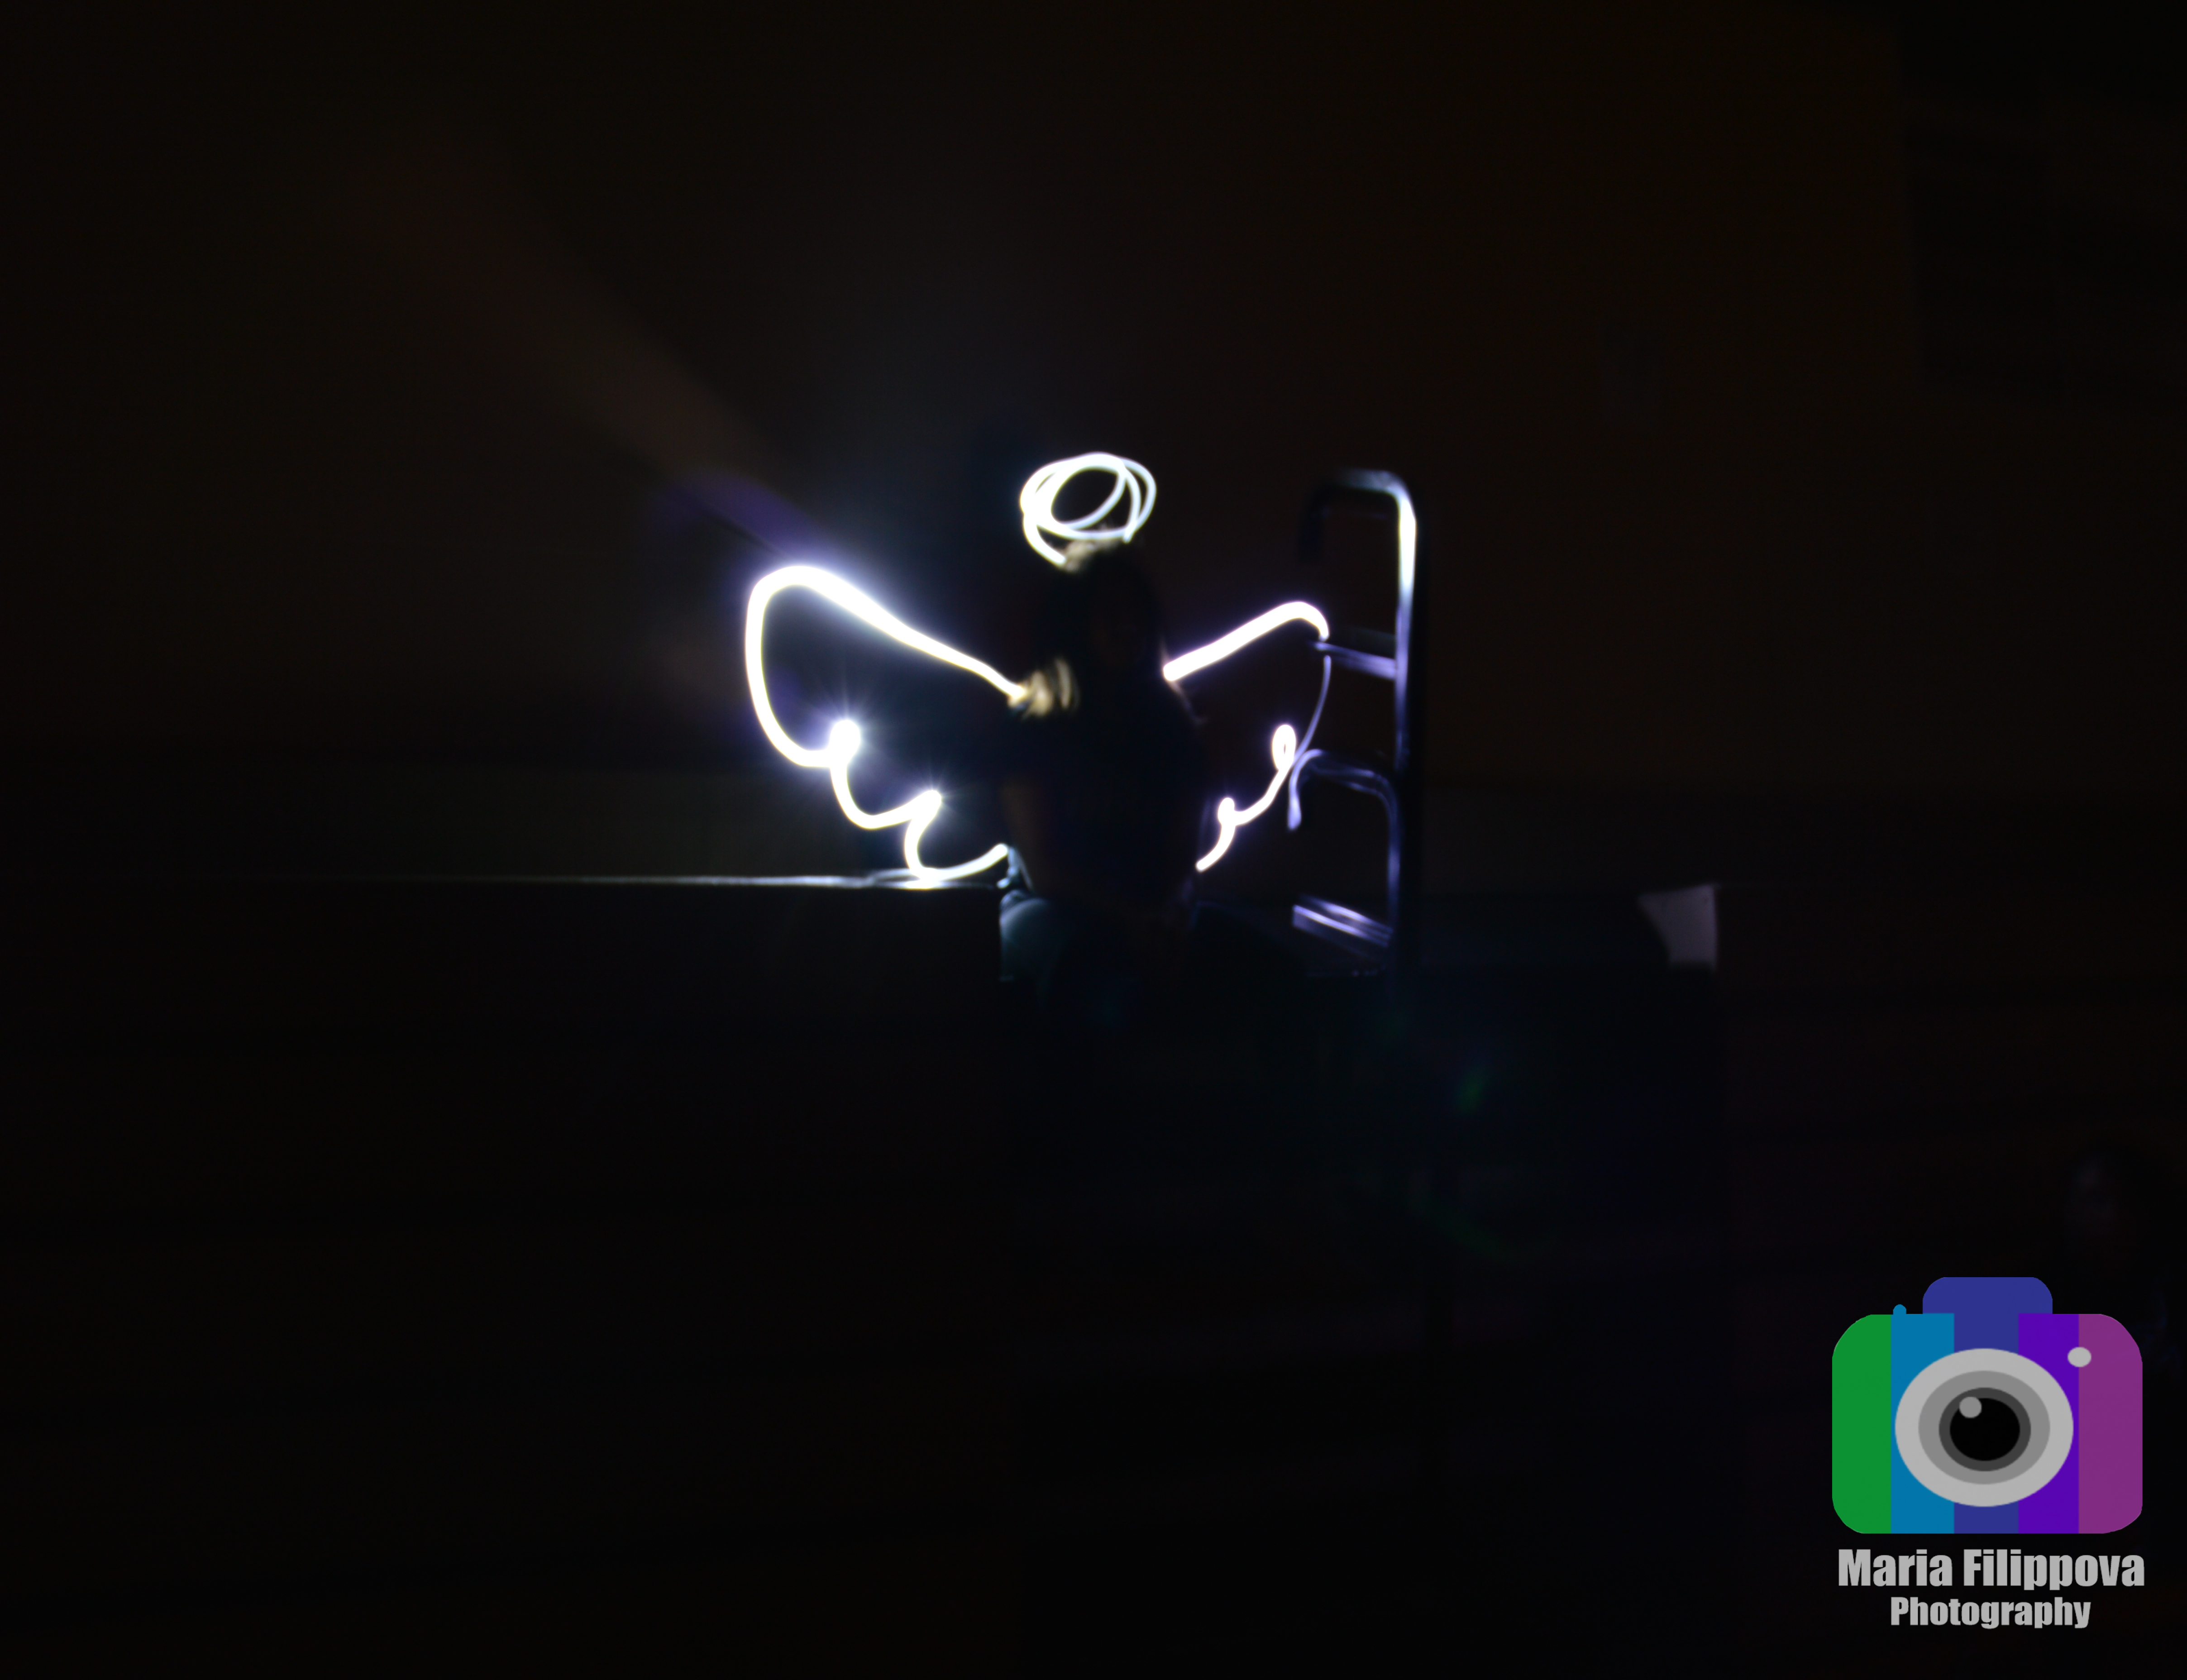
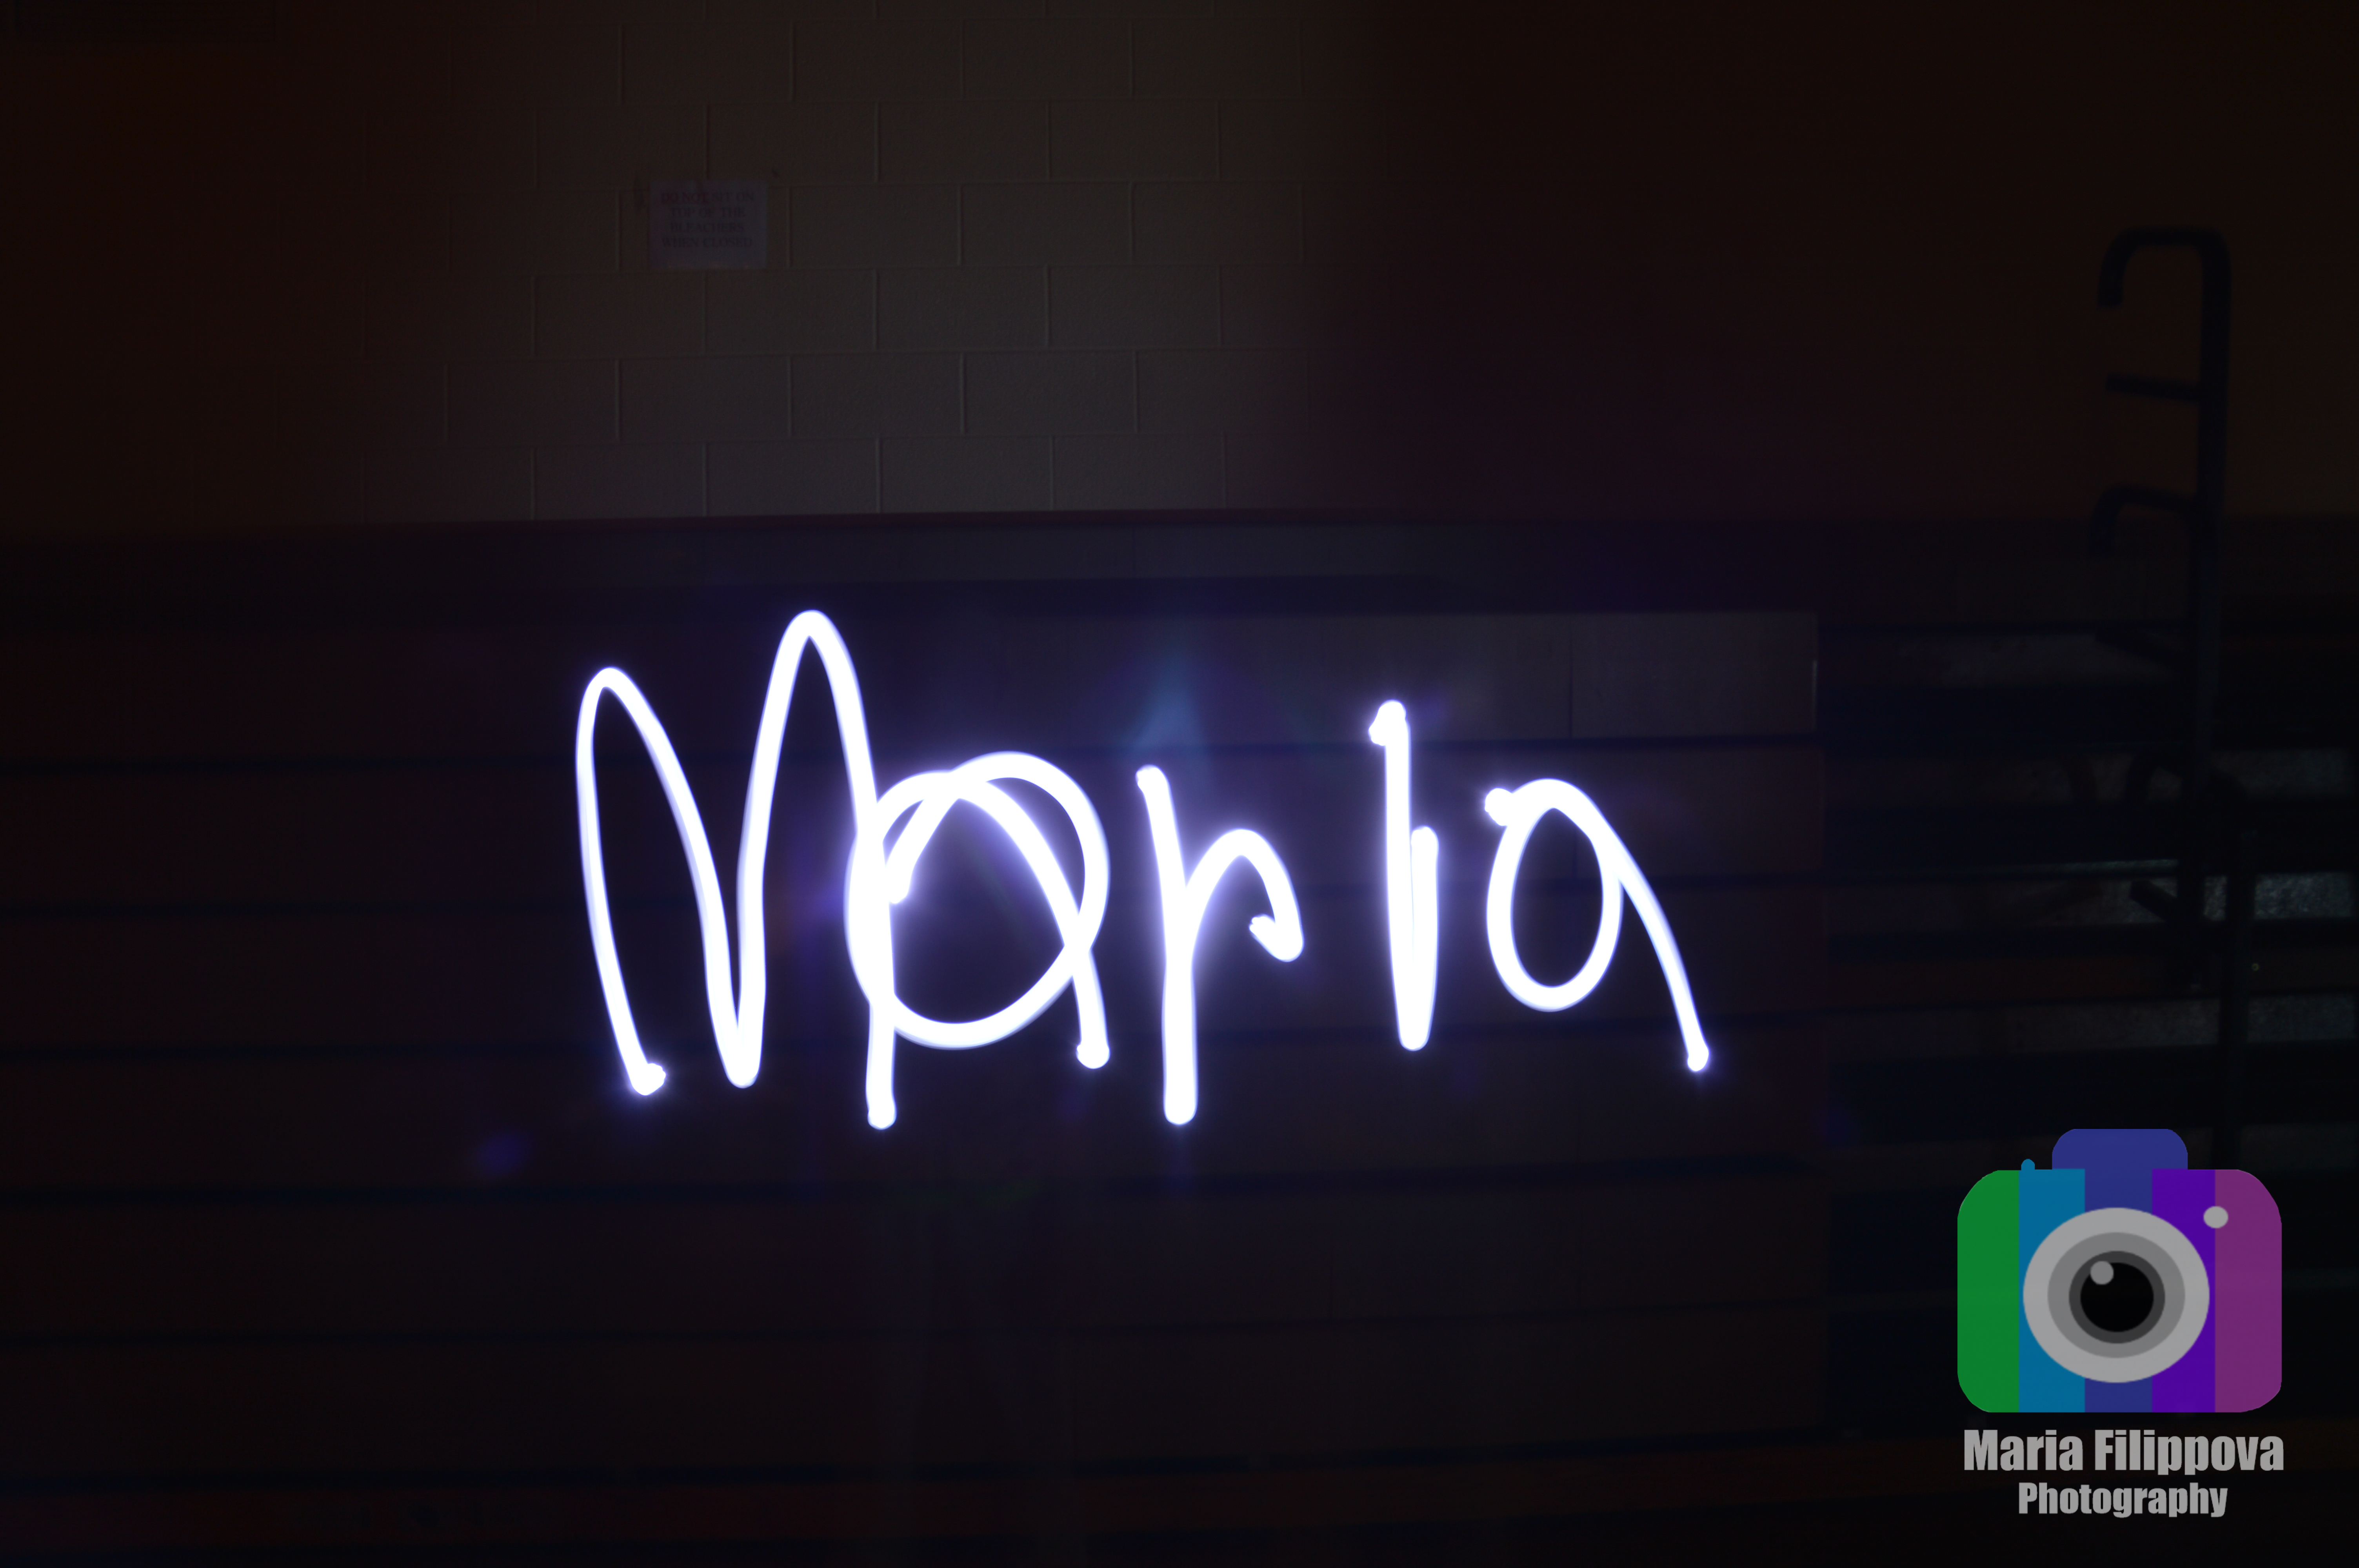
For this project we needed to take pictures, using bulb mode. We then needed to hold down the button on the camera, while someone else “drew” something with light. The other person would use some kind of flashlight and draw something (streaks of light), but they had to face the flashlight towards the camera. If you wanted to make the whole background lit up, you would face it away from the camera. Taking turns, helped us all work together, but our big group didn’t really work well, because it was too big. I was very frustrated on the last day, because I didn’t have enough time to take pictures(I was absent on the first day), but our whole group had other ideas too, so we were all stressed. We should have some kind of a field trip over night thing, and take pictures at night in the city. Here are two pictures I liked:
To see all our other photos click here.
Rule of Thirds

Rule of Thirds

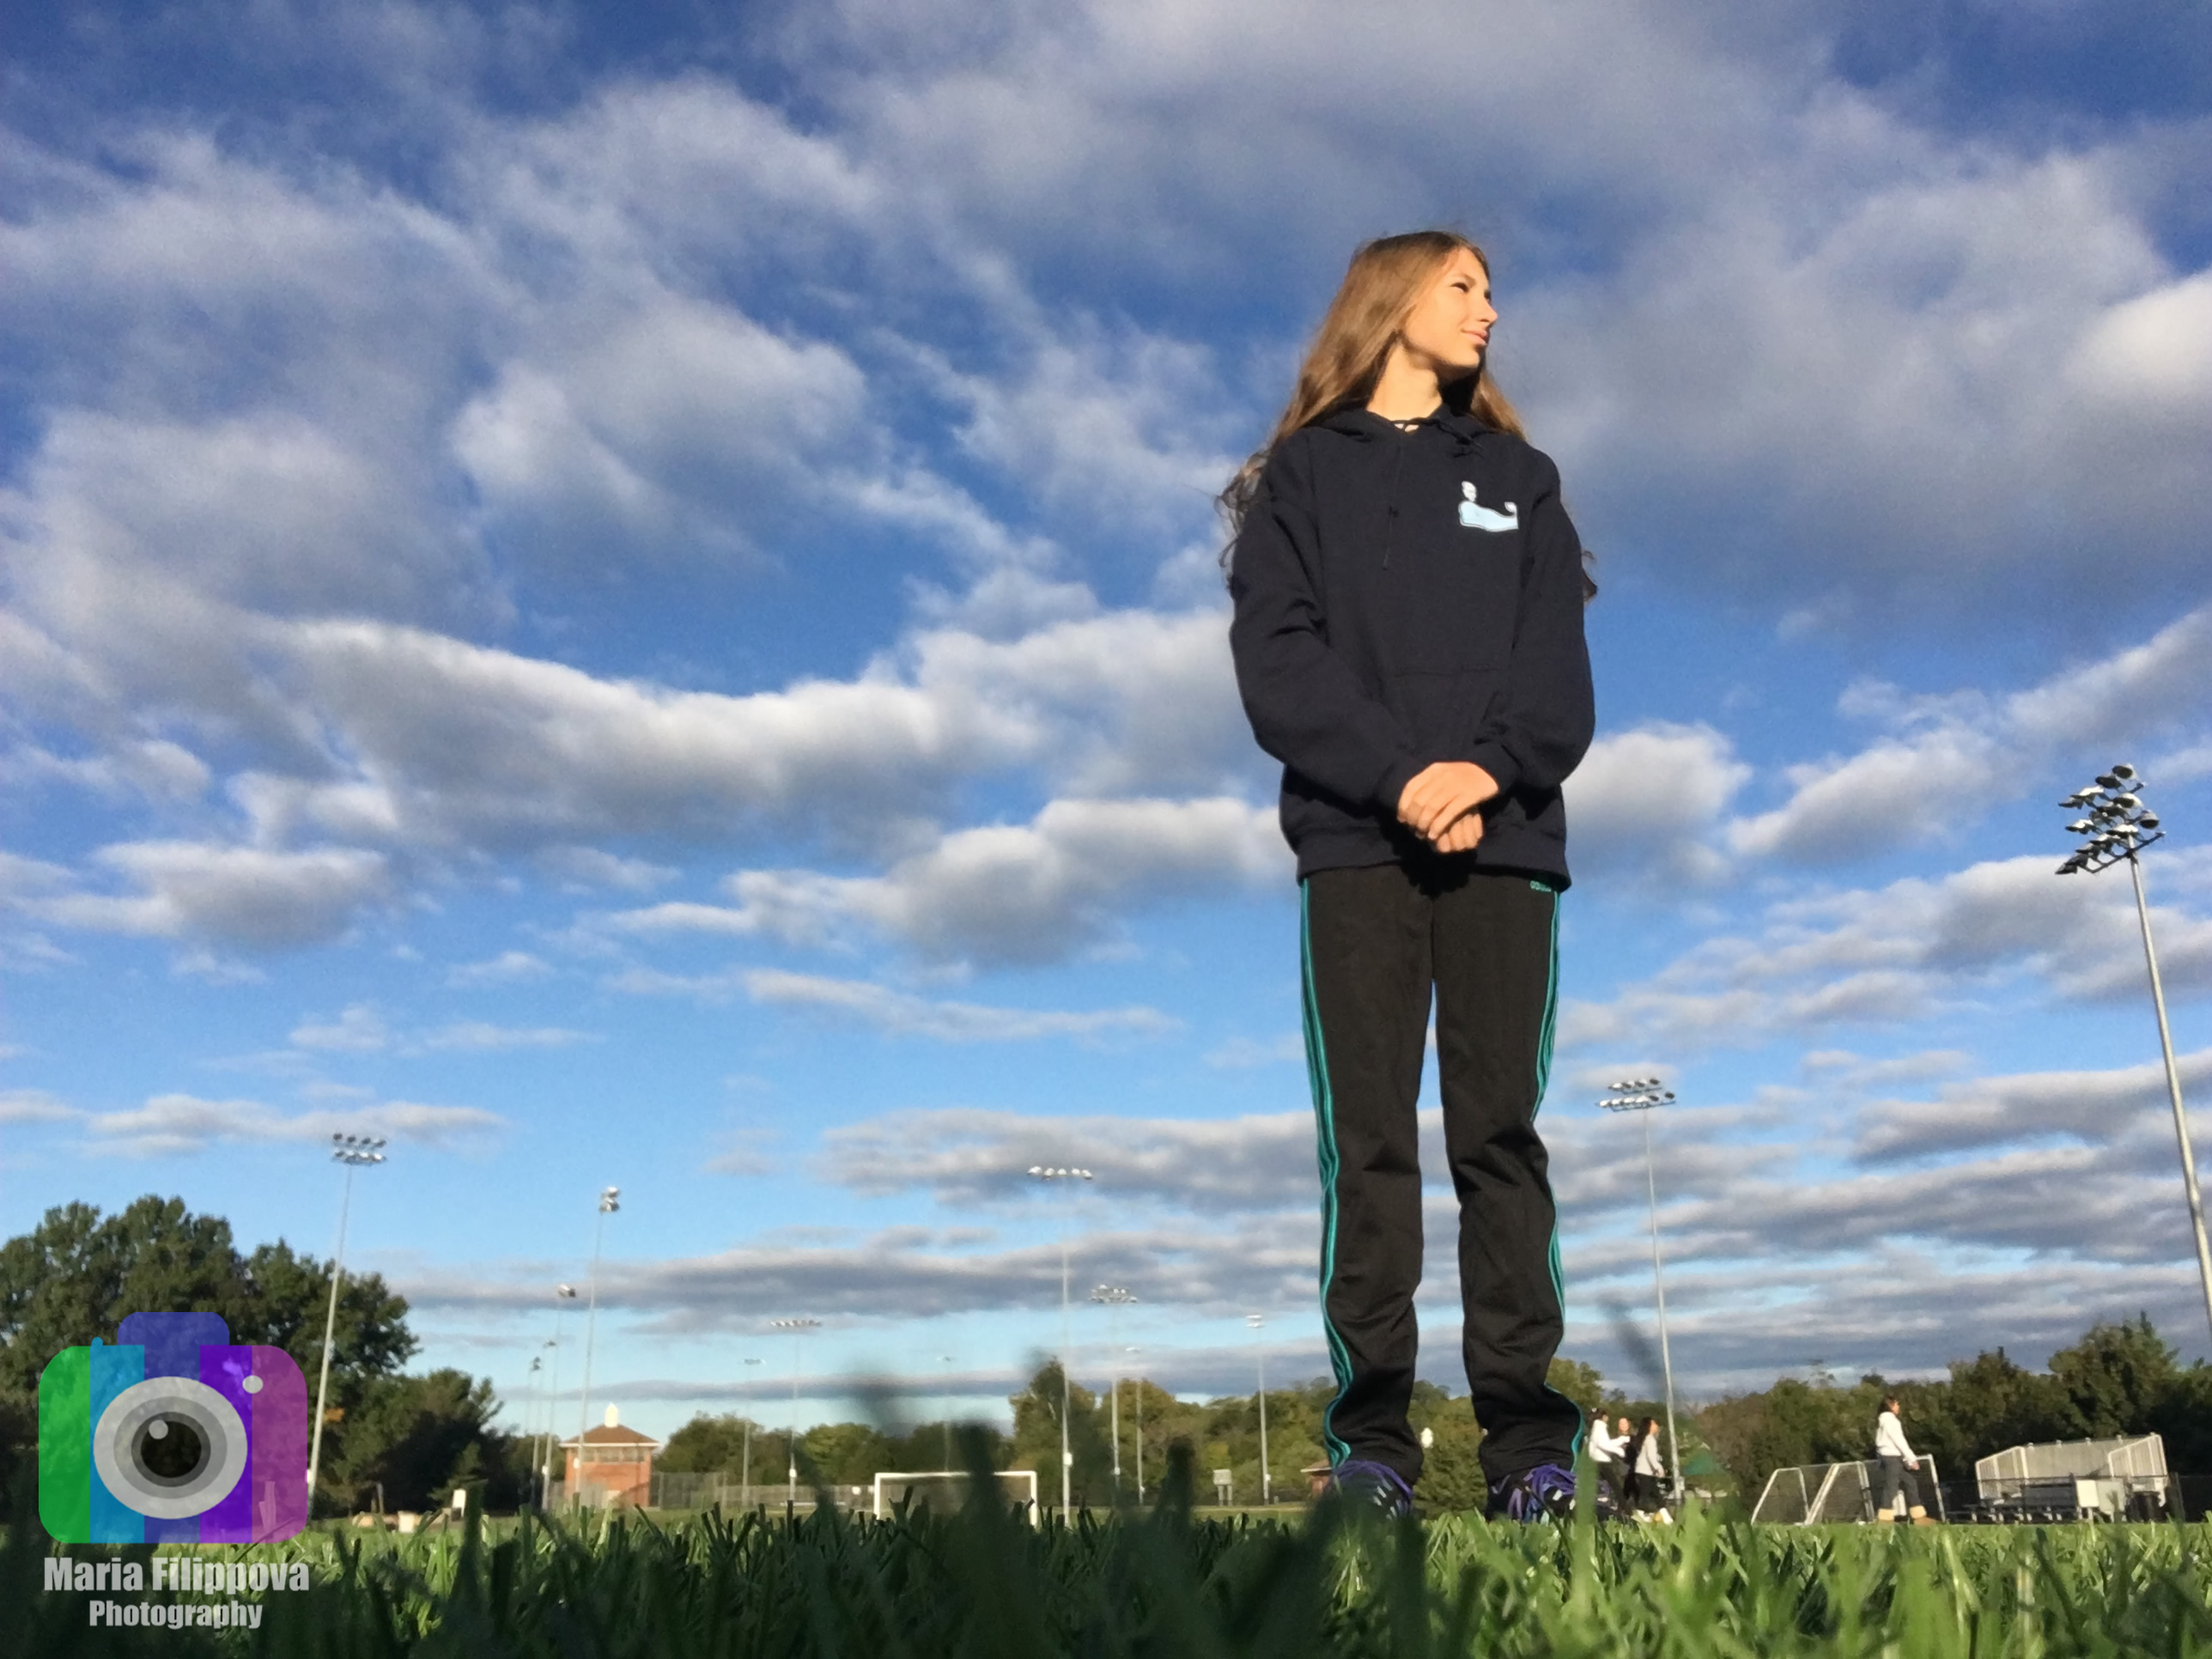
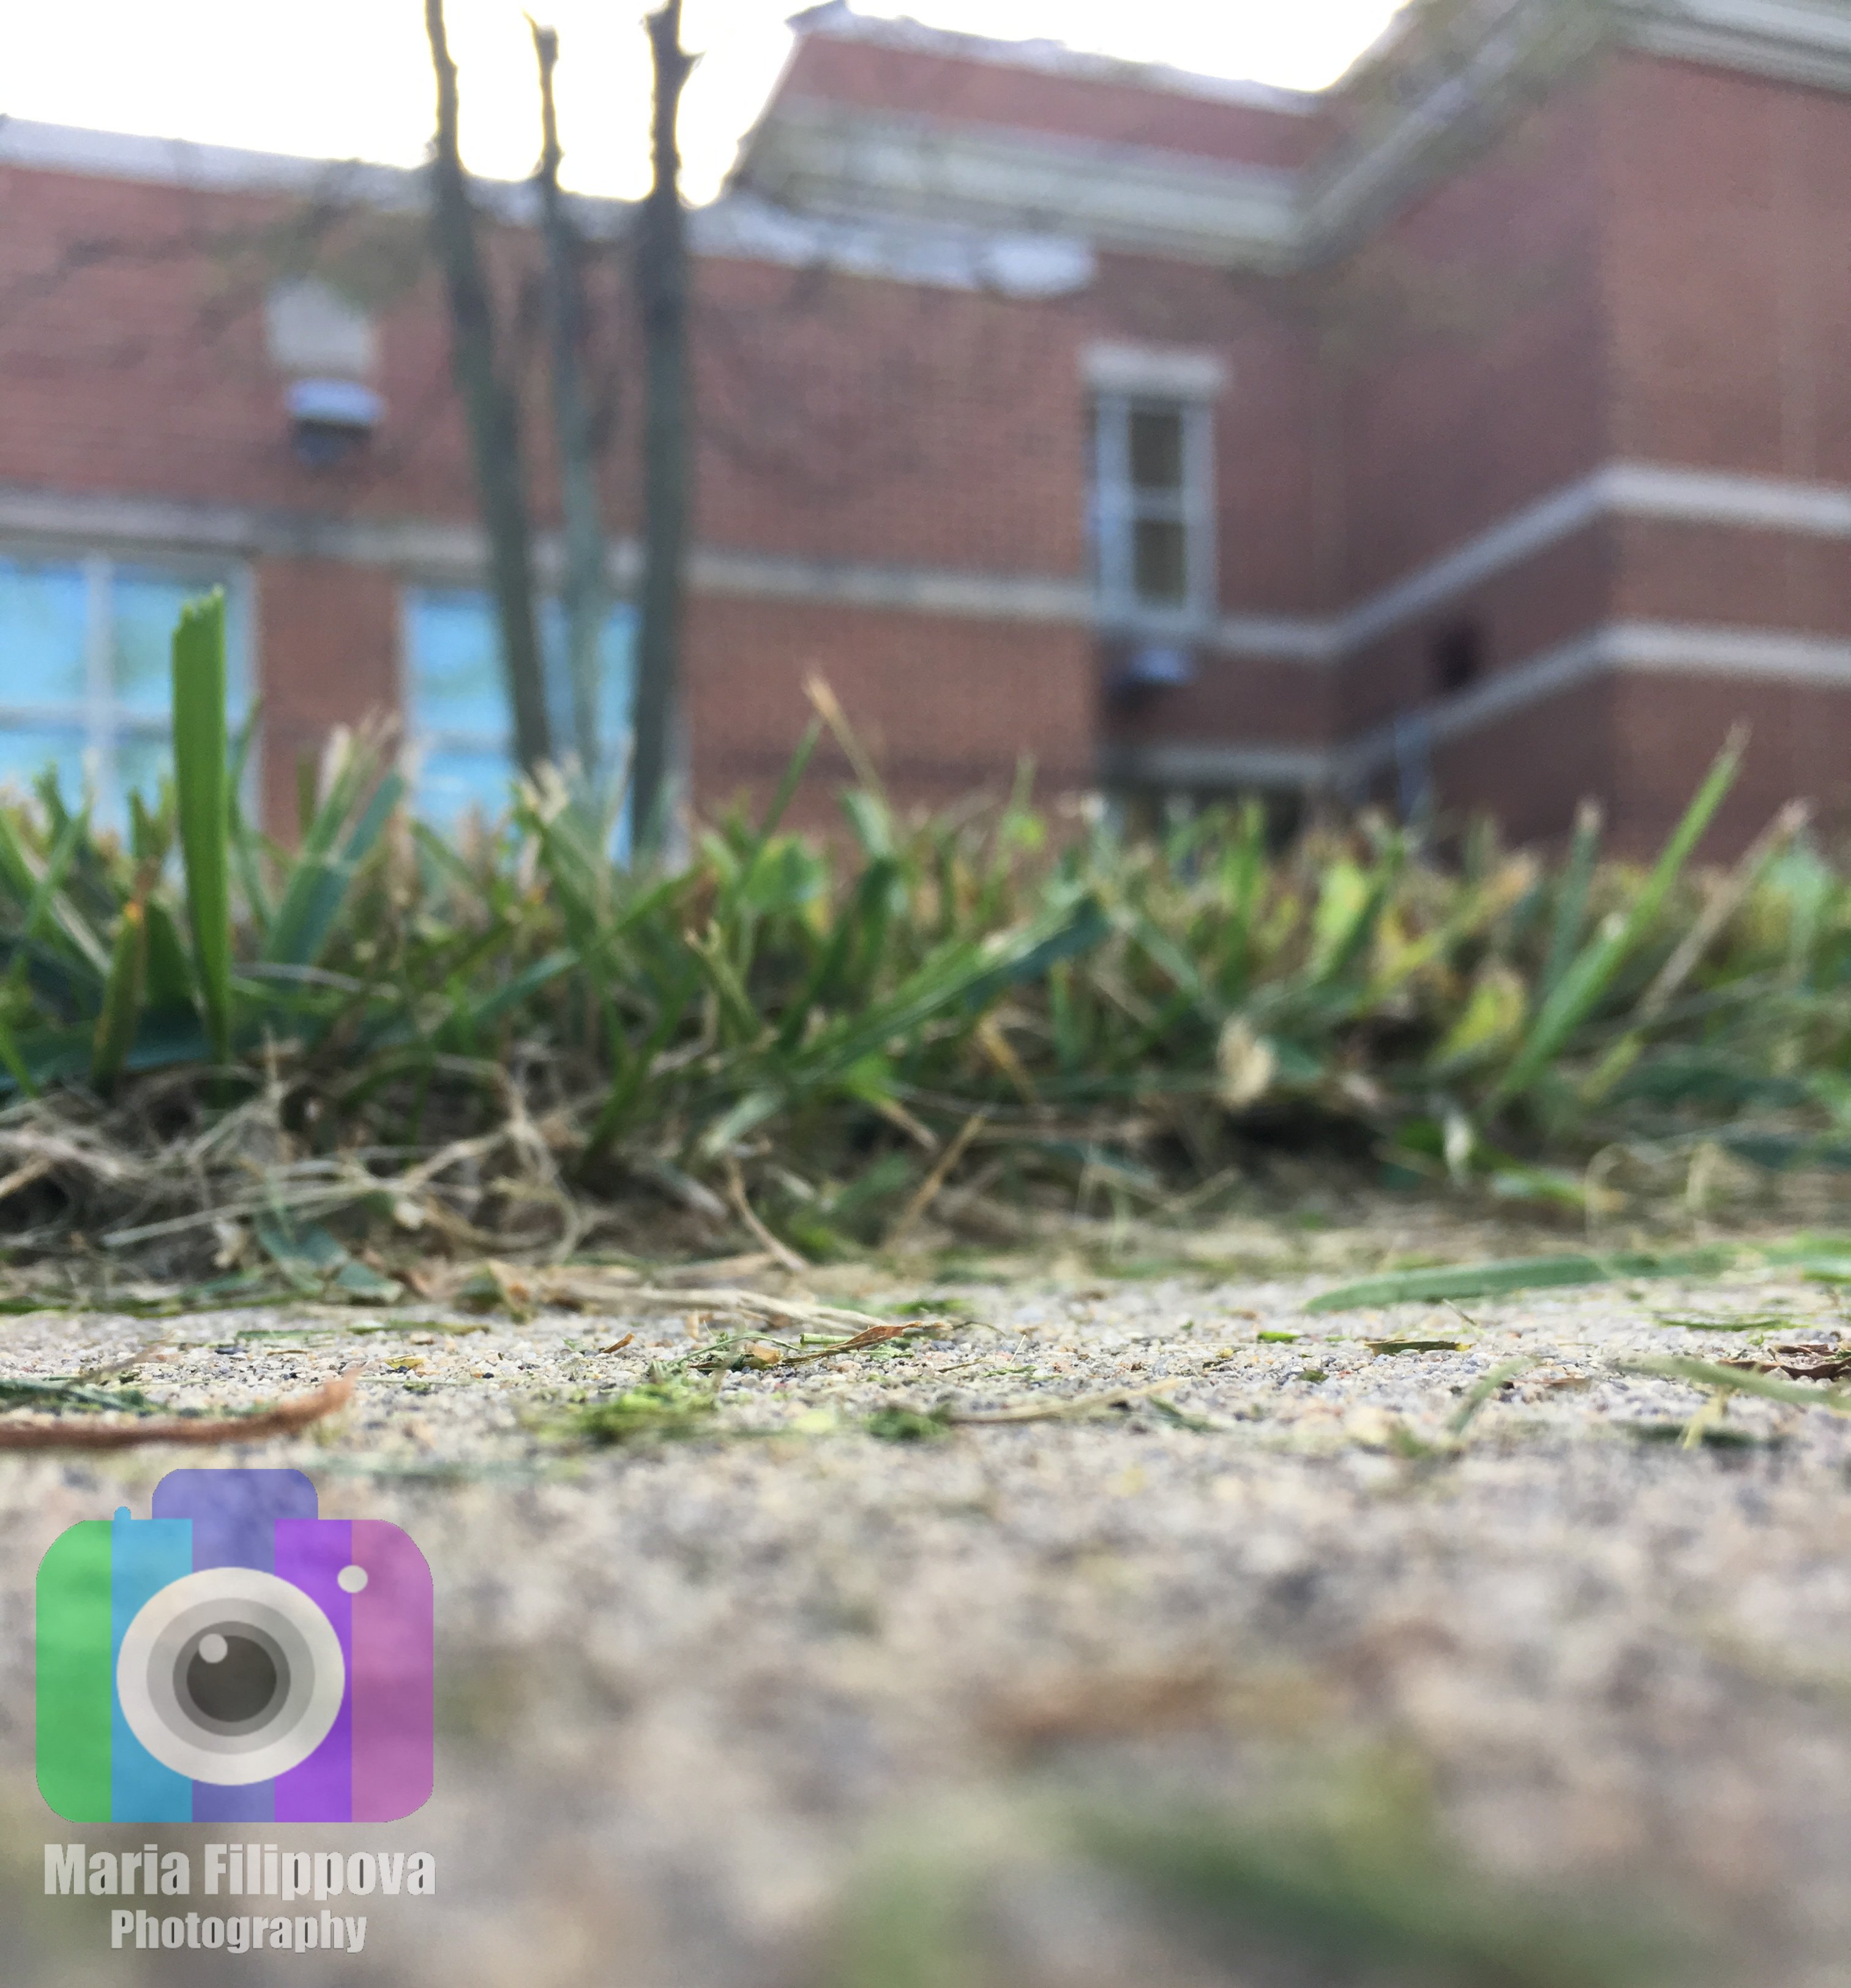
In this project we had to position ourselves or the camera in a certain way so that it would work with the Rule of Thirds. What worked was using the grid feature on my phone, and taking pictures outside where the light was good. I tried to take pictures of me jumping in the air, but that didn’t work out. I actually liked this project because it taught me how to make my pictures look more professional. My thoughts did kind of change, because i thought this rule was stupid, but it worked out well. I used a 3 by 3 grid, to achieve these Rule of Thirds pictures. I used the “grid” setting on made sure that my body, or the most important object was on a line in the grid, instead of in the middle. Here are my two favorite photos: 

If you want to see my other photos, click here.

Portraits with a Black Background

Portraits with a Black Background

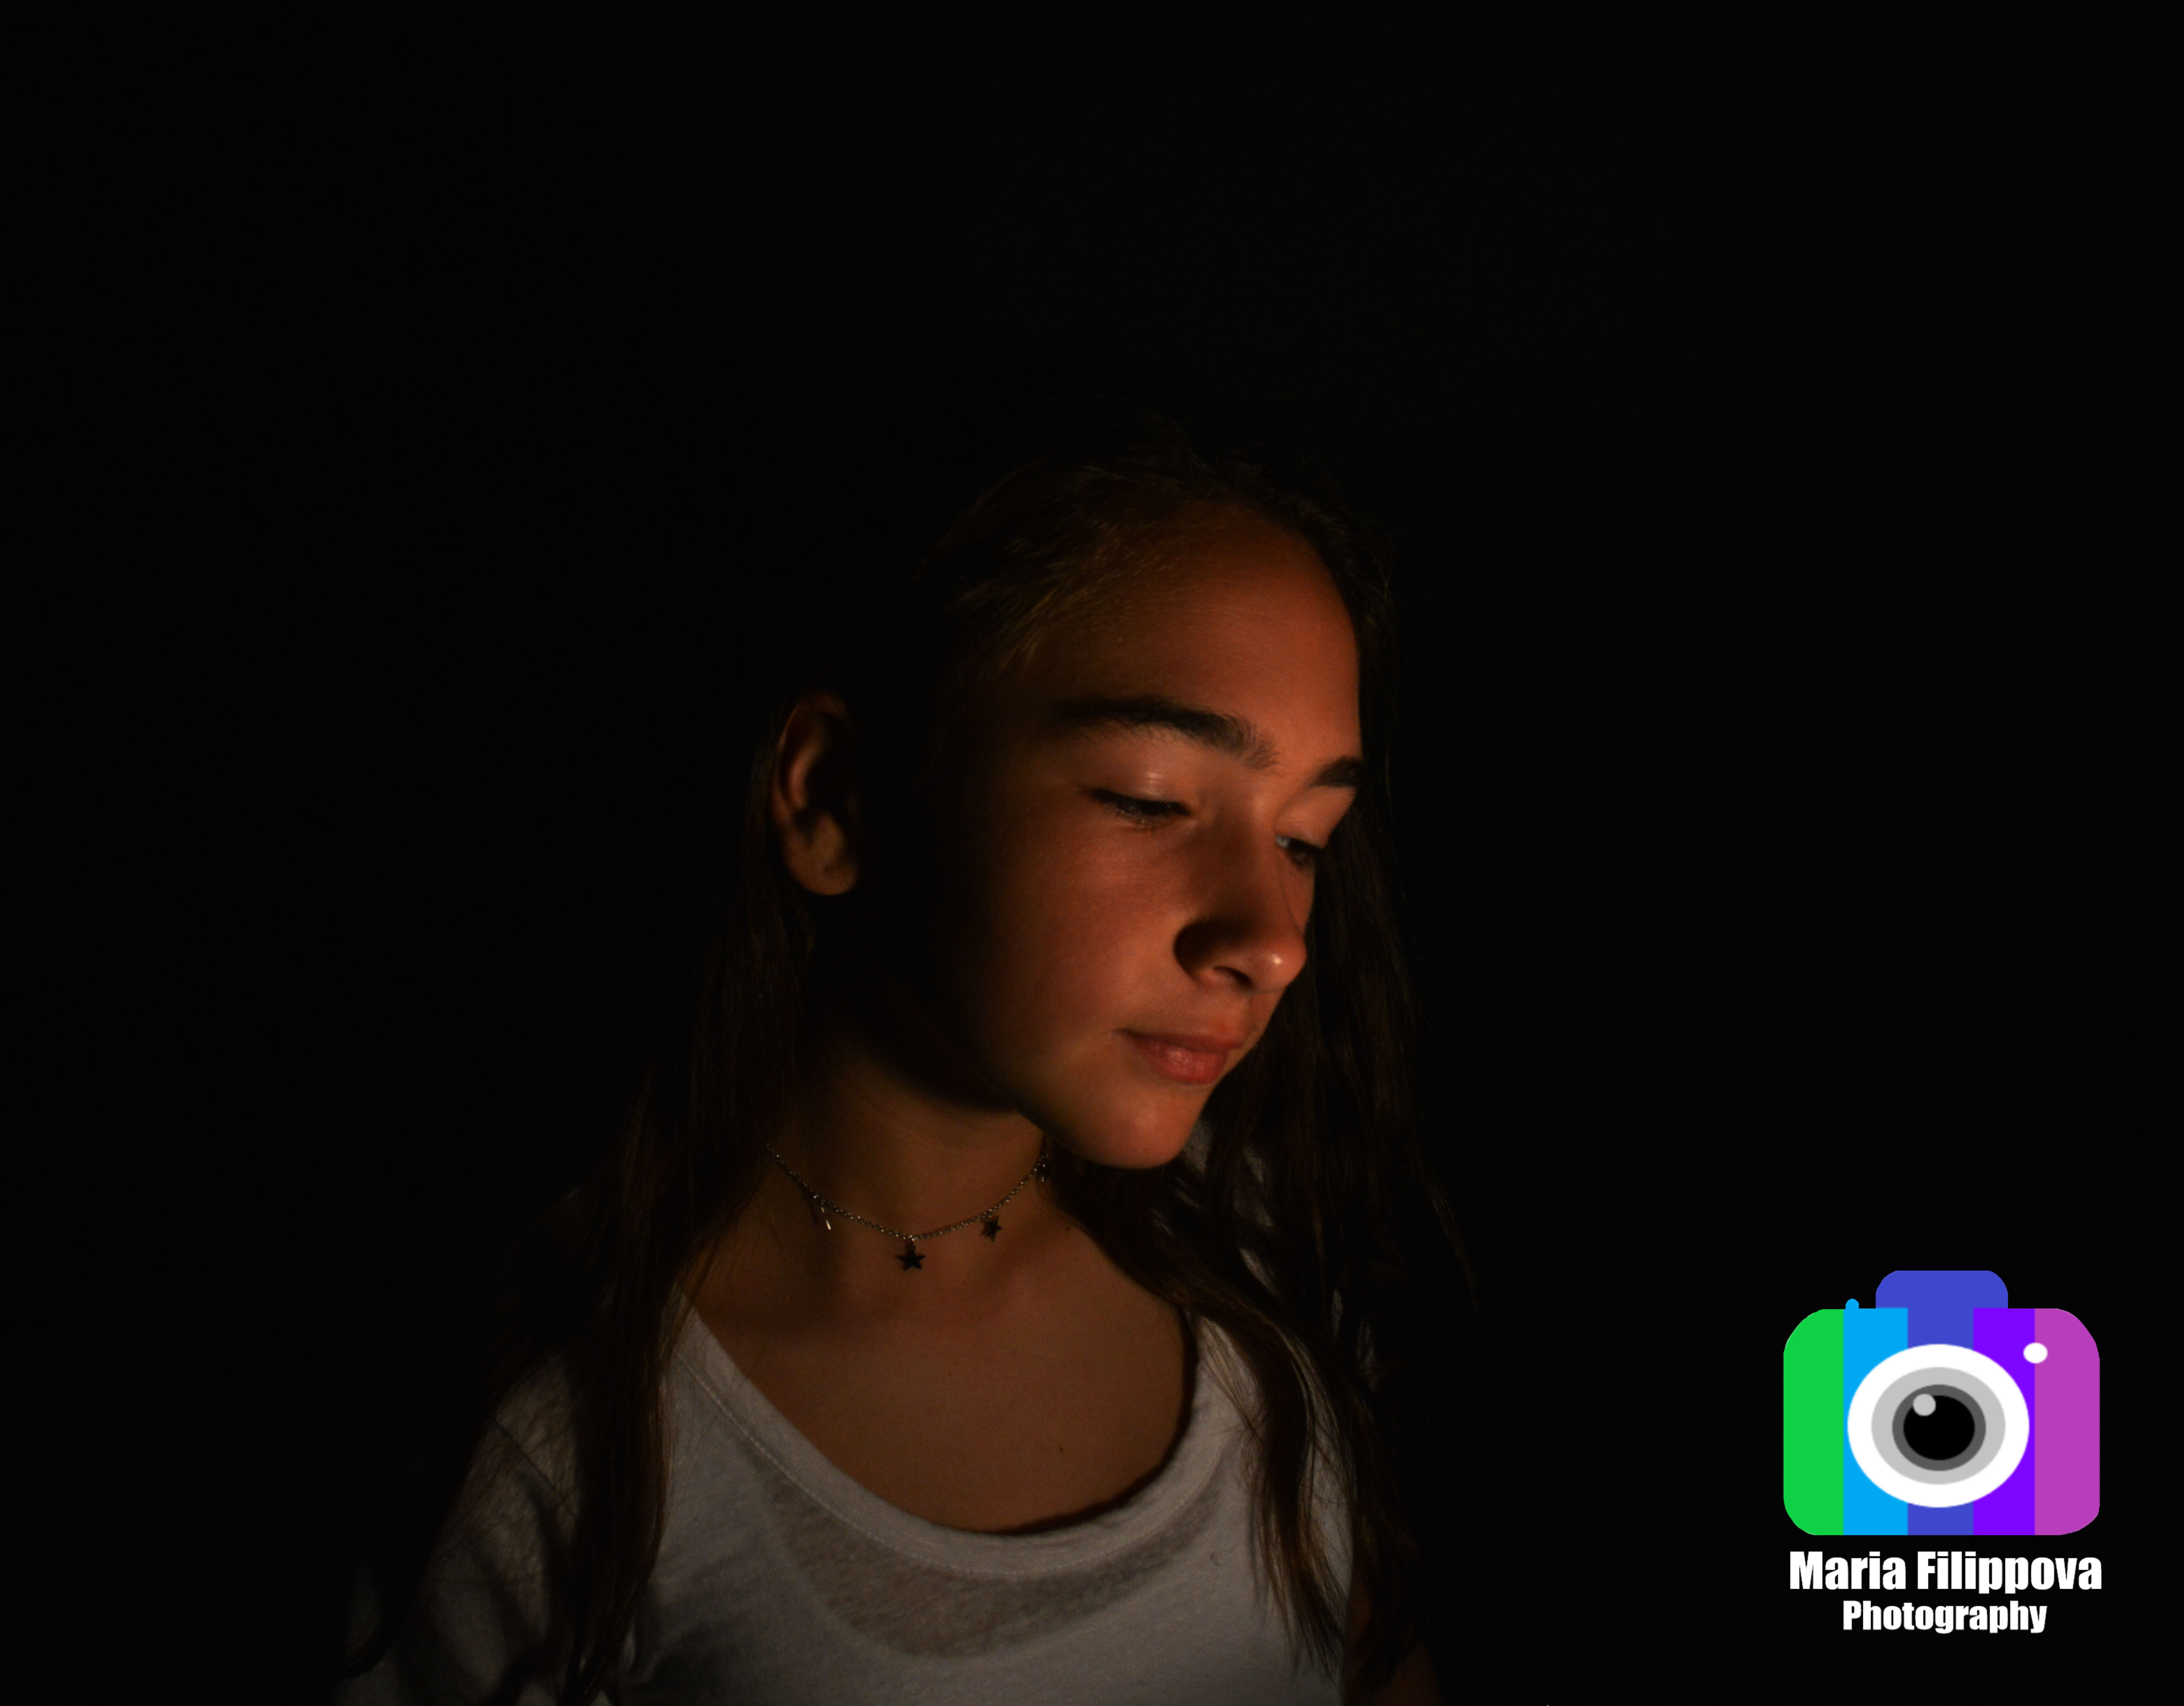
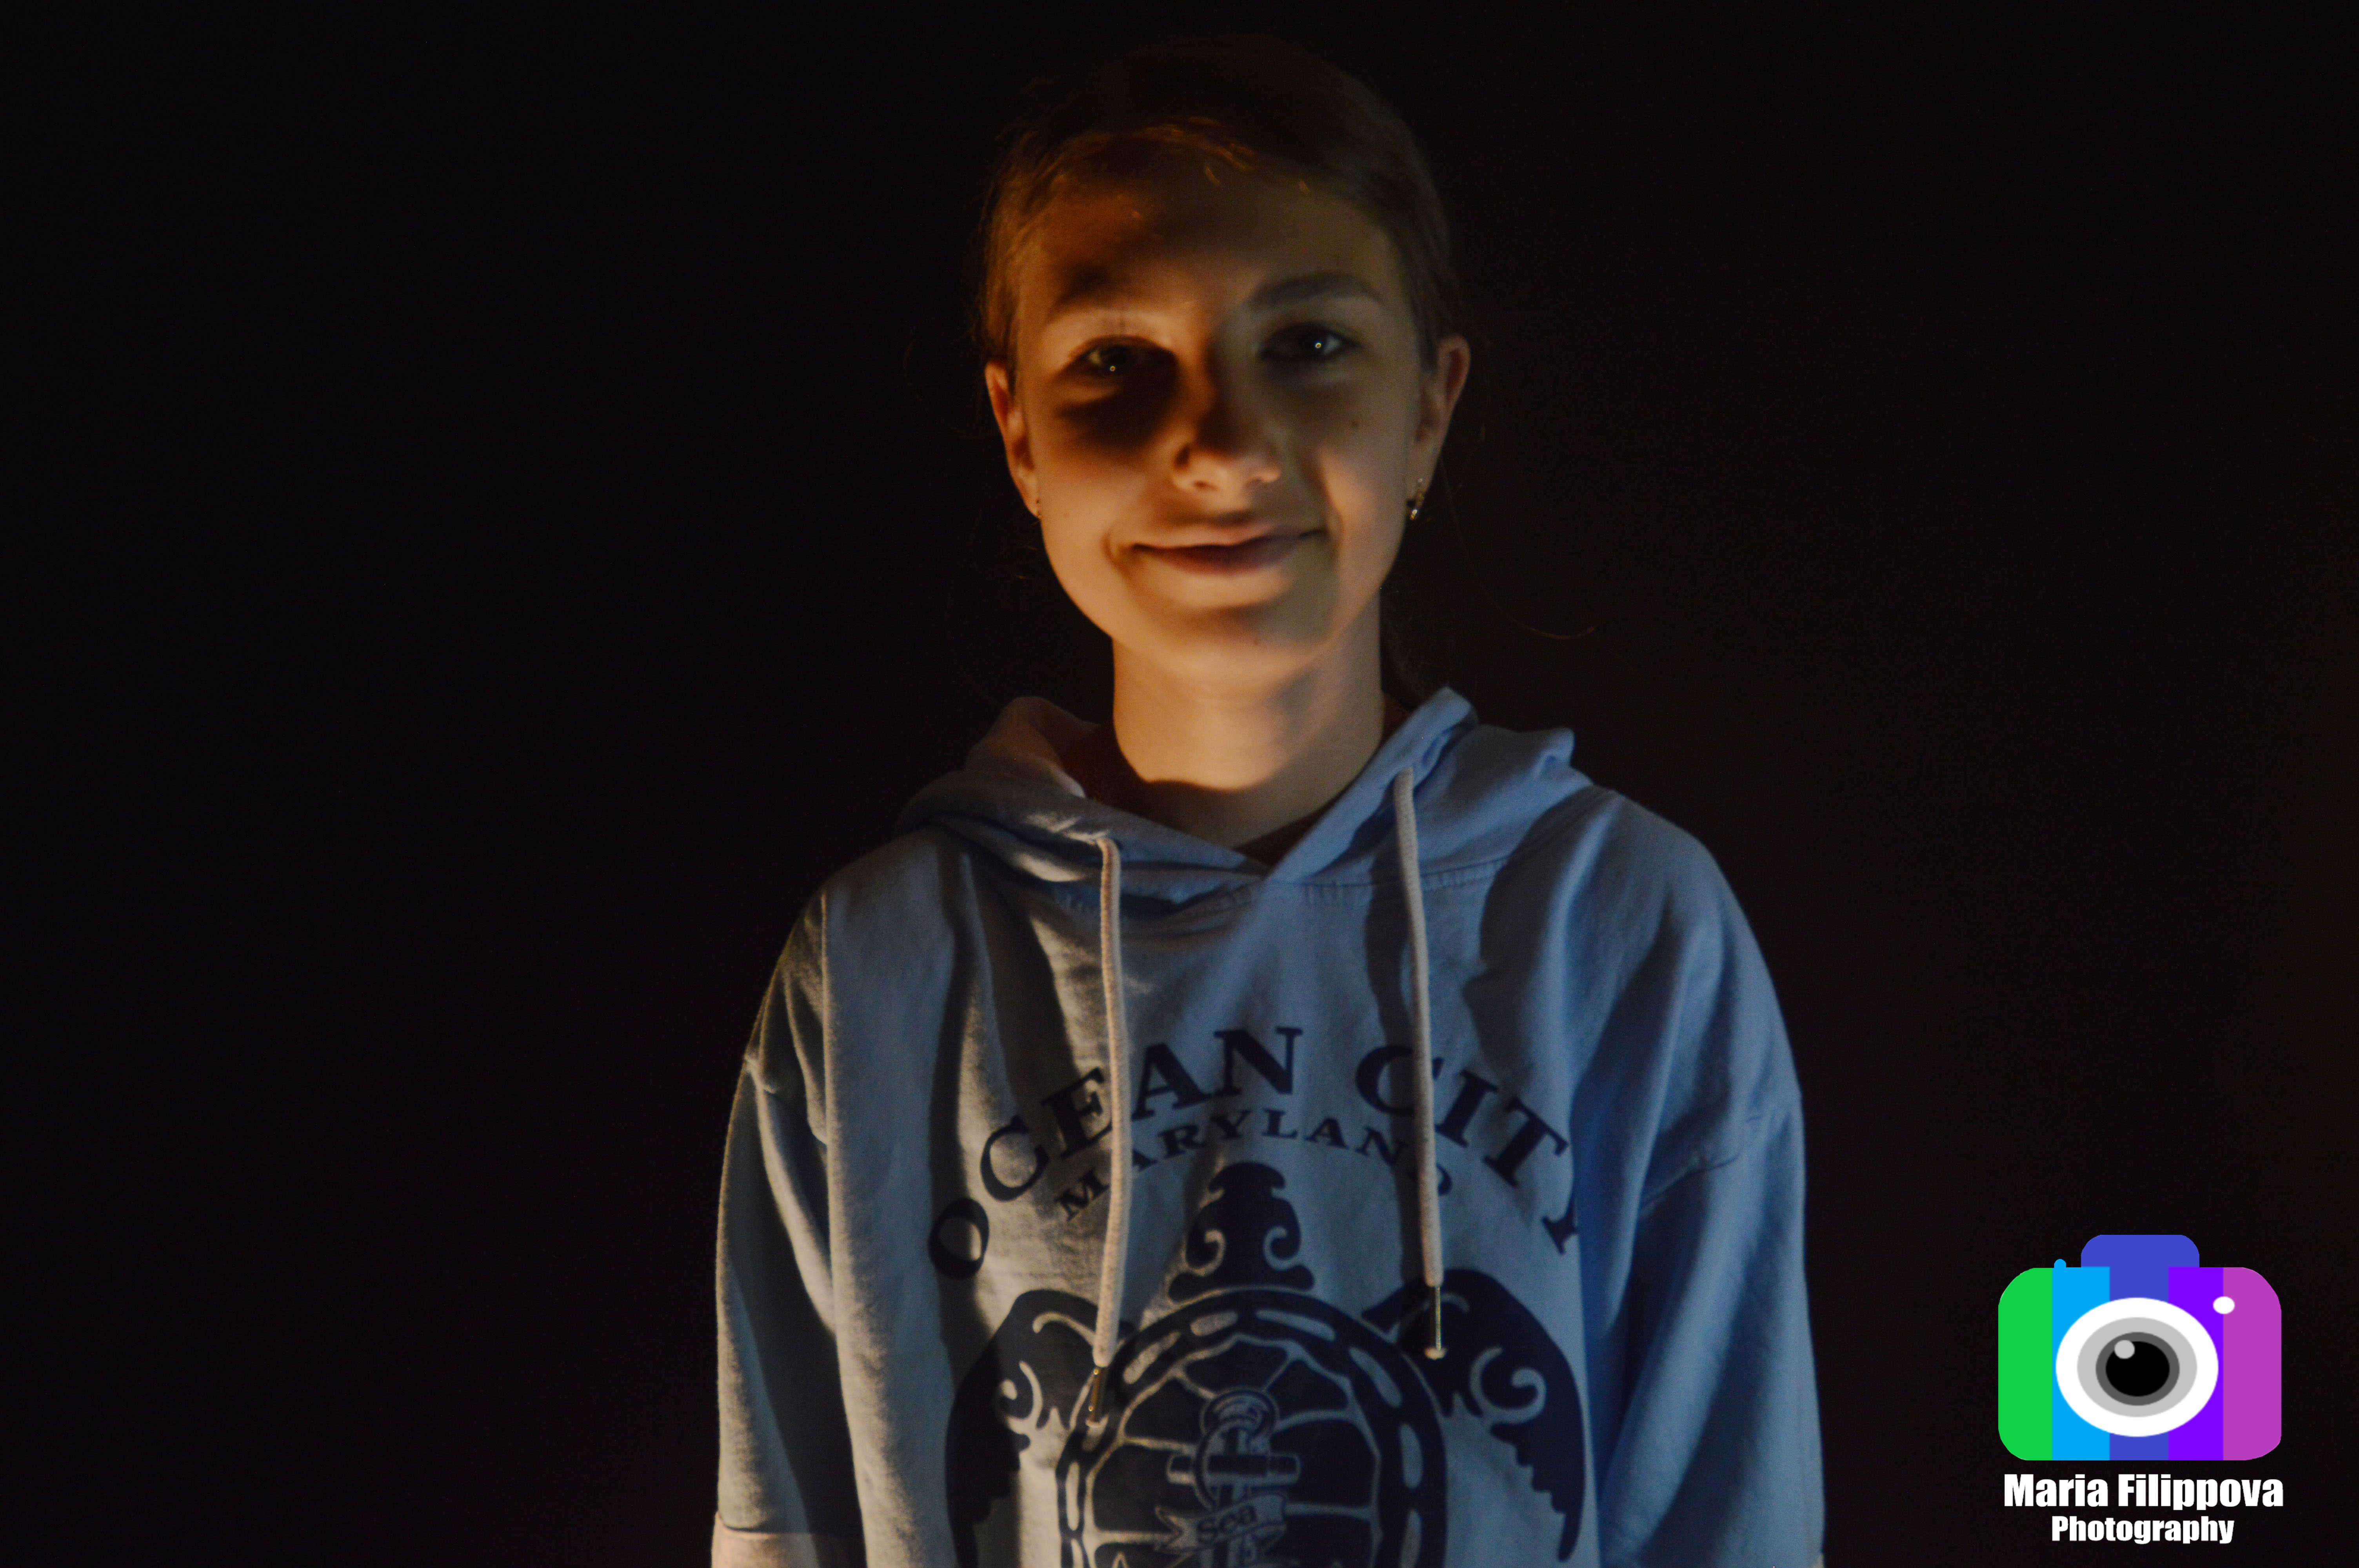
In this project, me and my group had to position the light in a special way, so that there would be no shadows, and so that the light would only be on us. We needed to set the camera settings to manual mode, and we needed to take pictures using ISO. The thing that worked for us the most was positioning the light in front of our bodies so that there would be no shadows. Placing the light in front of the person didn’t work. Here is a photo I took and a picture of me:

If you want to see all my other pictures, click here.

Portraits with a White Background

Portraits with a White Background

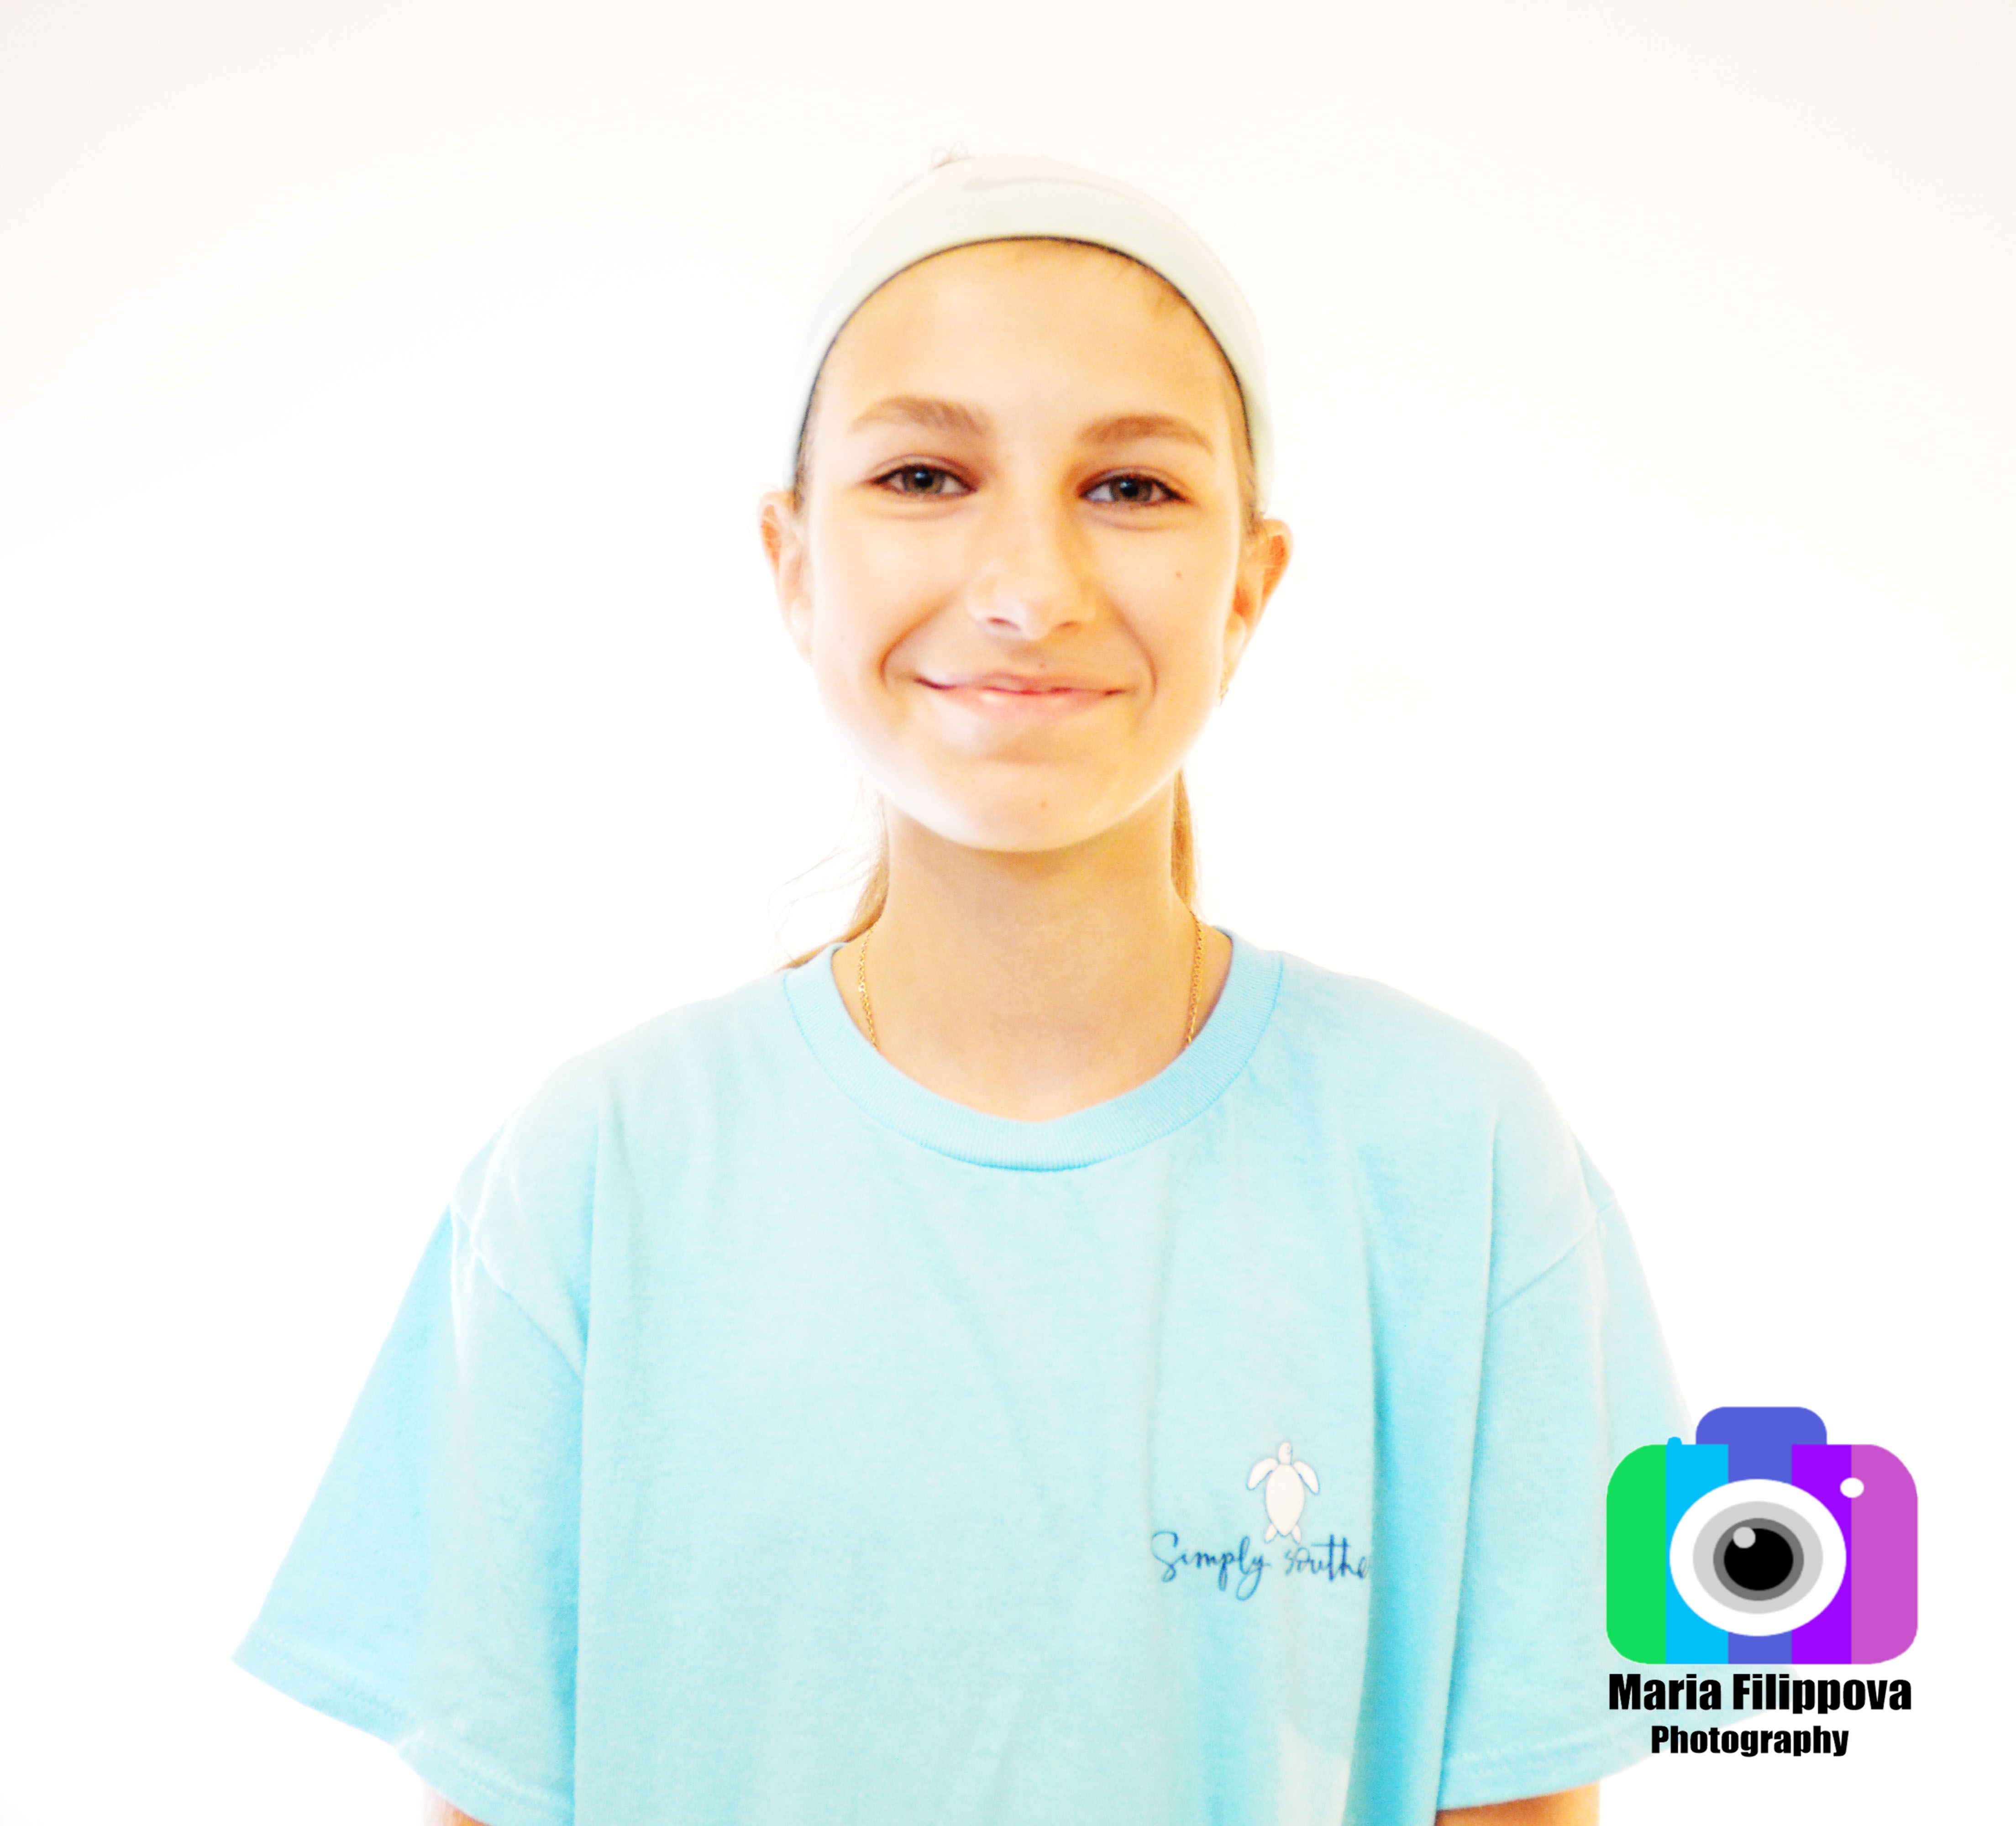
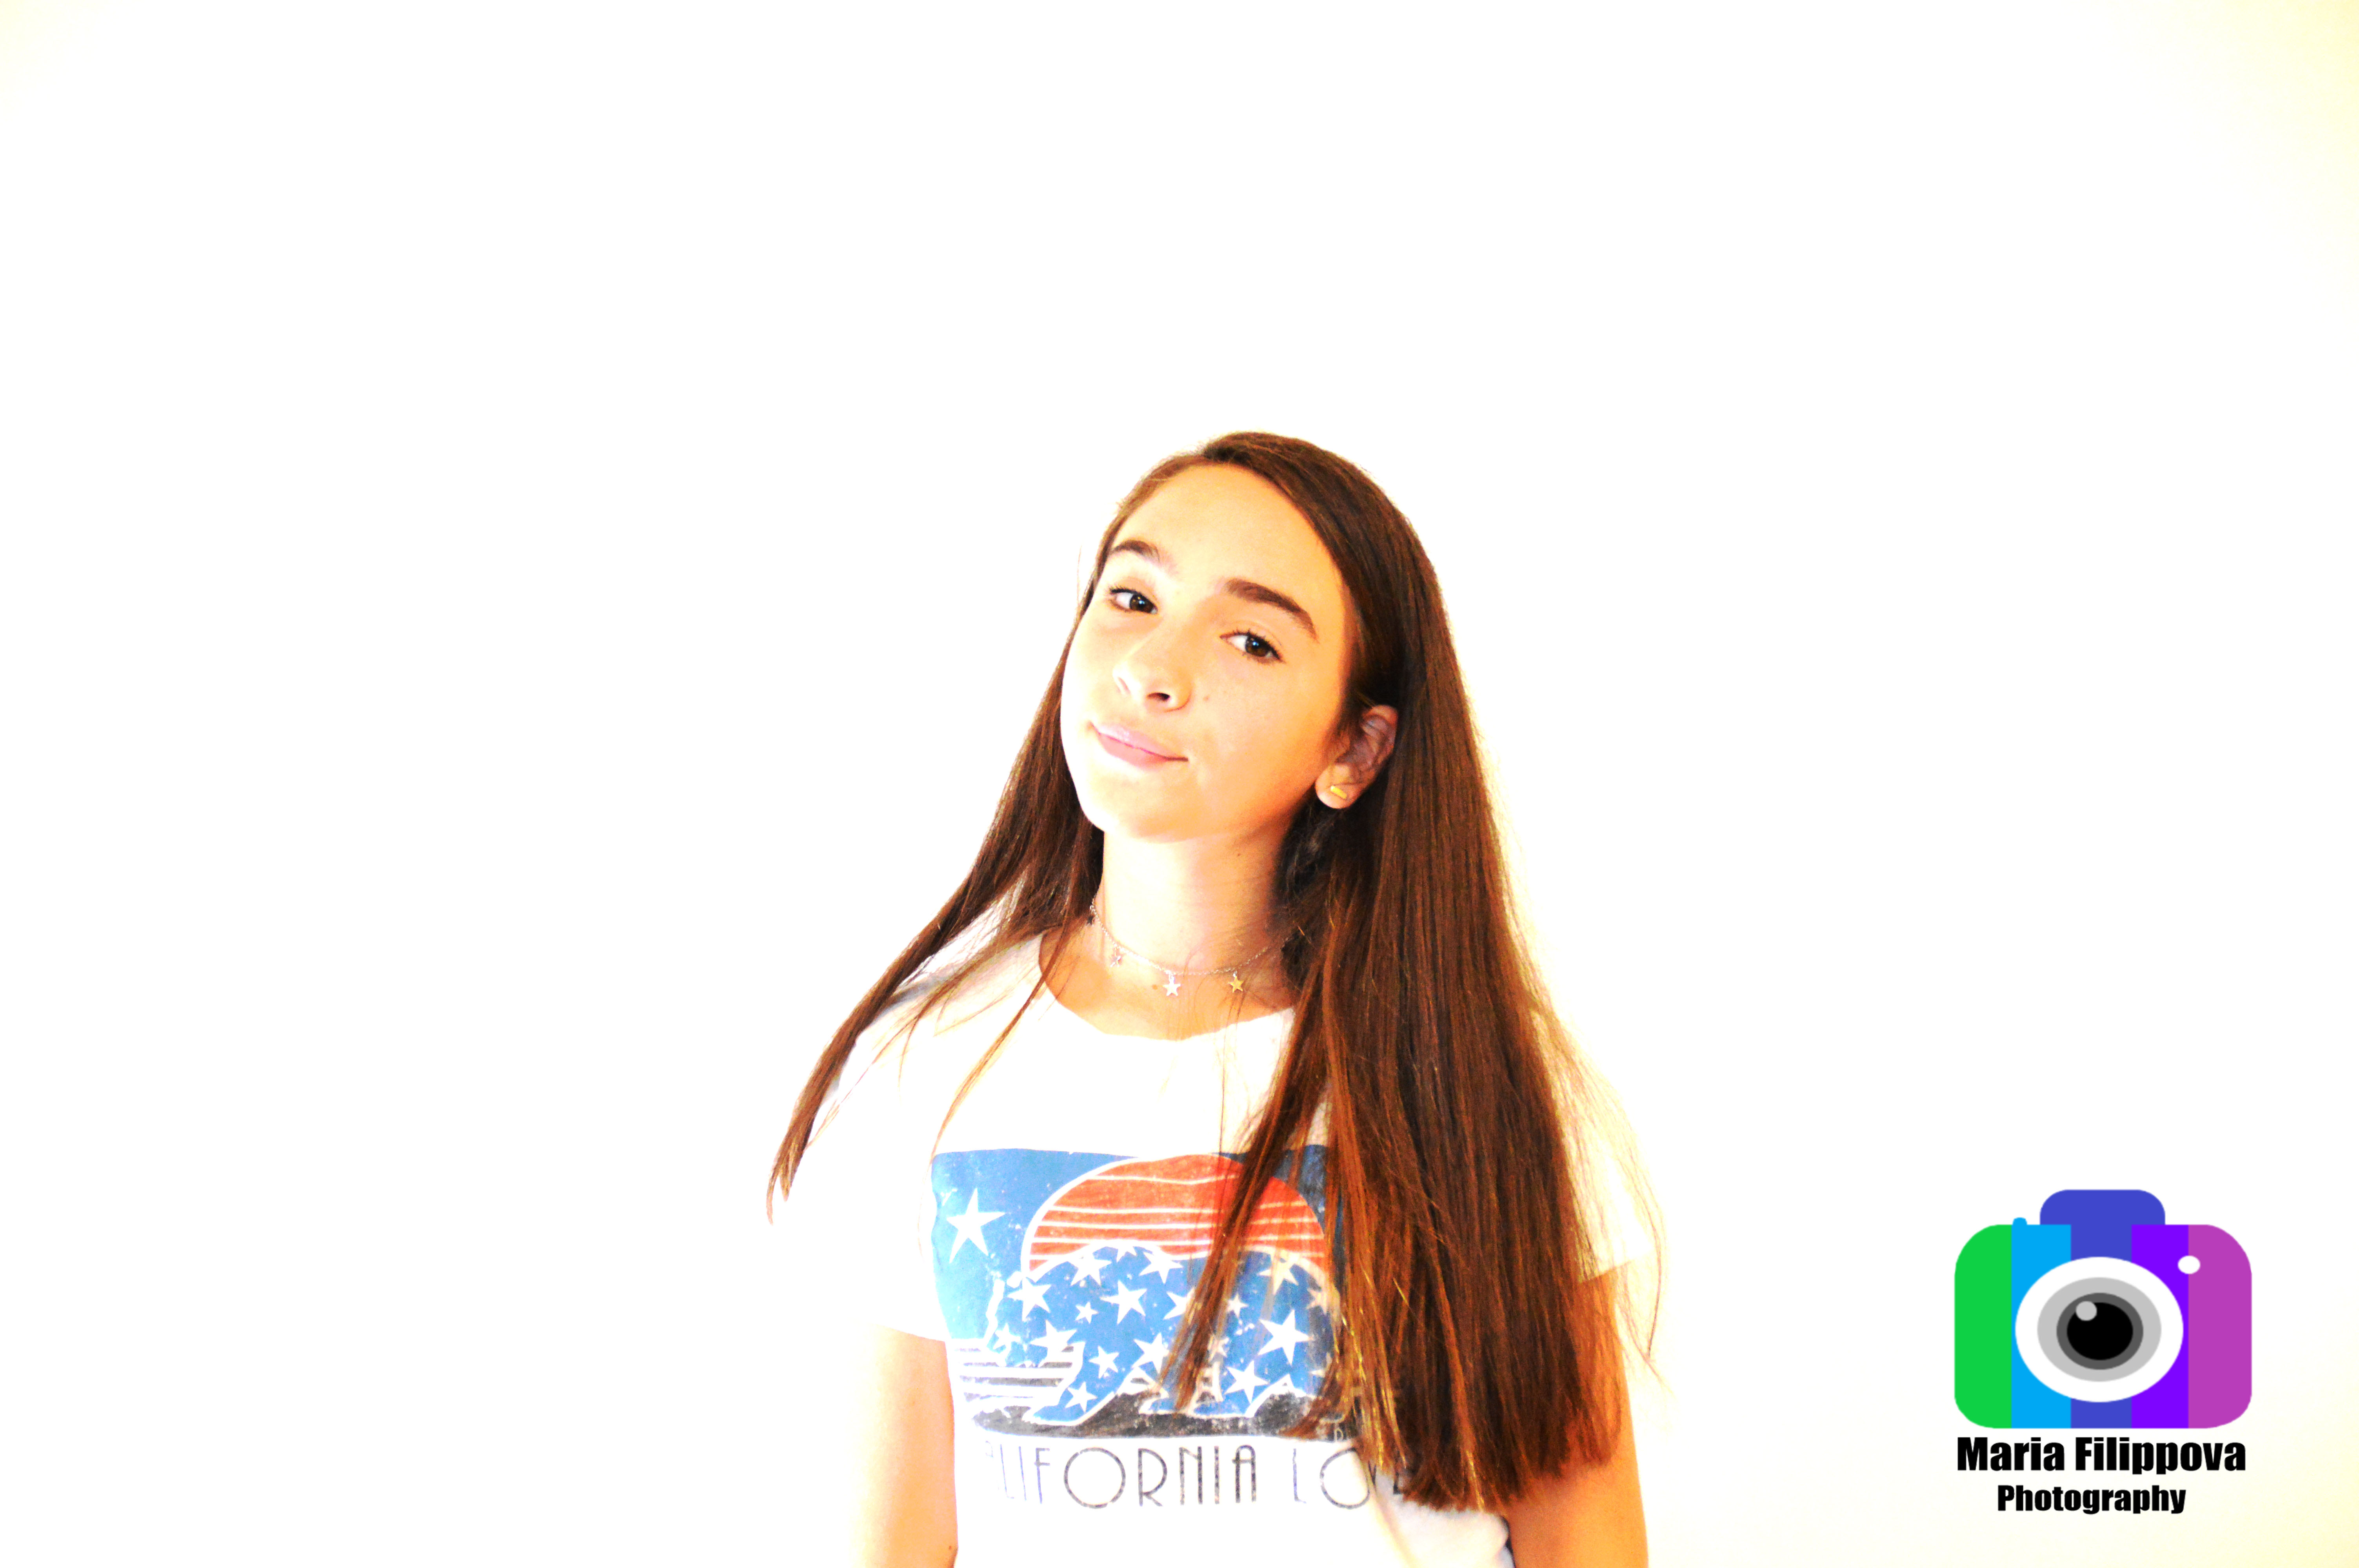
For this project, me and my group had to take a photo, so that it would like like we had no background. We needed to make sure that the lighting was perfect too. After that, we would edit the pictures on Adobe Photoshop, to make sure the pictures turned out perfect. Using two lights helped us make the background look better, and cropping the picture also helped it look better. We tried to take pictures of us jumping, but that didn’t work. Here is a picture of me, and a picture I took:

To see all my other photos, click here.