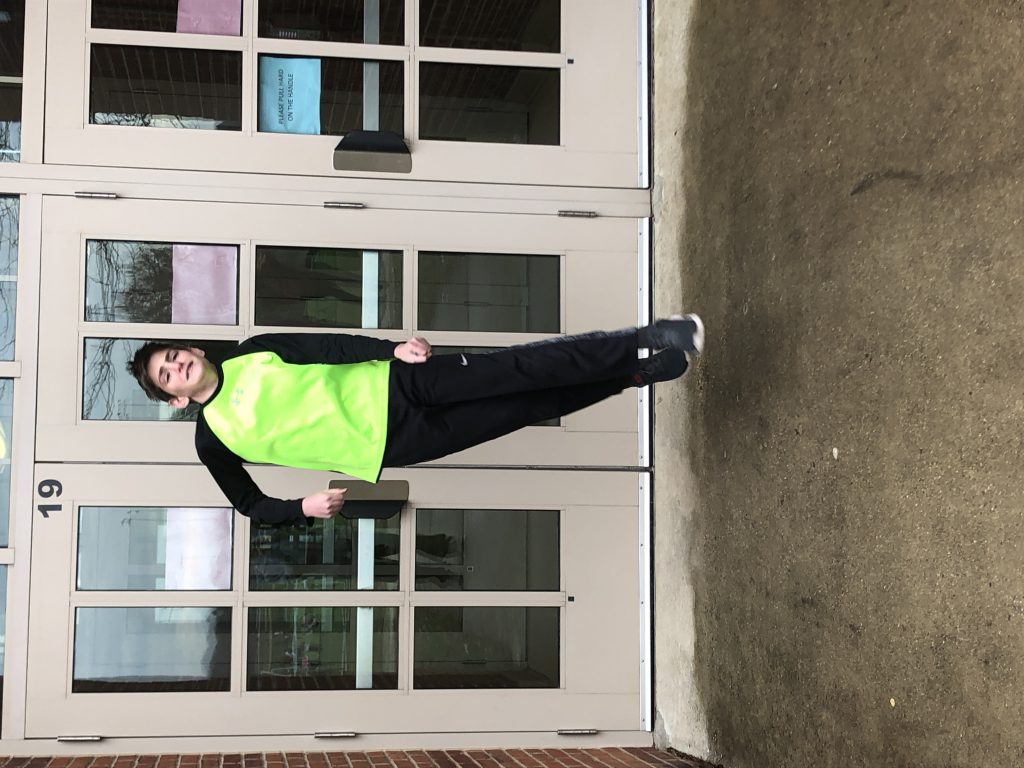
In this project, we had to catch someone or something moving, and take a picture of it. This project was easy for me because there were a lot of objects for me to use, and I was good at making sure that they weren’t blurry when I took them. A tip from me is that you need to be completely still and focus the whole time while taking the picture. I would want to photograph a baseball game in action if I could.
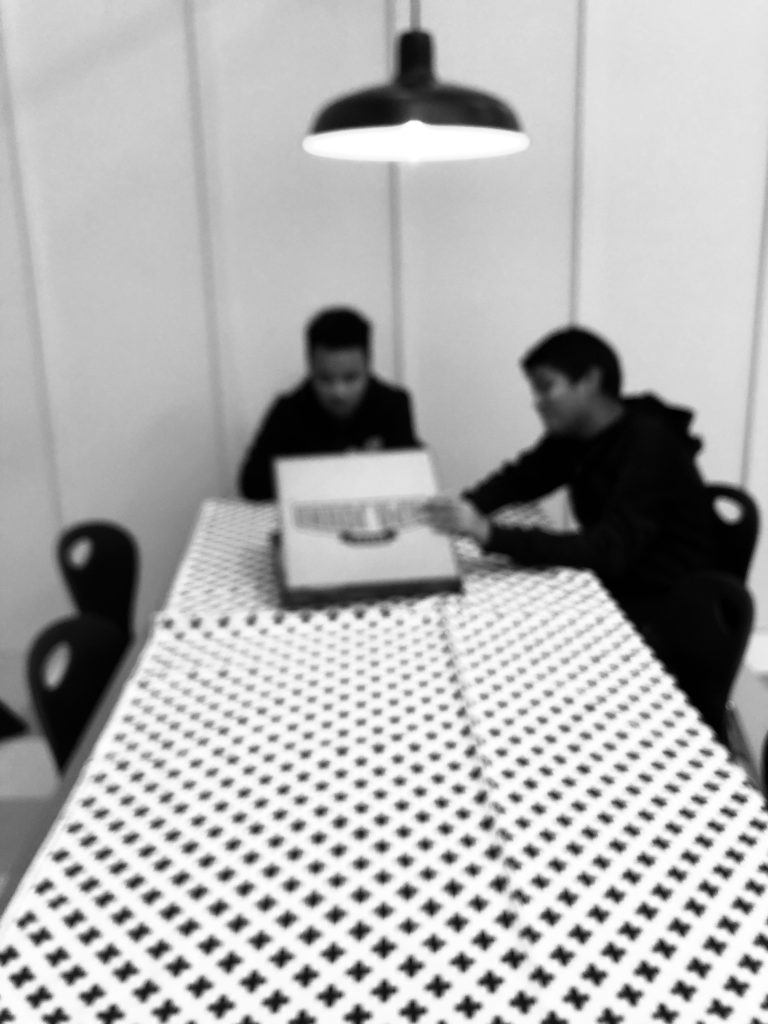
This project is a project that makes it seem like you are in an enclosed area, when really, you are taking the photo in a public area. The photographer were Jake (Me), Afeef, and Maynor. I used the hue graph to make the top of the photos darker, so it looked like an actual room. If I had a place to tell my family’s story, it would be in the living room, because that’s where we spend most of our time, usually on our phones.
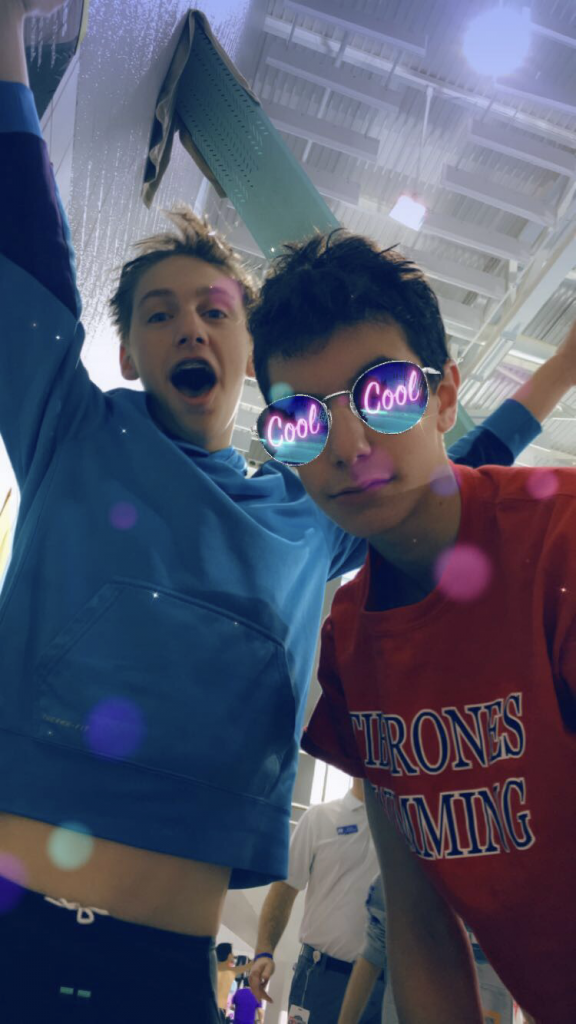
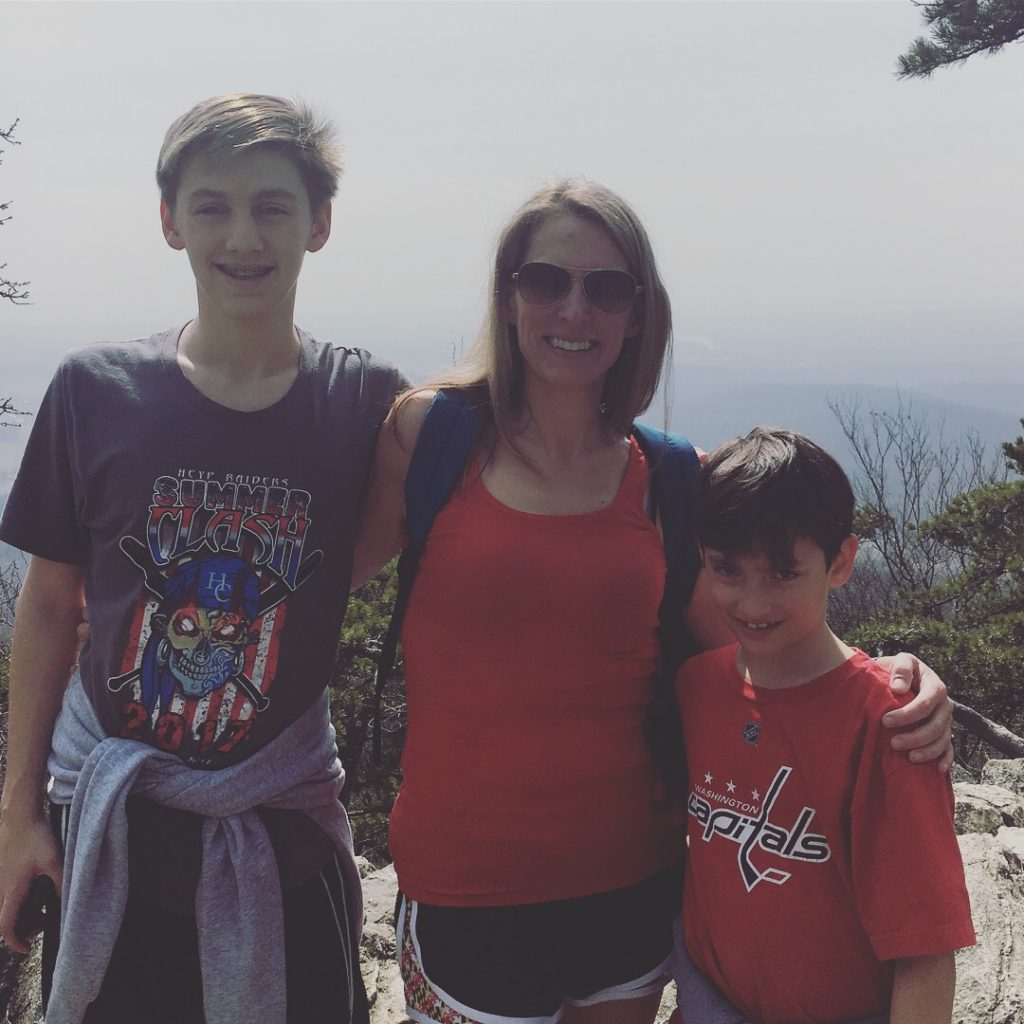
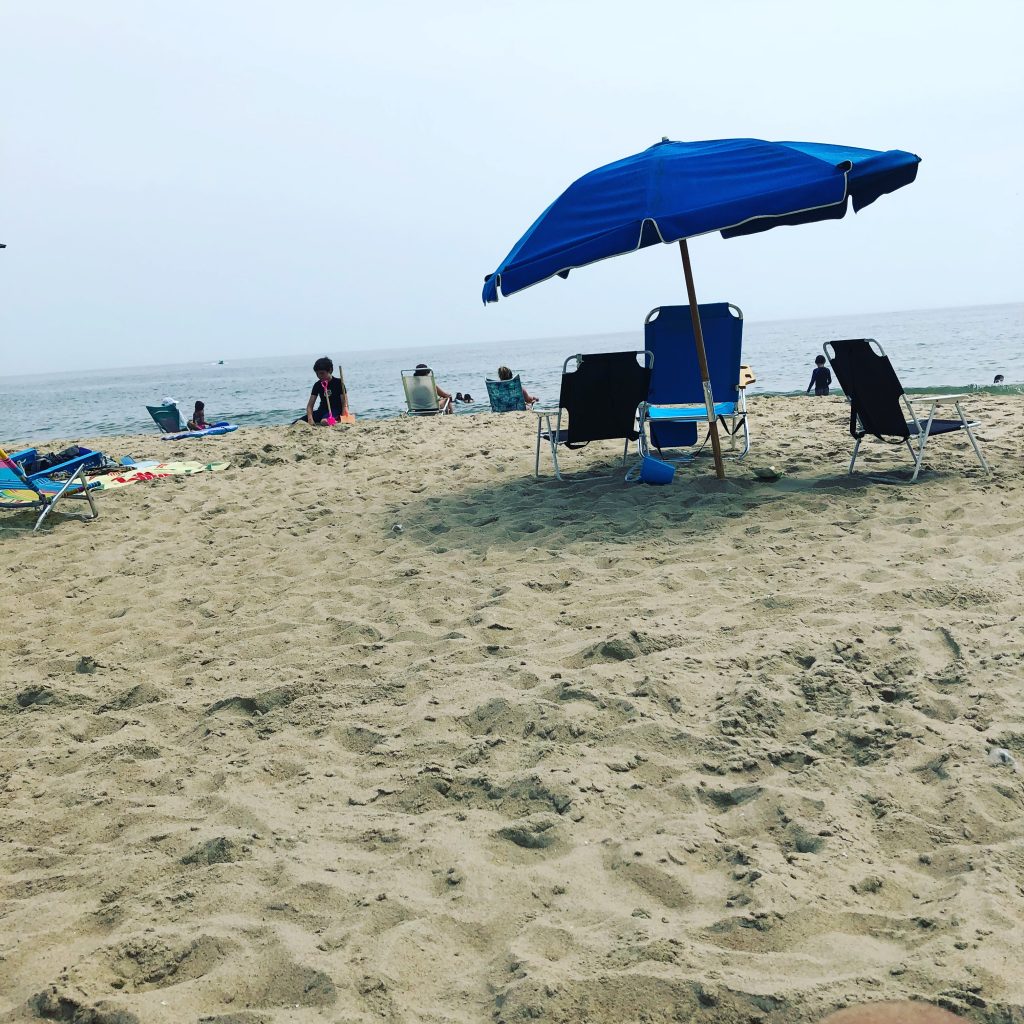
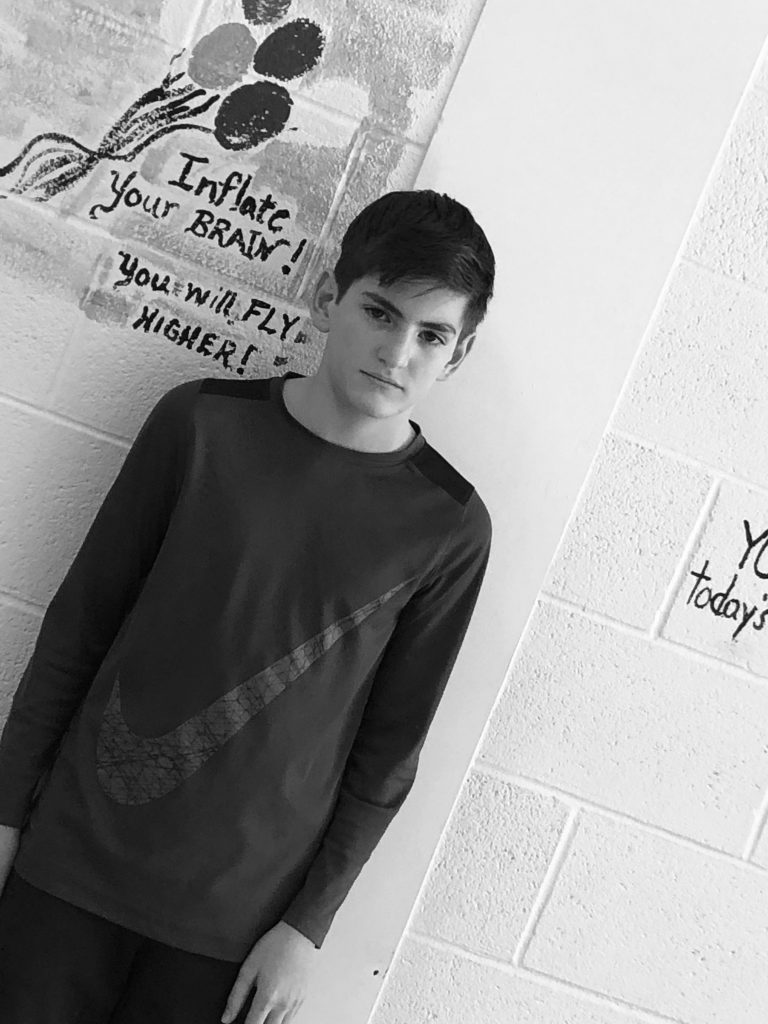
This is James. James is probably my best friend. He is so funny and so weird at the same time, and I don’t know what I would do without him.These are my friends. They are the most supportive, ridiculous people I know. They are all the best and they make me so happy. This is a picture of me at a meet. I’m thankful for swimming because it has kept me in shape, as well as helping me meet amazing peopleThis is my family. They are the people that keep my alive, and that keep me sane. My mom is the best mom I could ask for, and my brother is super funny, and is really nice.The beach is the one place where I feel relaxed, and I can just sit back and have no worries. This is the main reason why the summer is my favorite season. This one of my school friends. I’m thankful for all of my friends in school, because they have gotten me through the roughest days, and the worst tests, and have pretty much kept me from going insane.This is me. I am thankful for myself, because I have helped myself transform into the person I am today. I’ve learned many things and I keep on trying to improve myself every day.
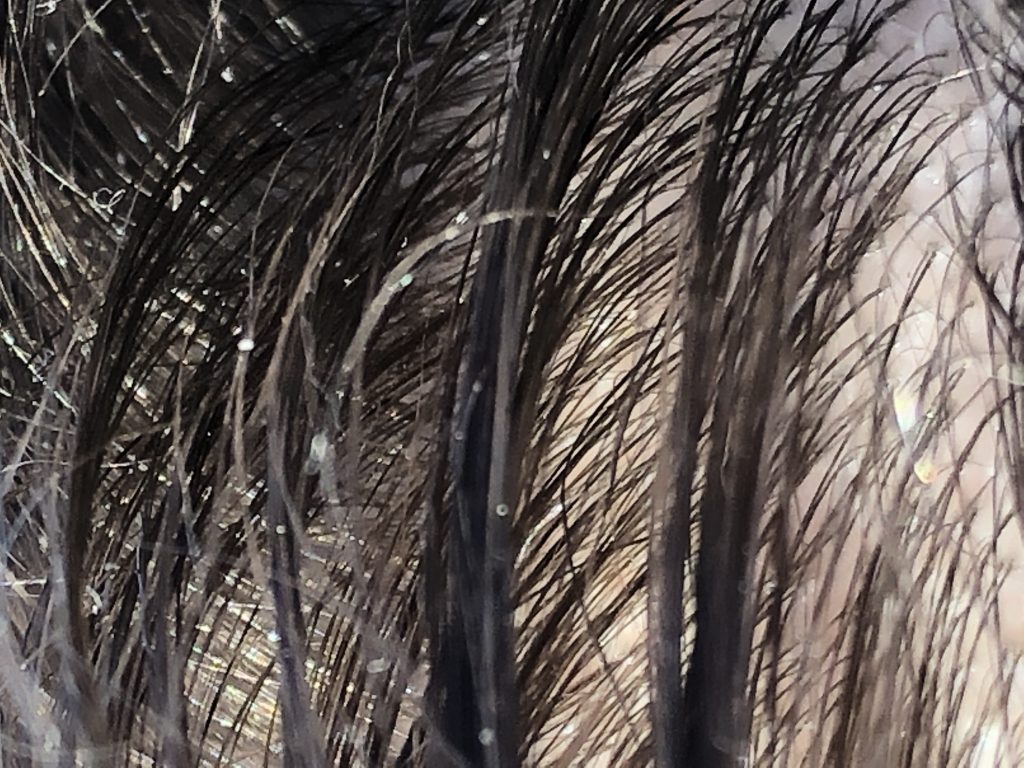
This semester in photography has been one of the best semesters ever. First, we started out just taking photos of crayons and putting a logo on them, and then we started to get more complicated. We started to take picture from certain angles, and editing them with Photoshop to make them black or white, or to crop out part of a picture, etc. my thoughts on photography have completely changed. I thought it was going to be boring and I wouldn’t have any fun, but it ended up being one of my favorite periods of the day. Now, whenever i take photos in real life, I have to make sure it has the right filter and is at the right angle, or I’ll have to take it again. My favorite project was the up close project, because we got to zoom in and take pictures of ordinary things. But when you look up close, they look a lot differently. I don’t think I will pursue photography as a career, but I will definitely continue to take good quality pictures.
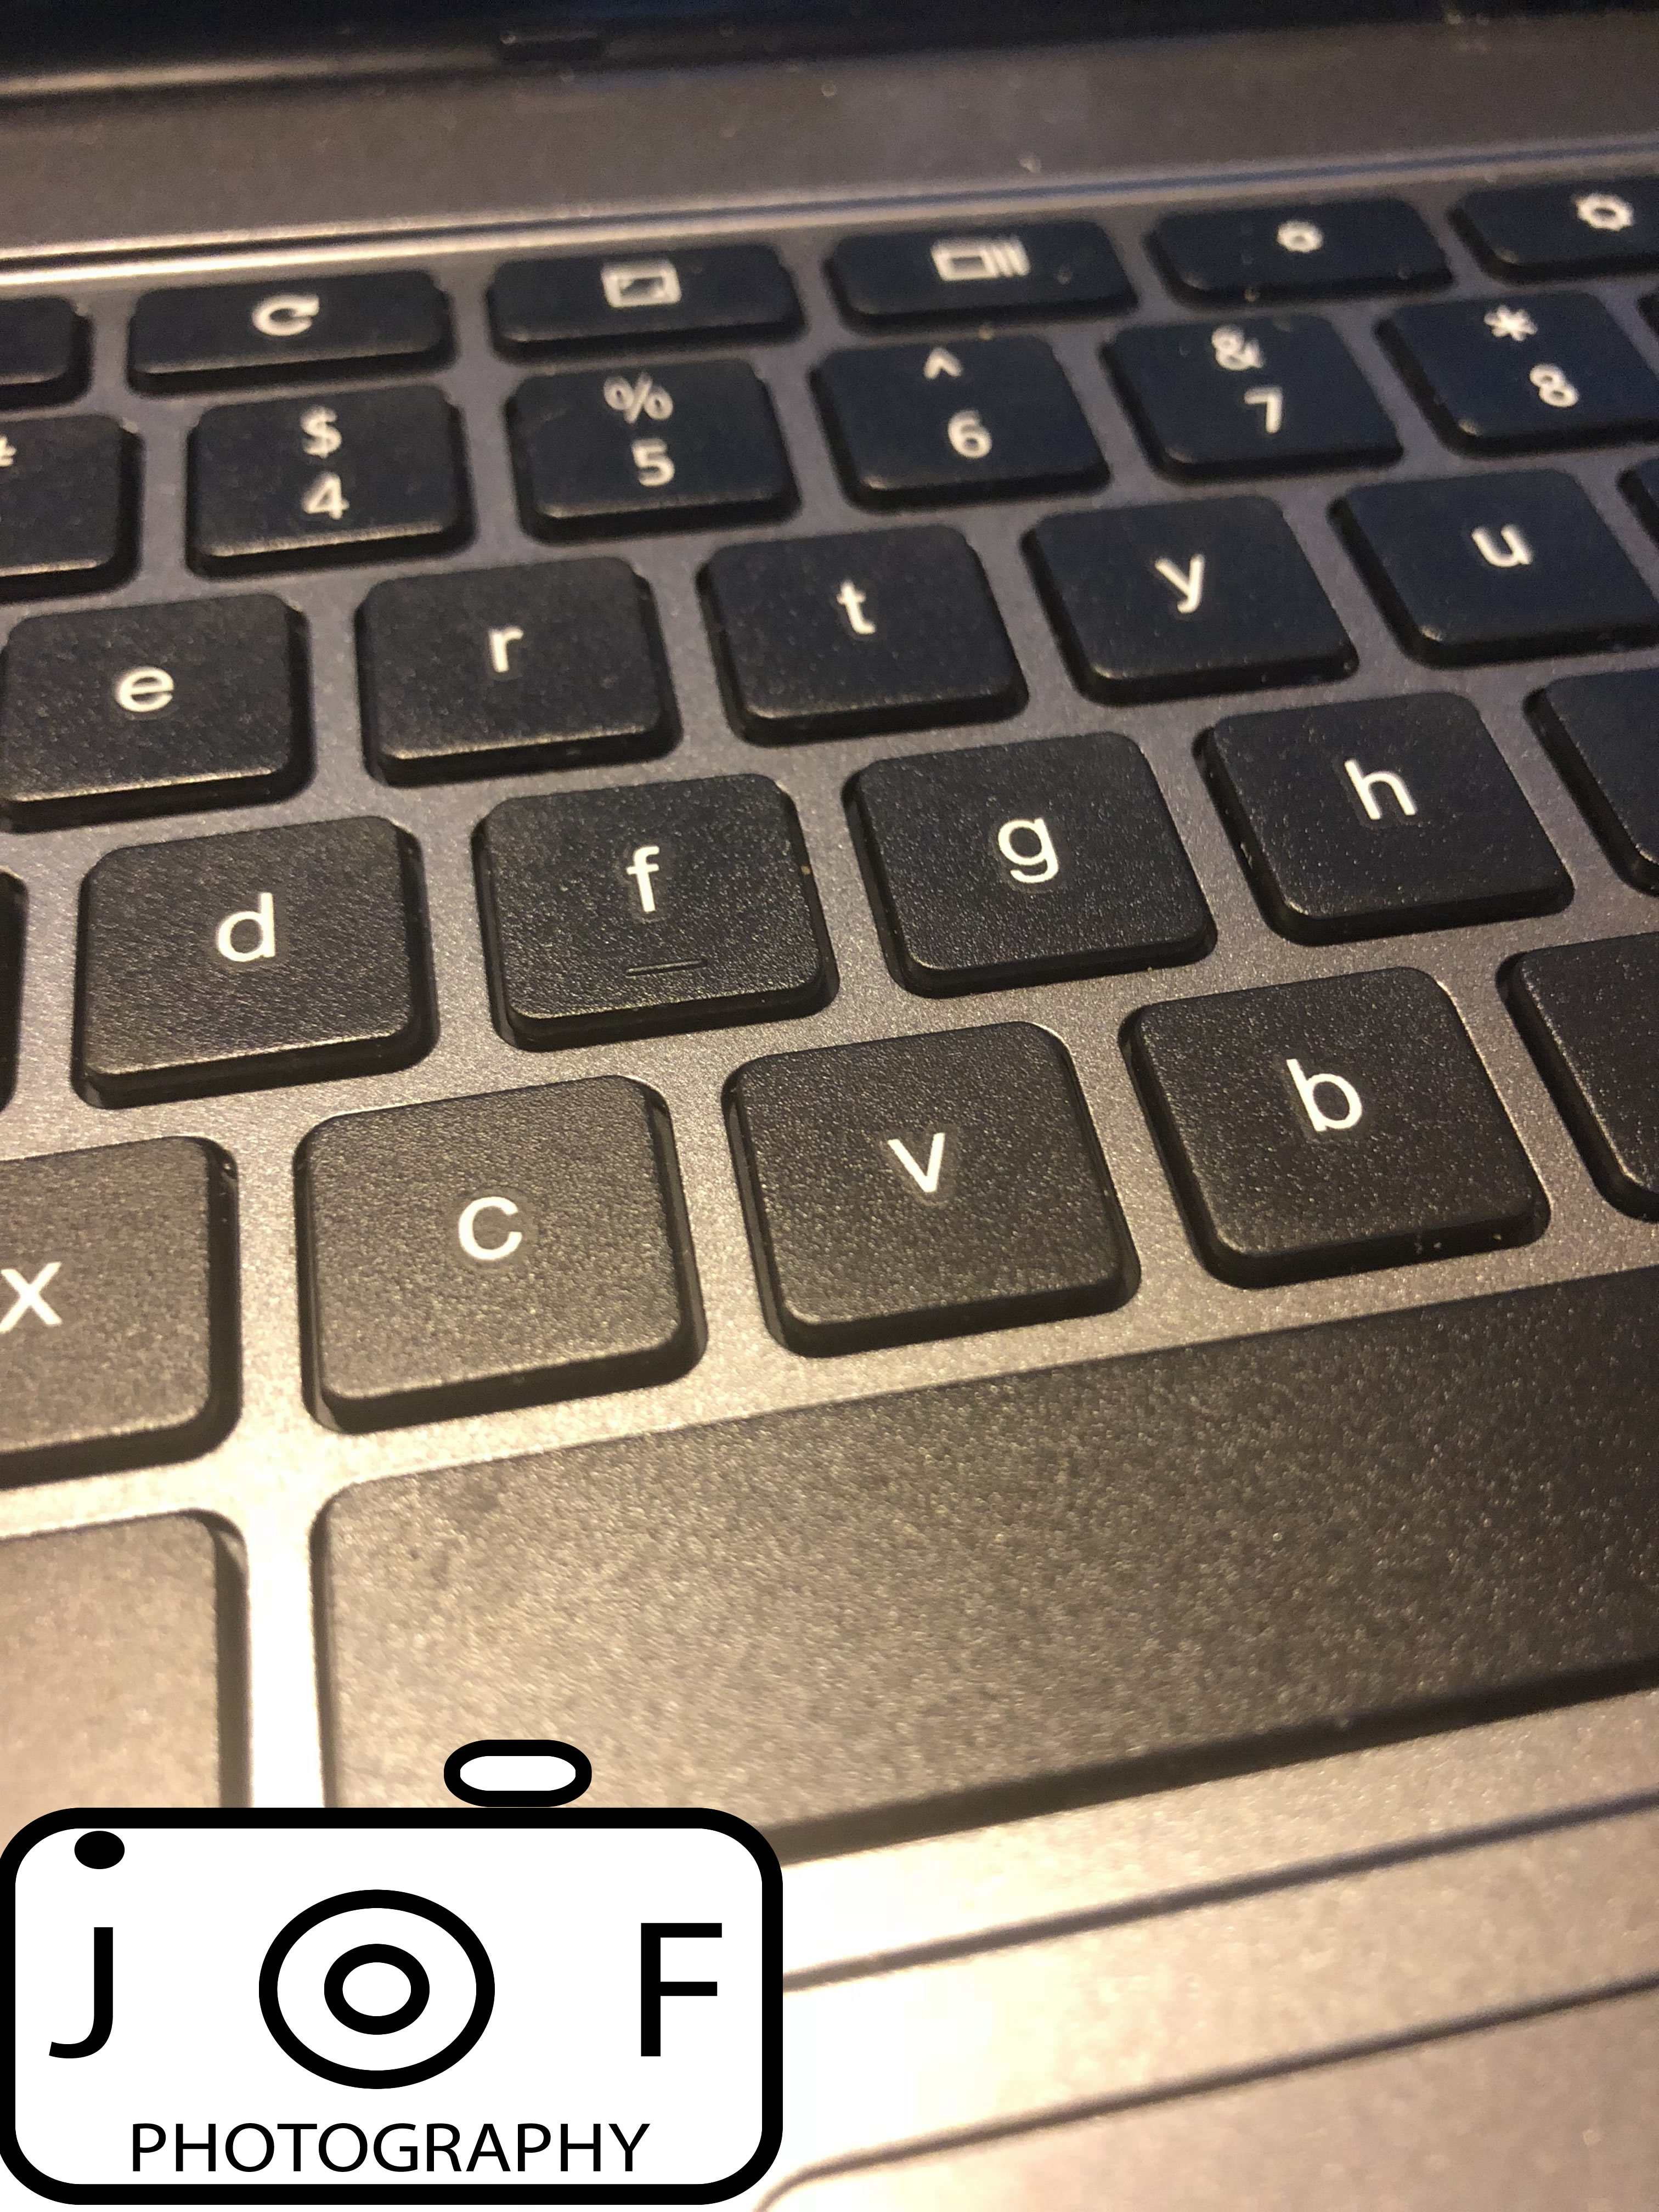
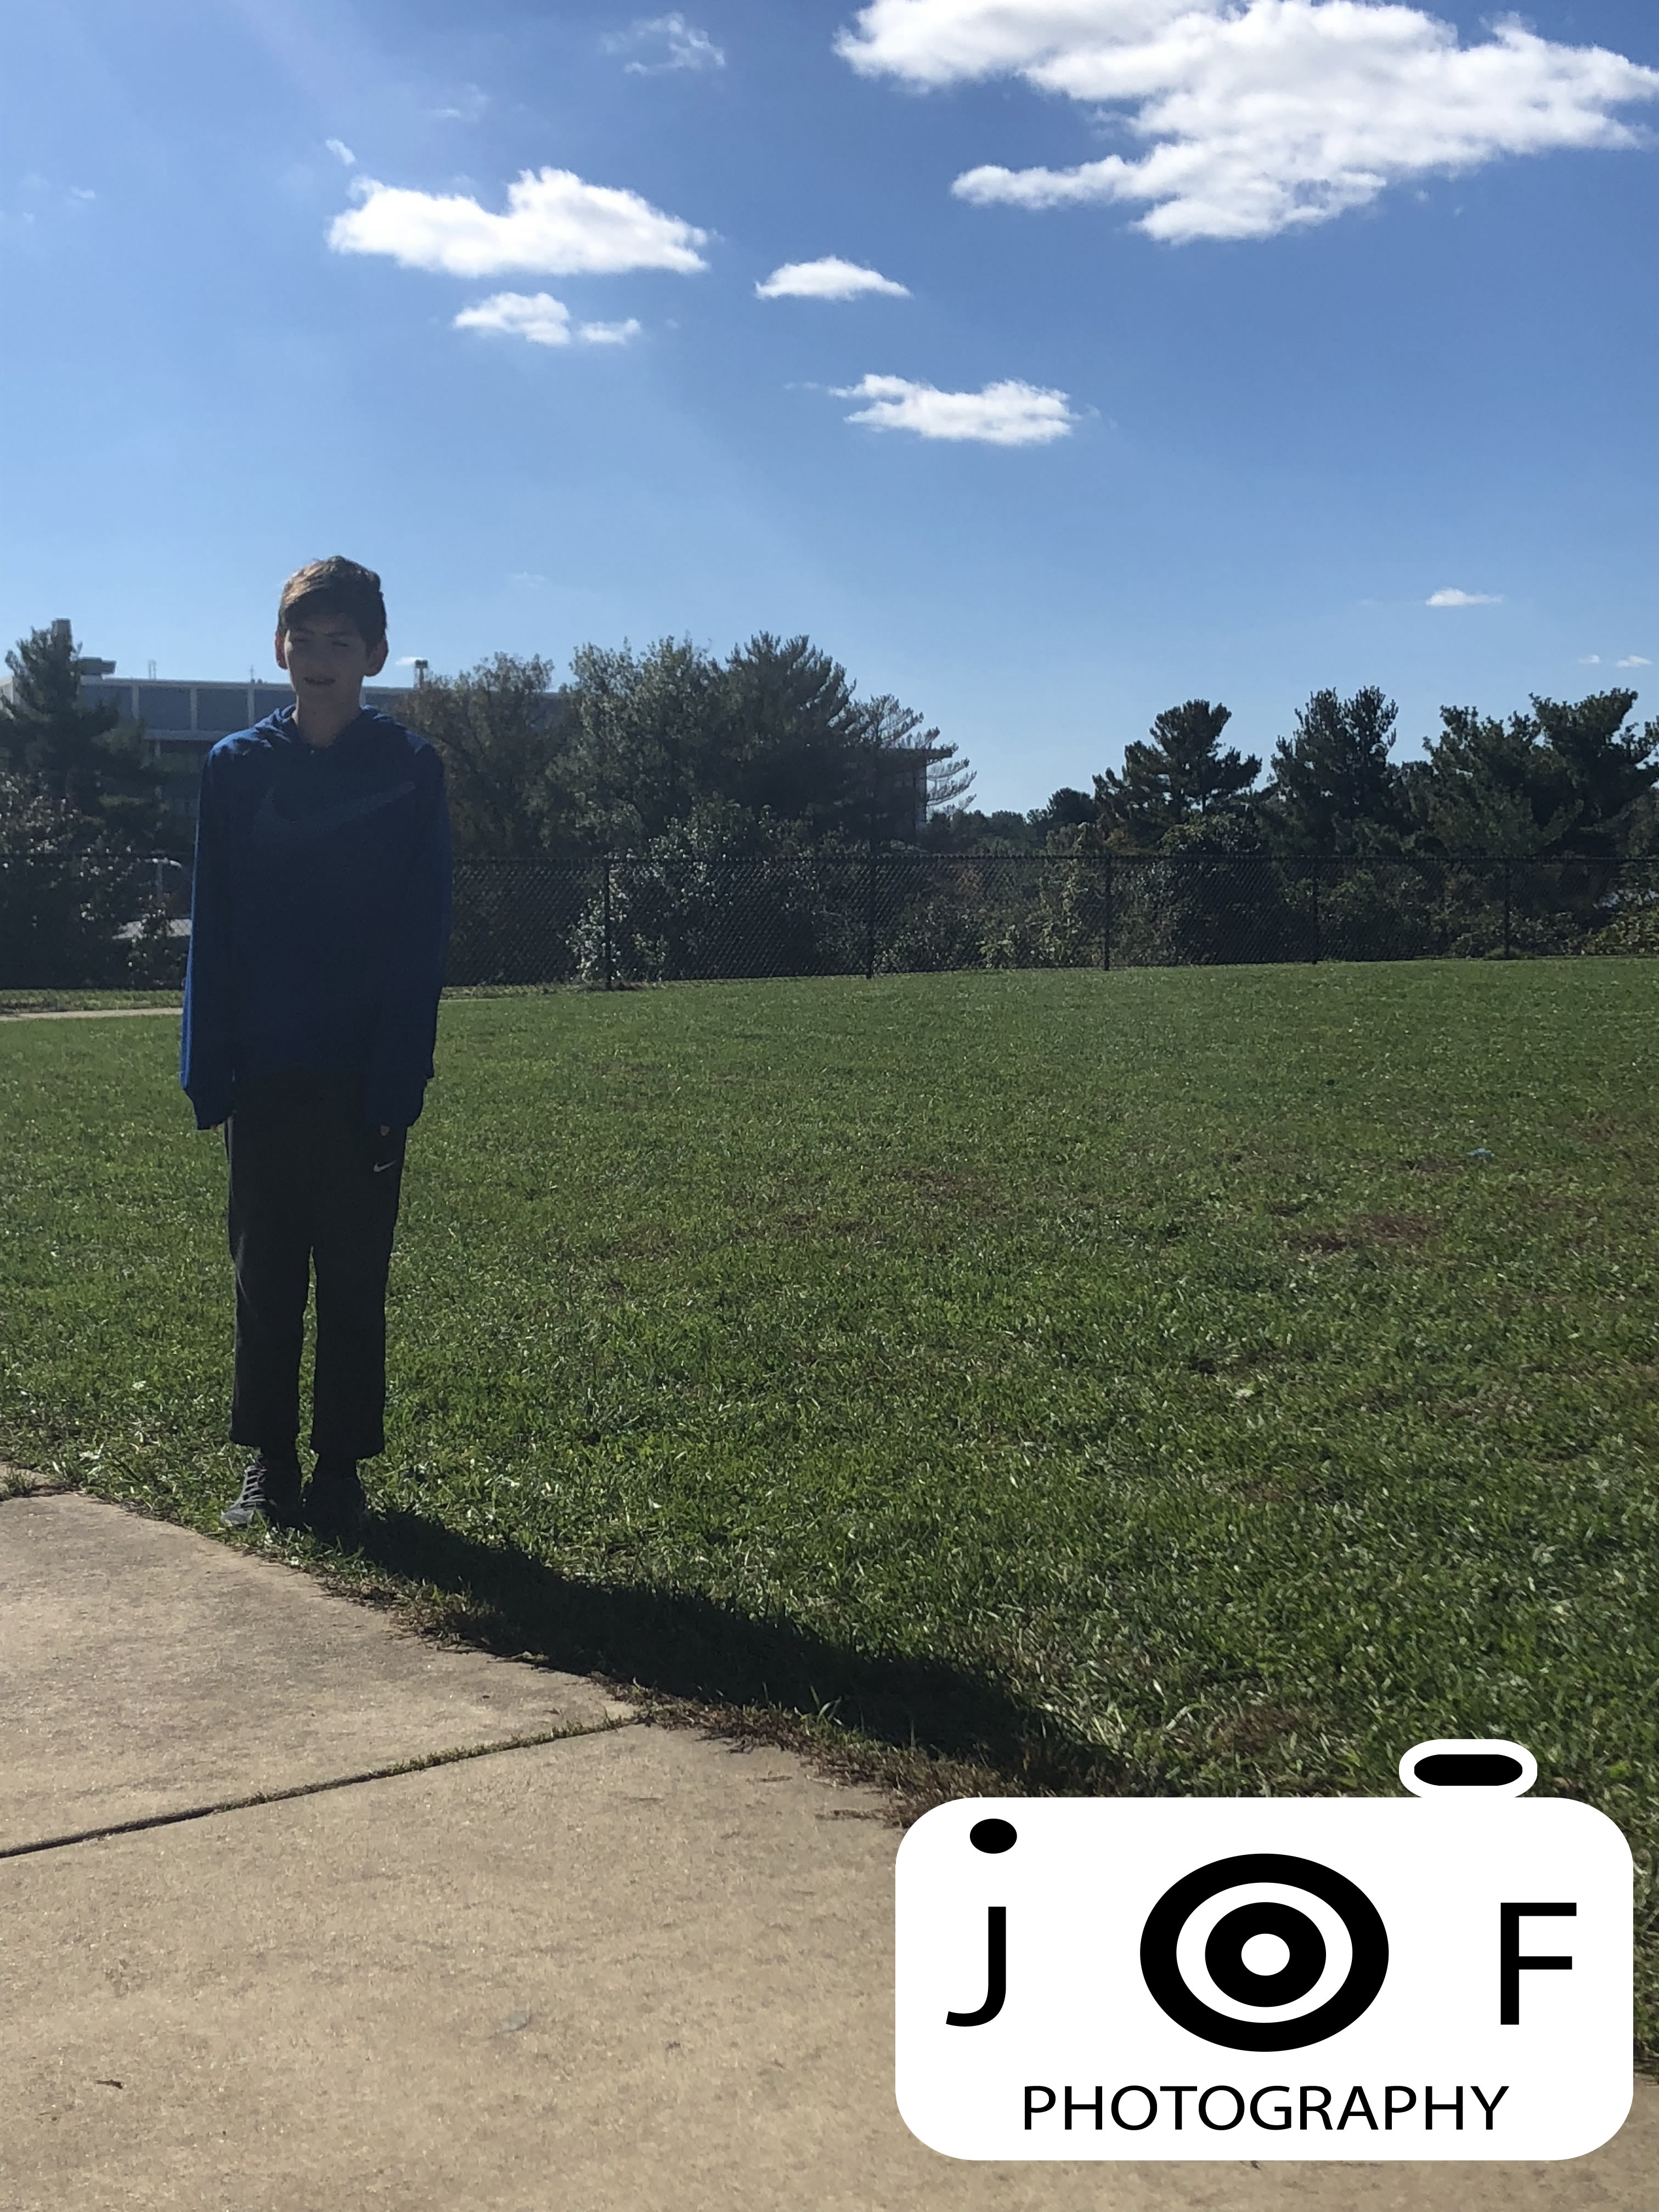
In this project, I was required to take 5 pictures at 5 different angles for one object. One of the challenges of the project was to find an angle that would work, and that would actually look good. The hardest object to take pictures of was the Chromebook, because its not the biggest thing ever, and the angles I had to do were very indifferent. This project helped me understand that you can’t always be happy with one picture, and you sometimes have to vary the angles if you want a perfect picture.
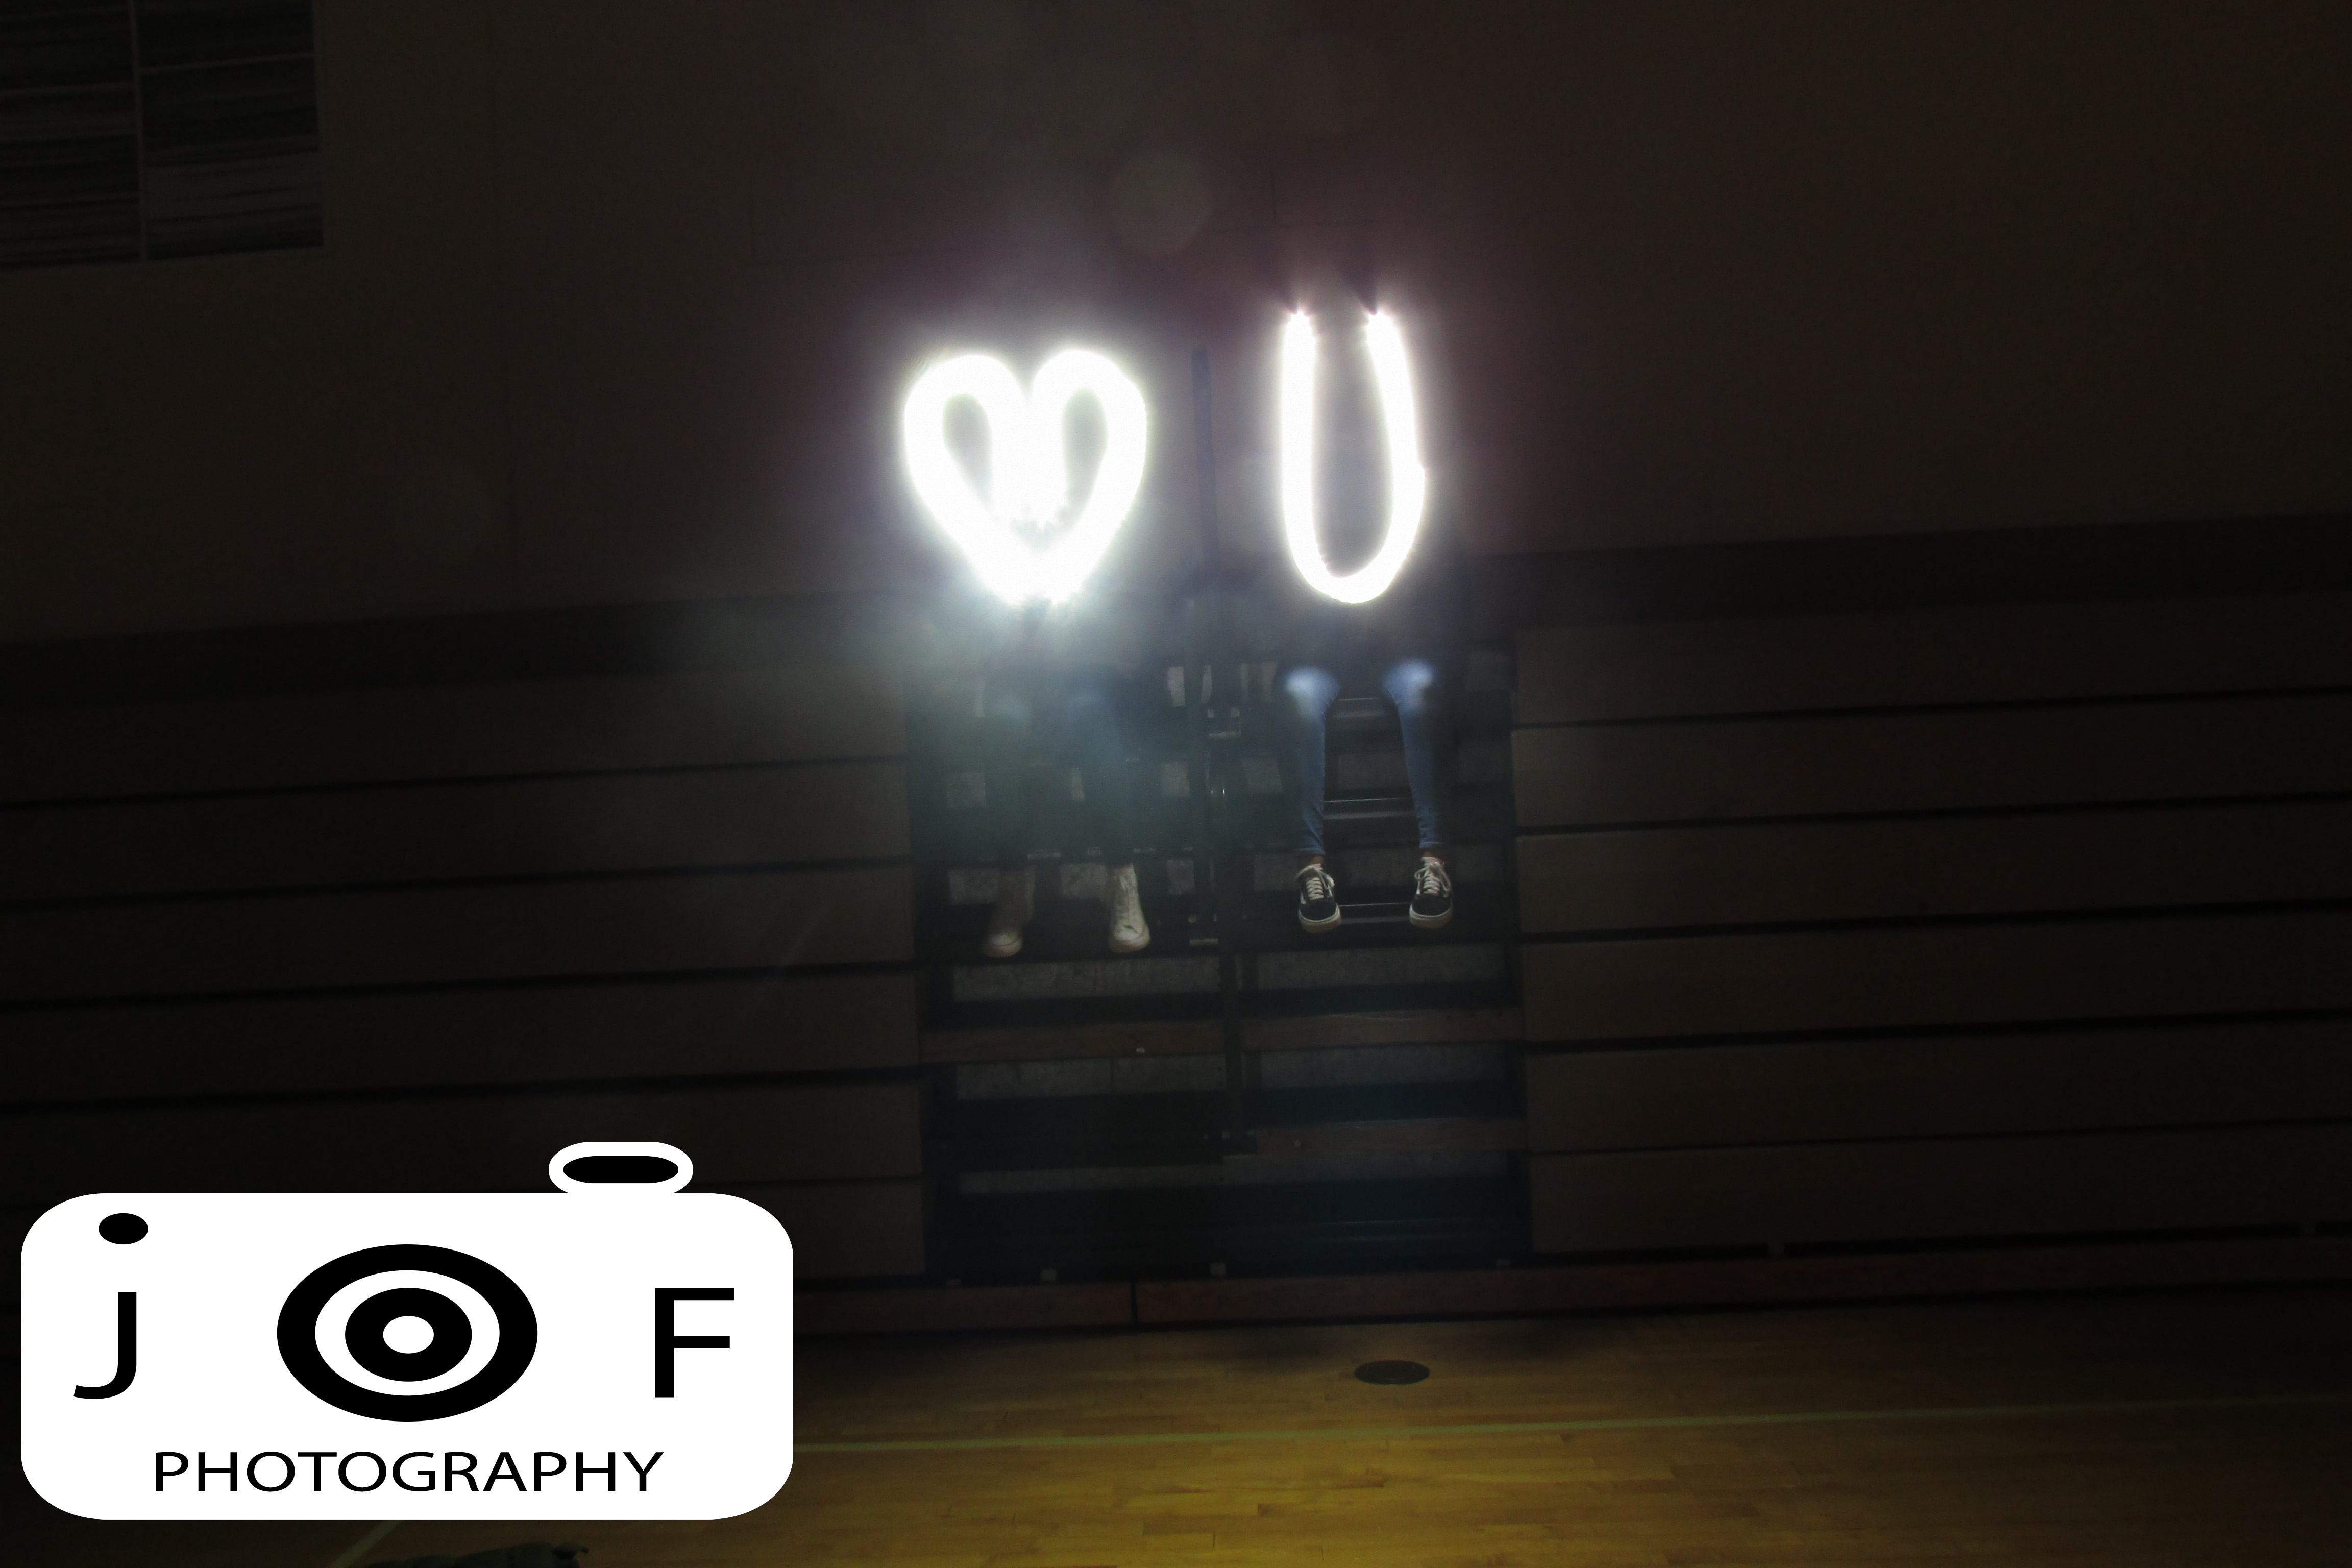
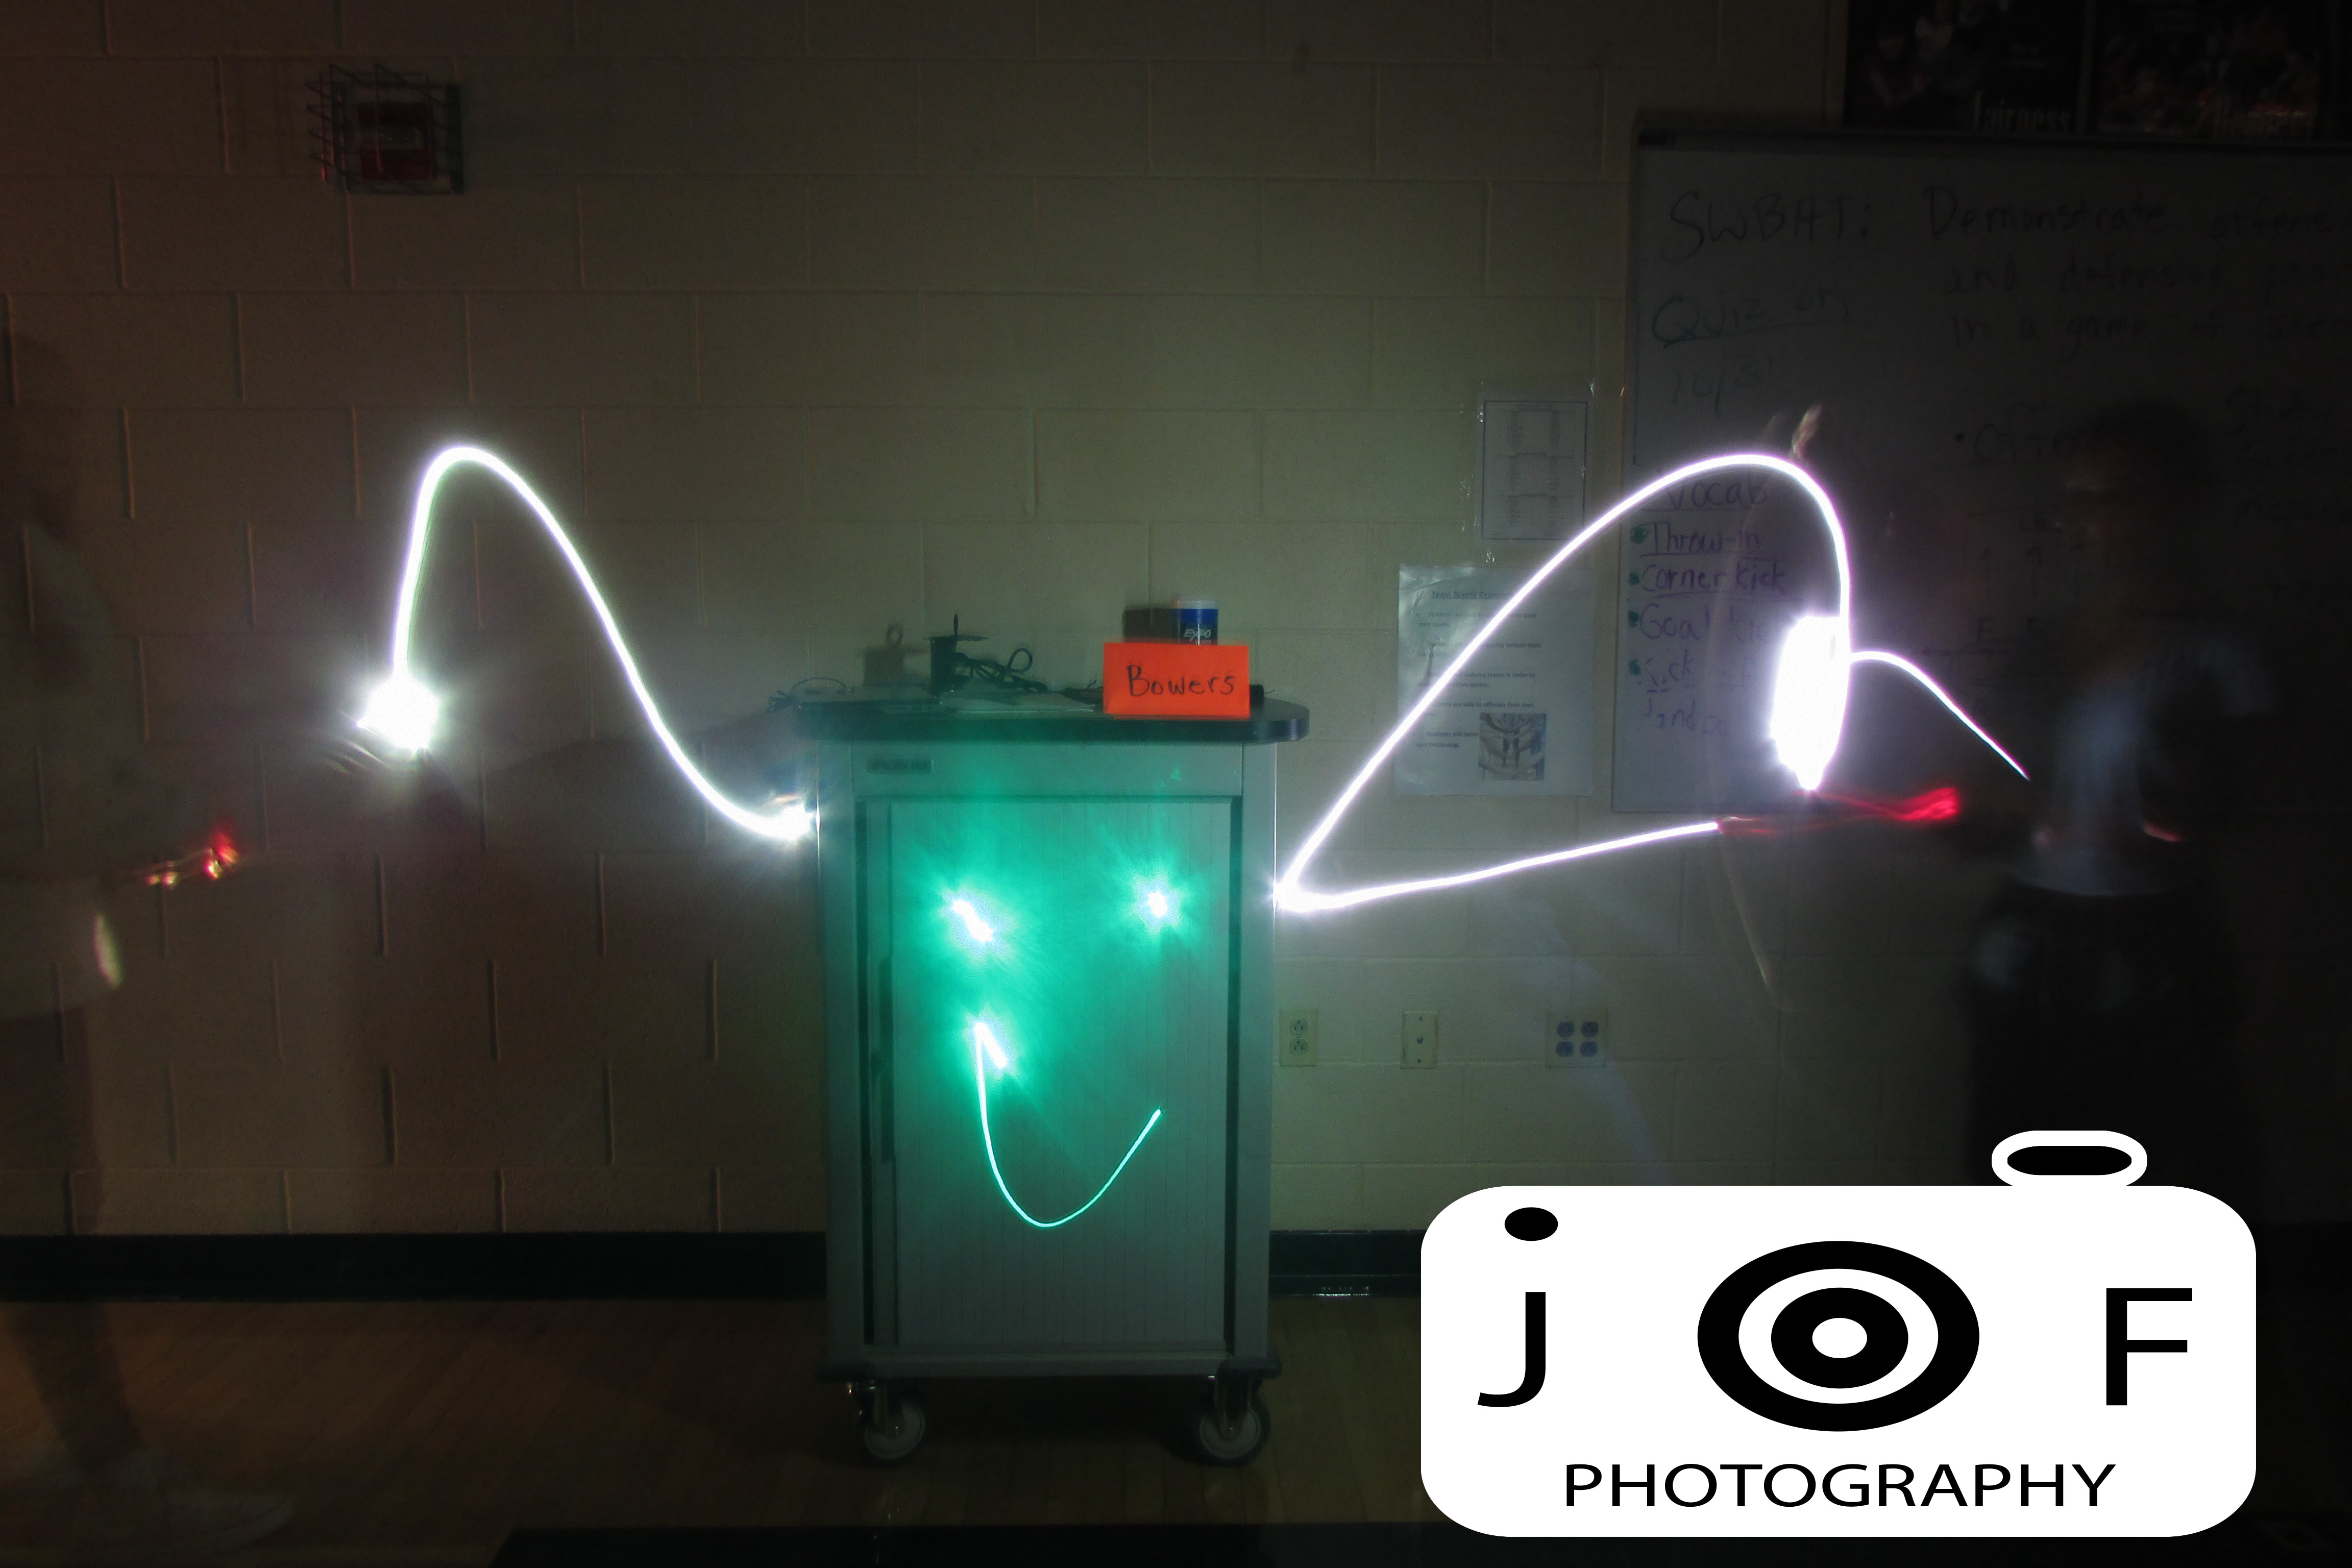
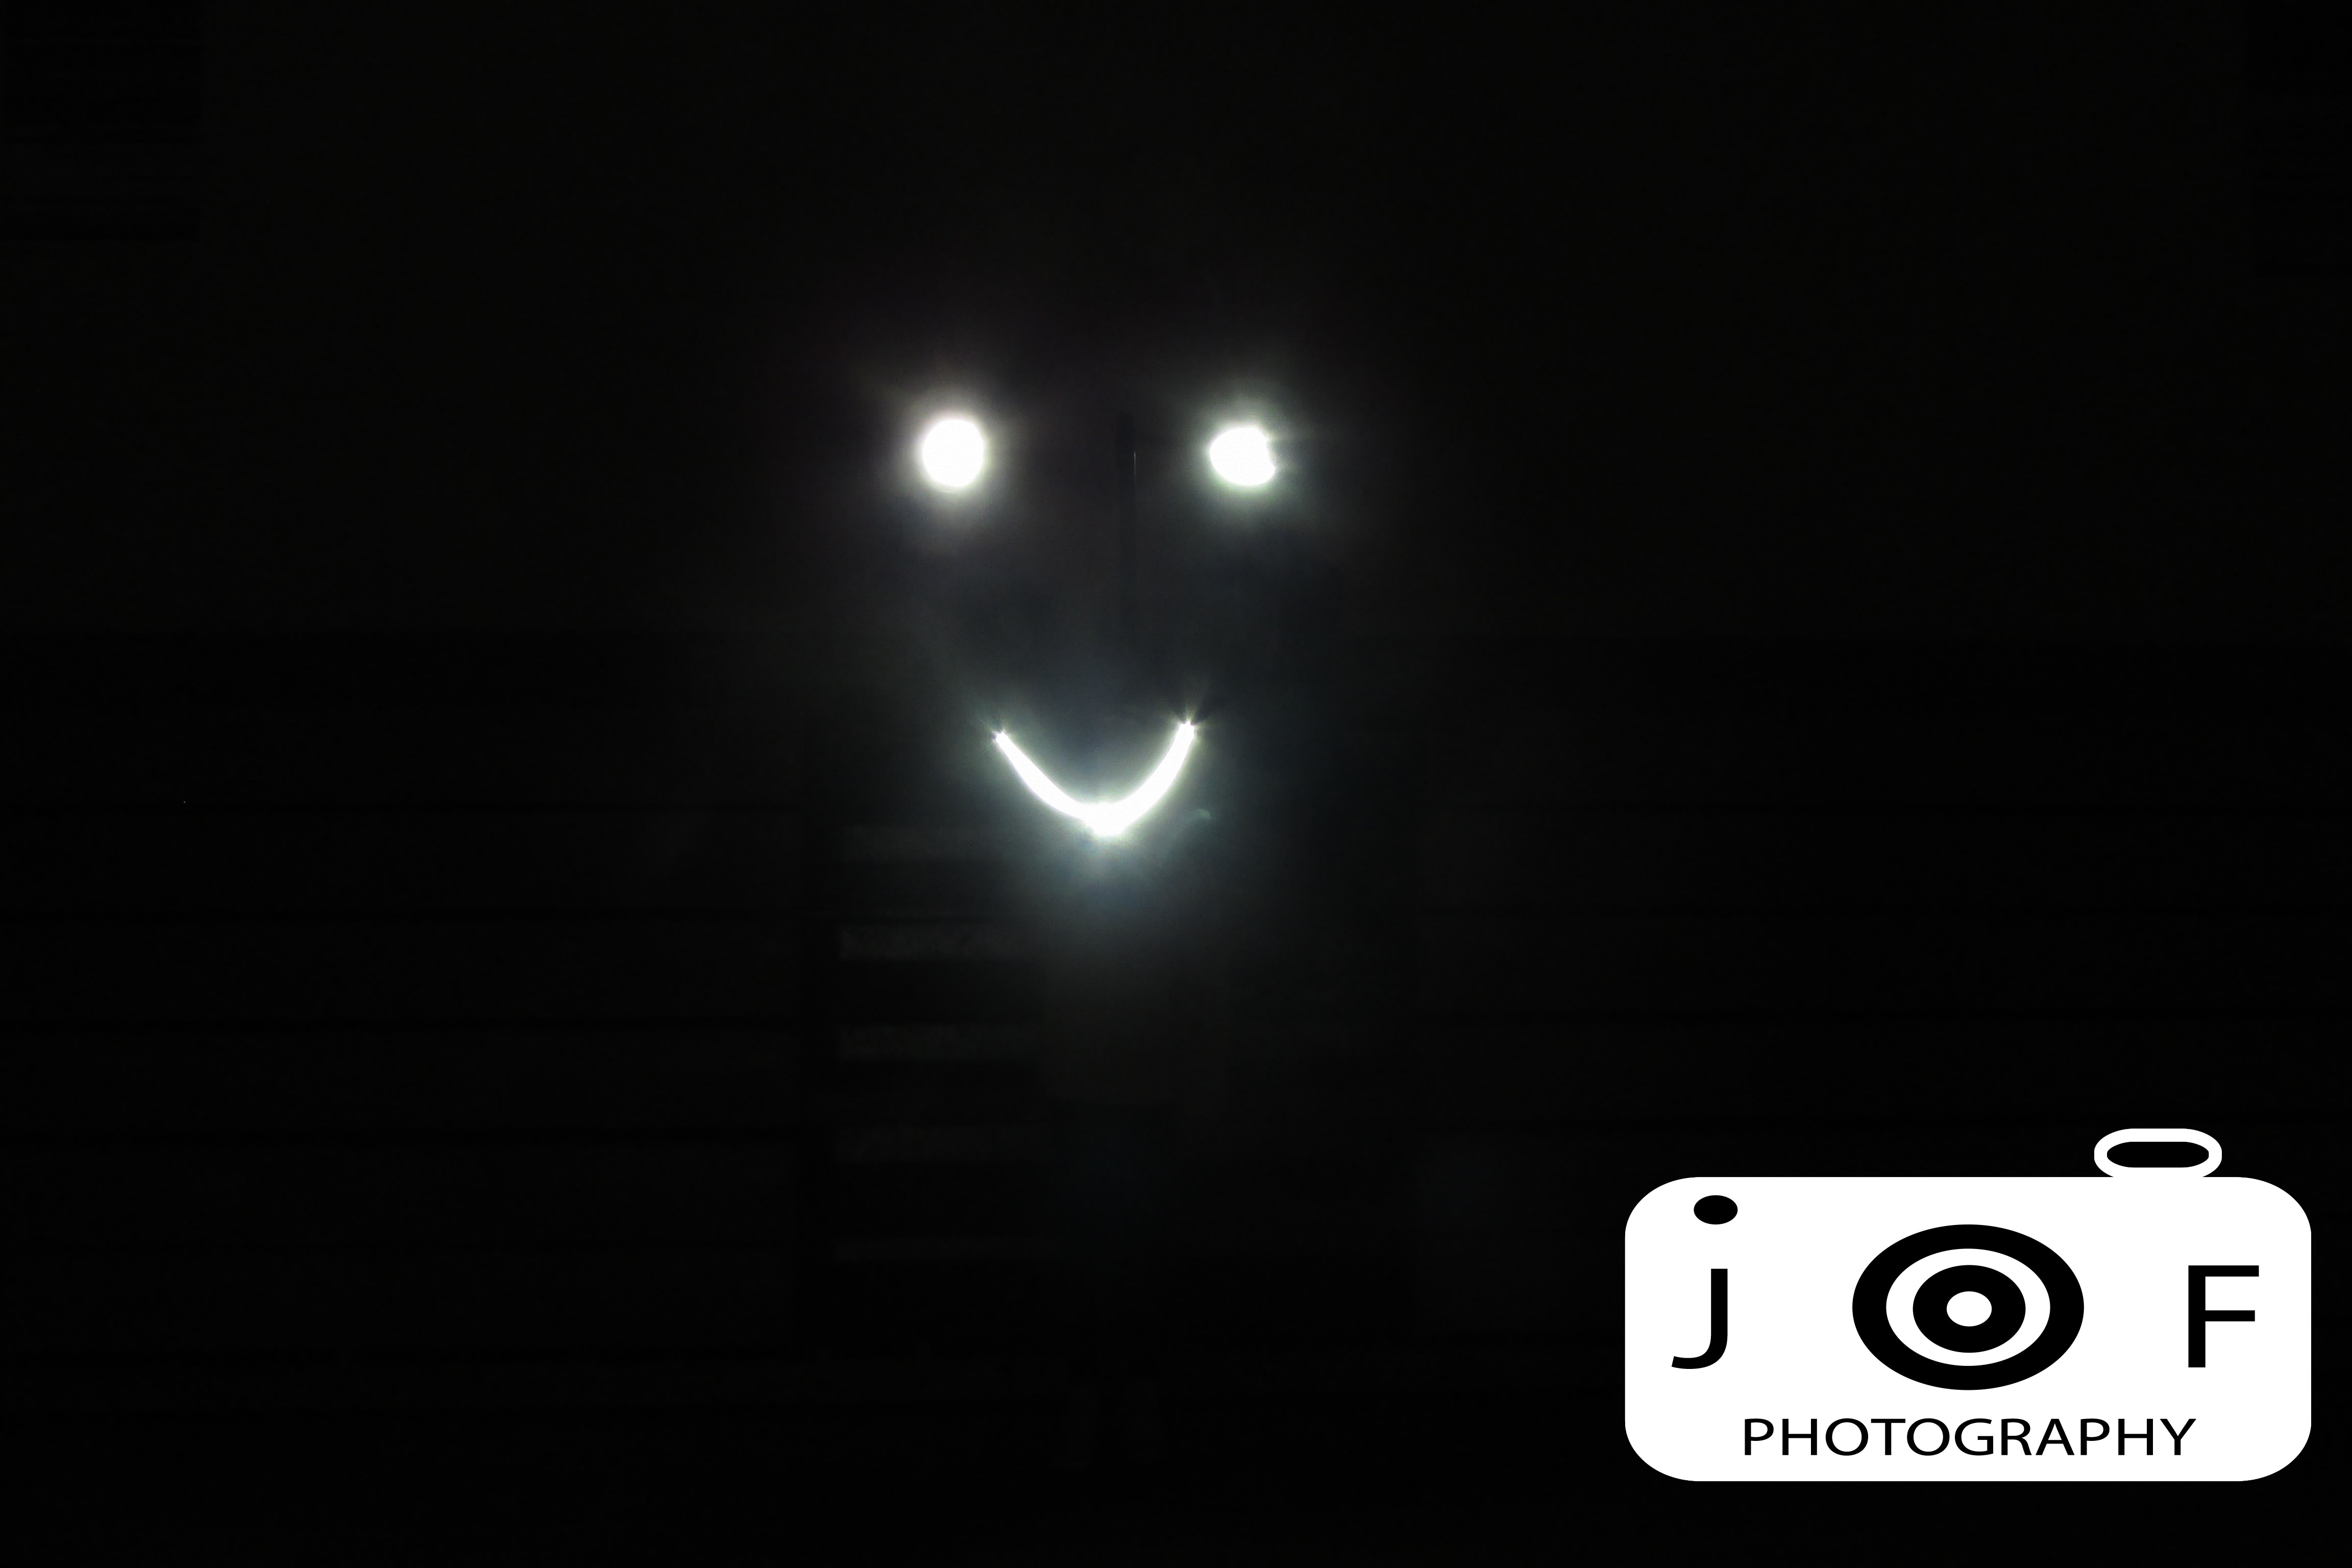
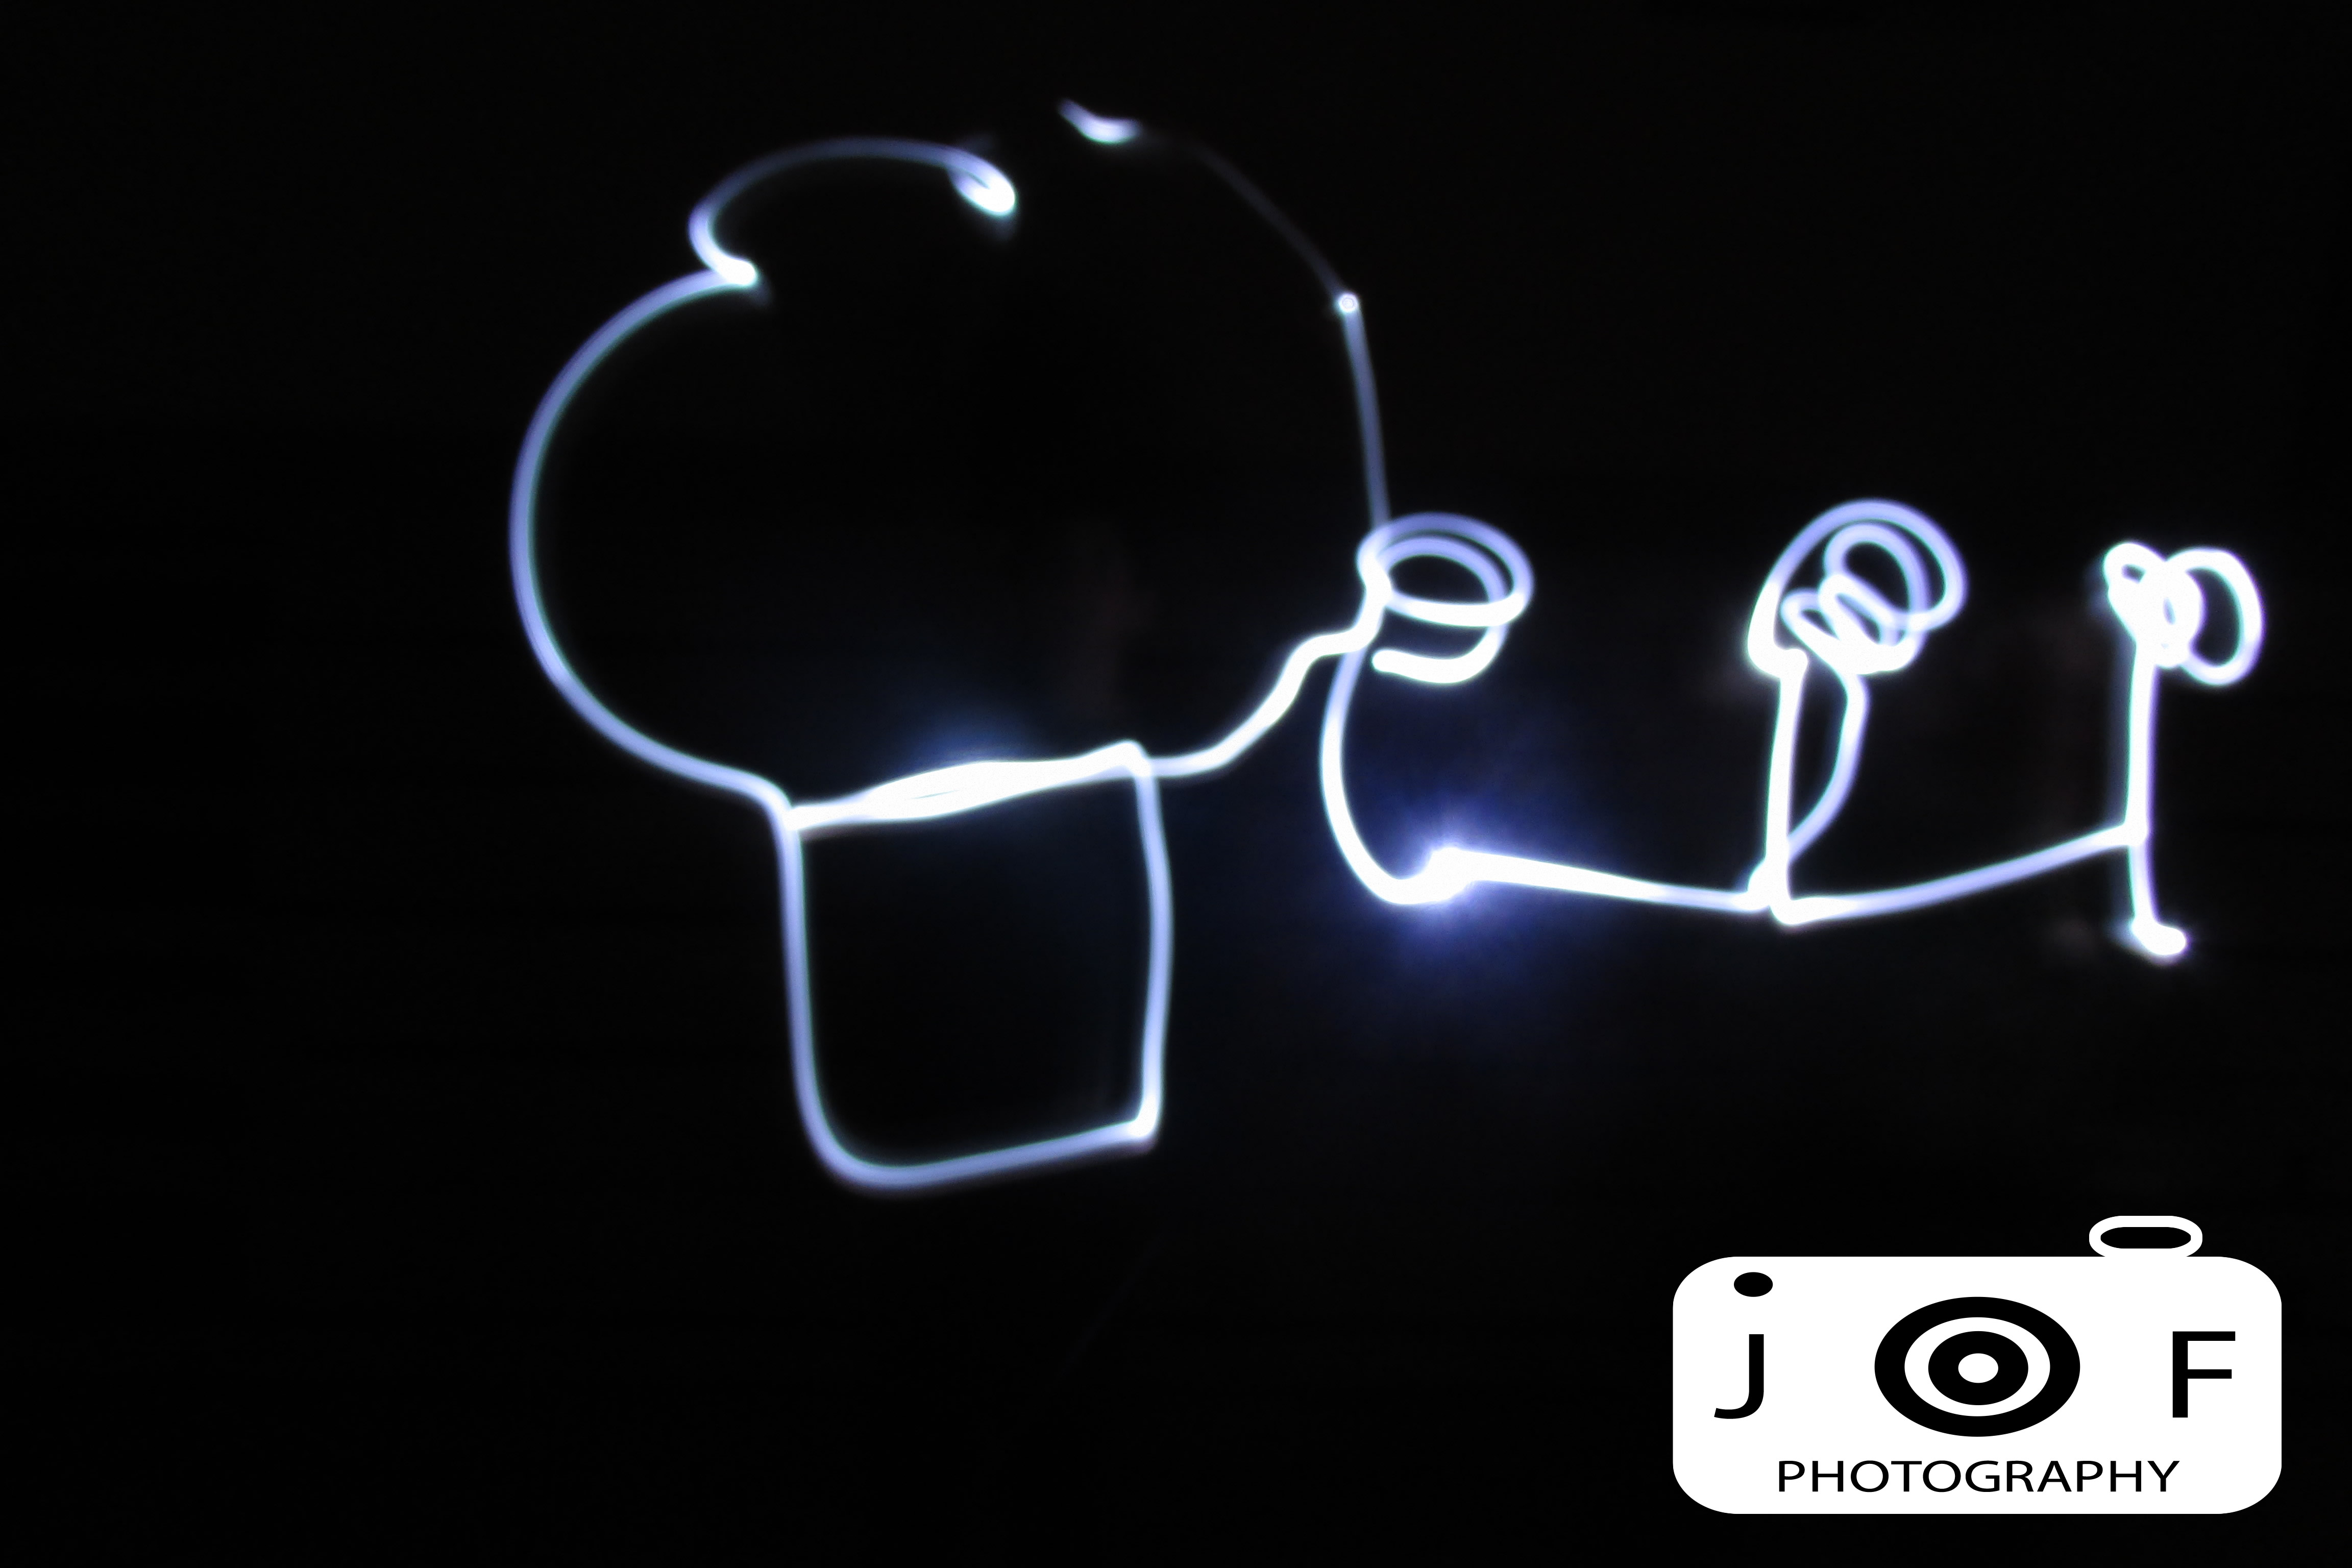
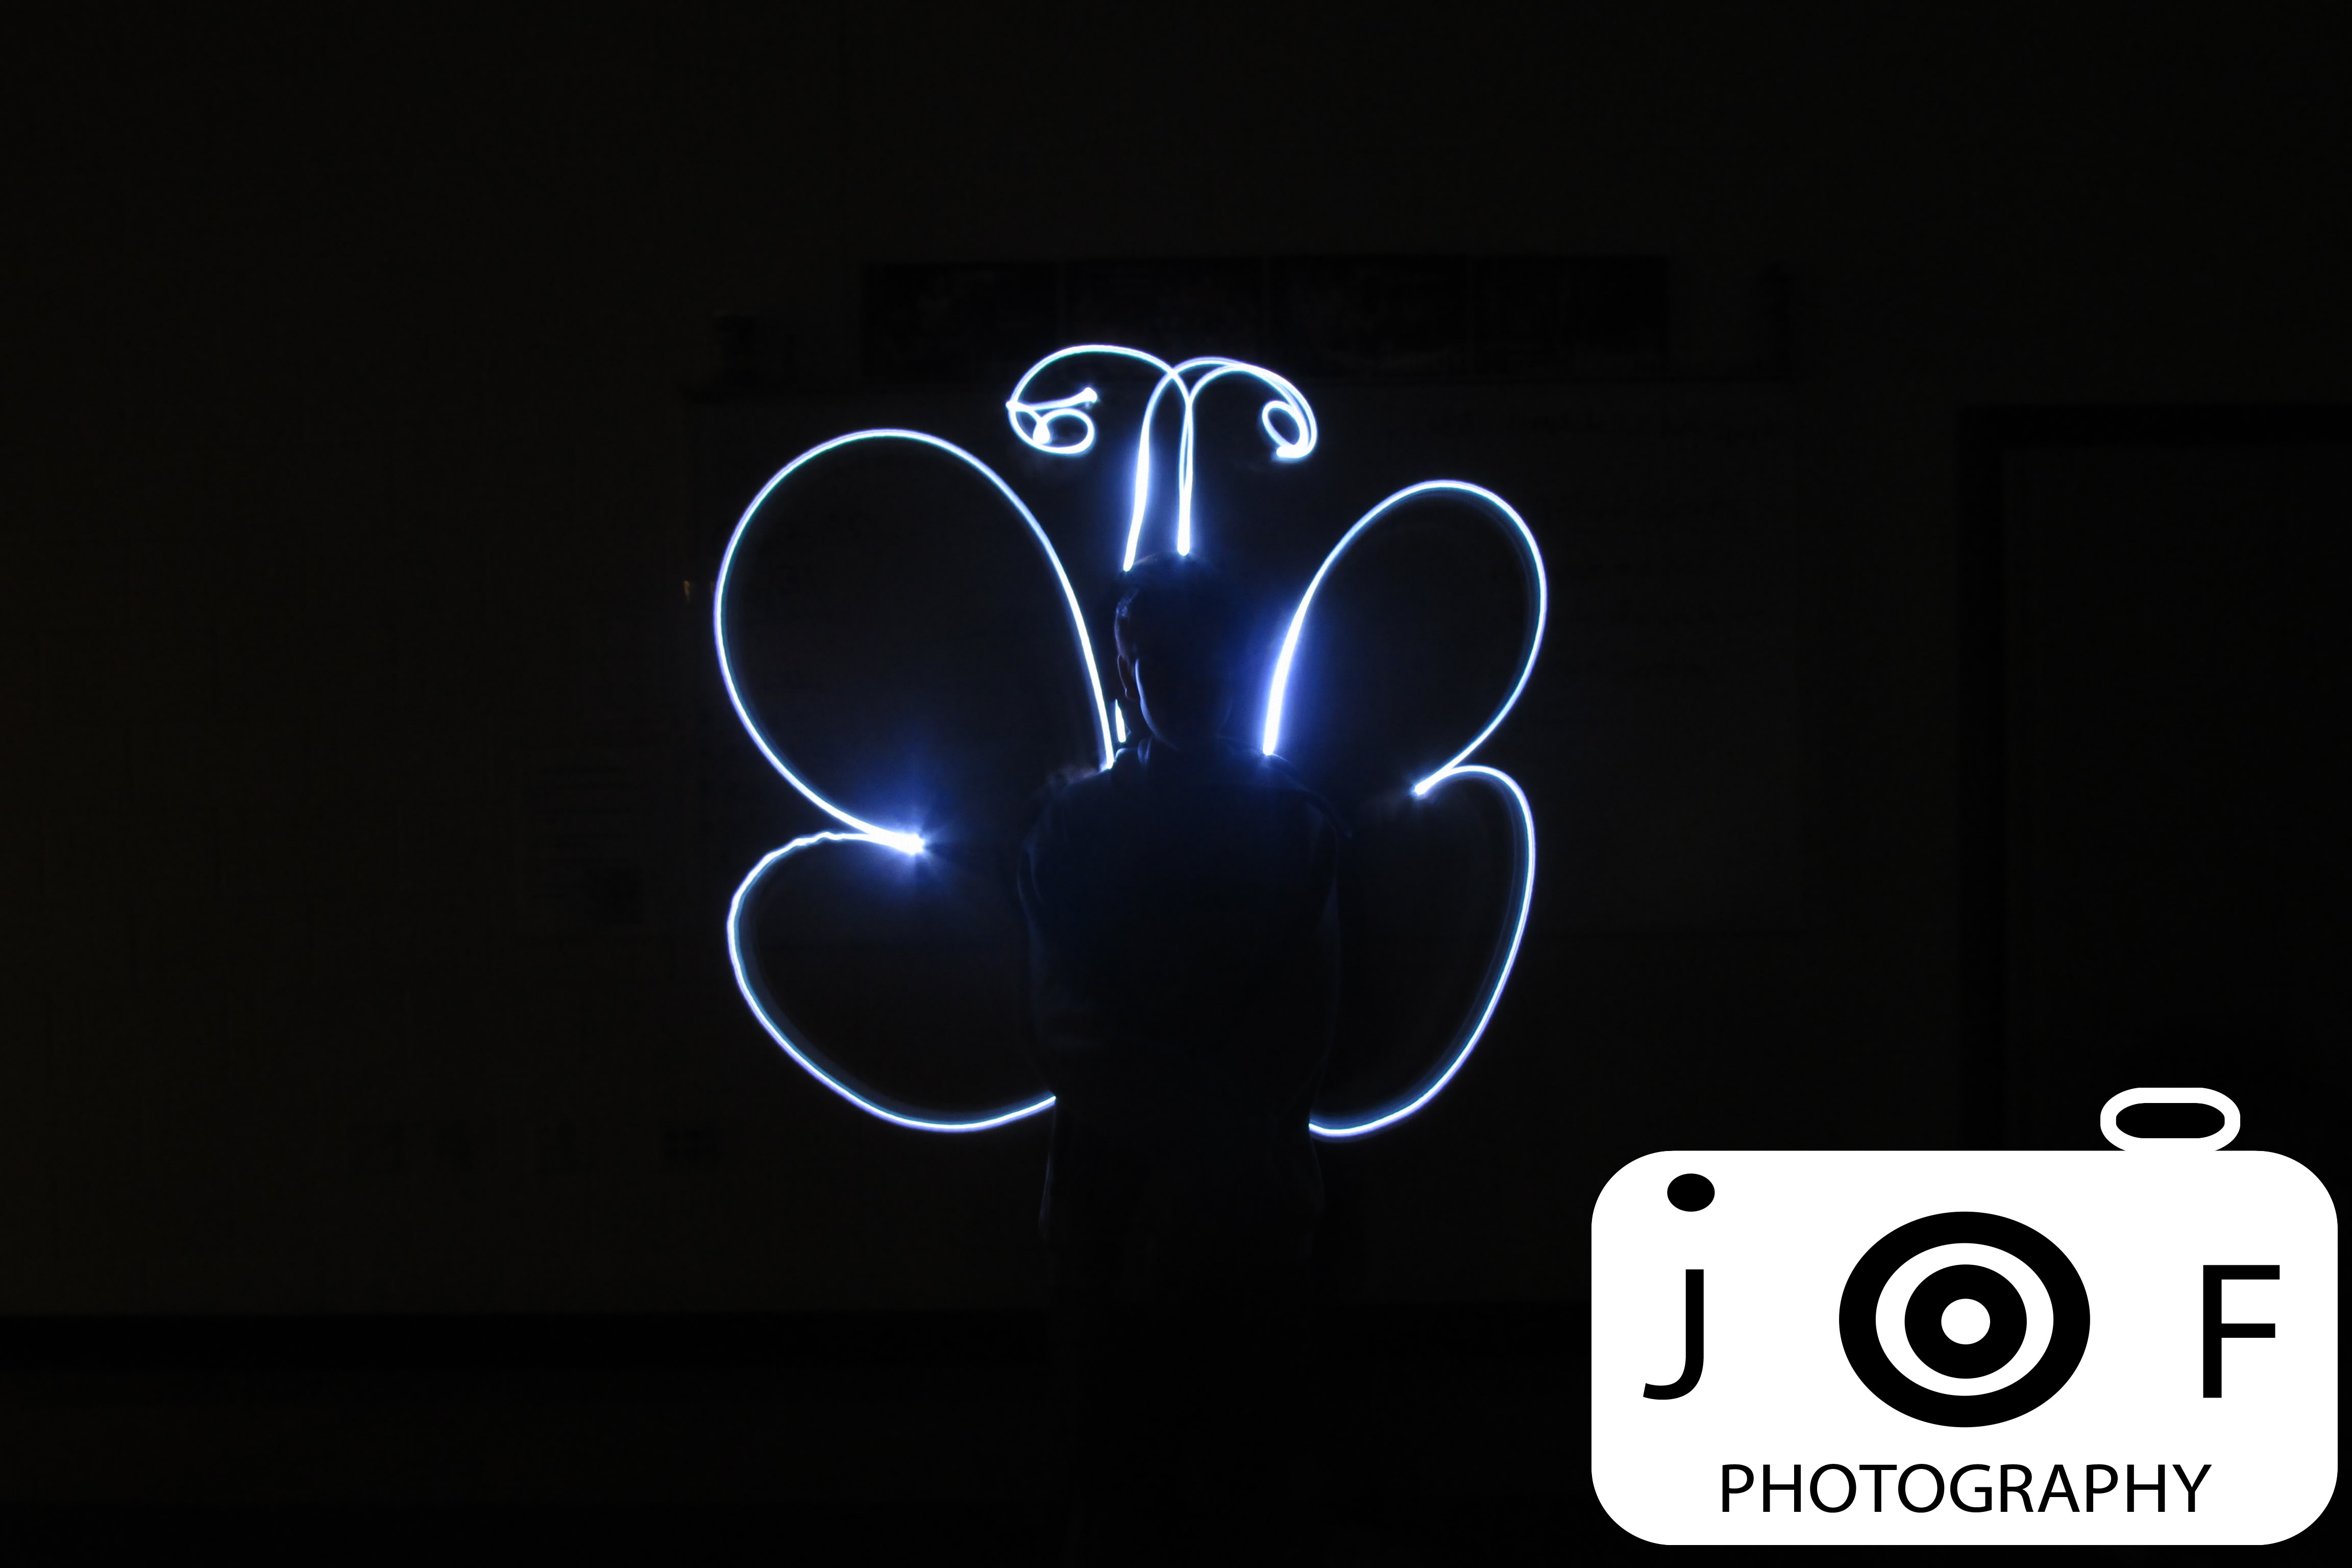
We used a tri-pod to stand the camera up, and we used the bulb setting, so the shutter didn’t close until a certain amount of seconds later, depending on how much time we needed. We tried to use as little time as possible, nut then we couldn’t get our whole design into the picture. This meant that we had to use more time, but then the light didn’t come in as good as it could be. Nothing really frustrated us except for when the light picture didn’t come out the way we wanted it to.
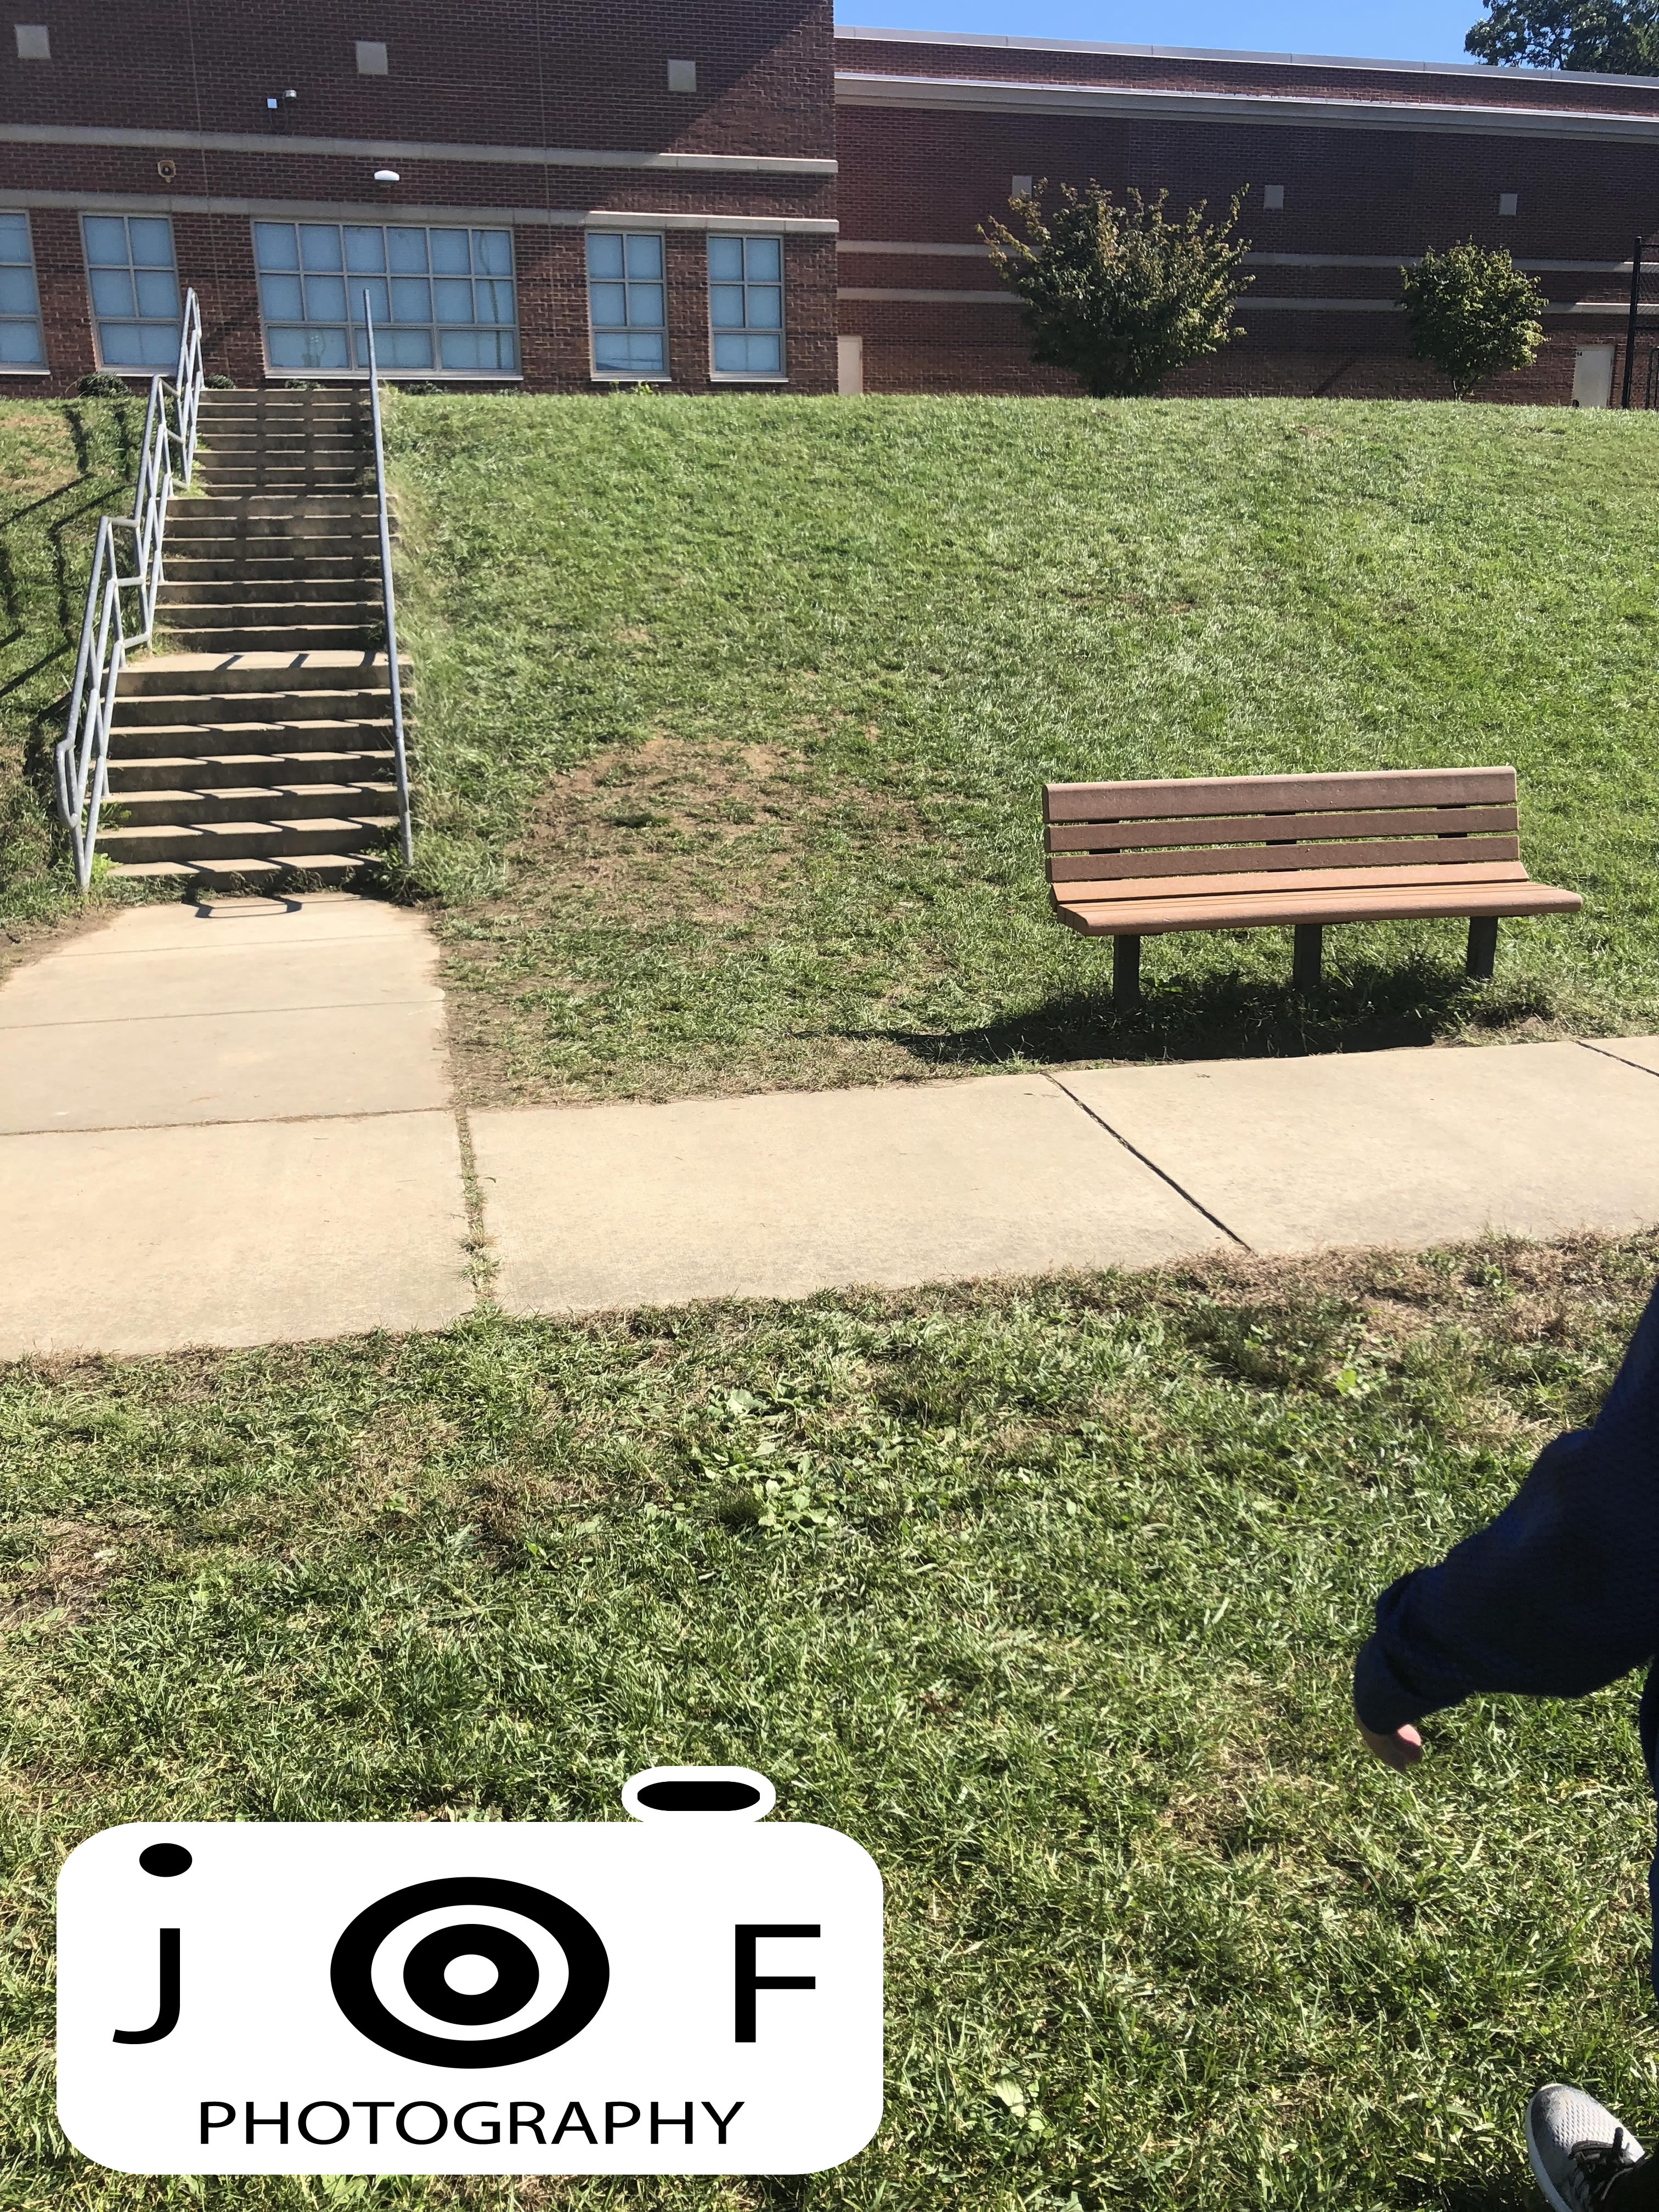
One of the things that didn’t work was trying to take pictures of moving objects, because the object would always turn up blurry. This meant that I had to take pictures of inanimate objects, a light pole, or a soccer ball, or a bench, etc. I thought that this project was going to be boring, but it turned out to be really fun. I used the grid on my phone to make sure that the whole object was in one third of the picture. Then I made sure that my phone was still while the picture was taken.
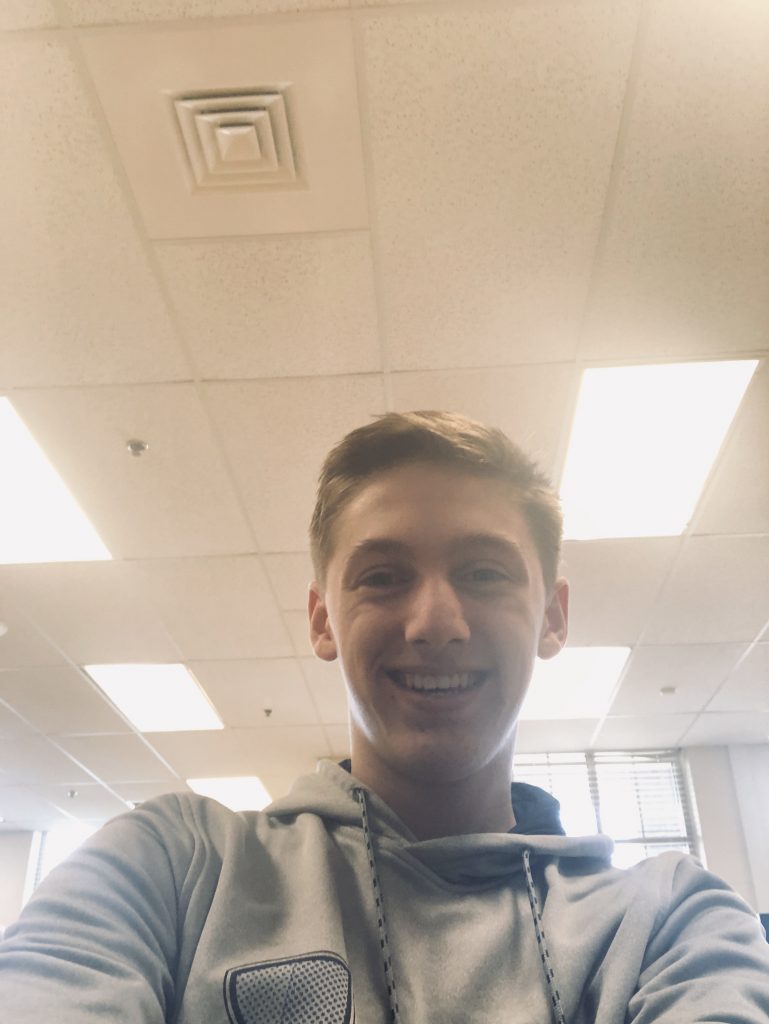
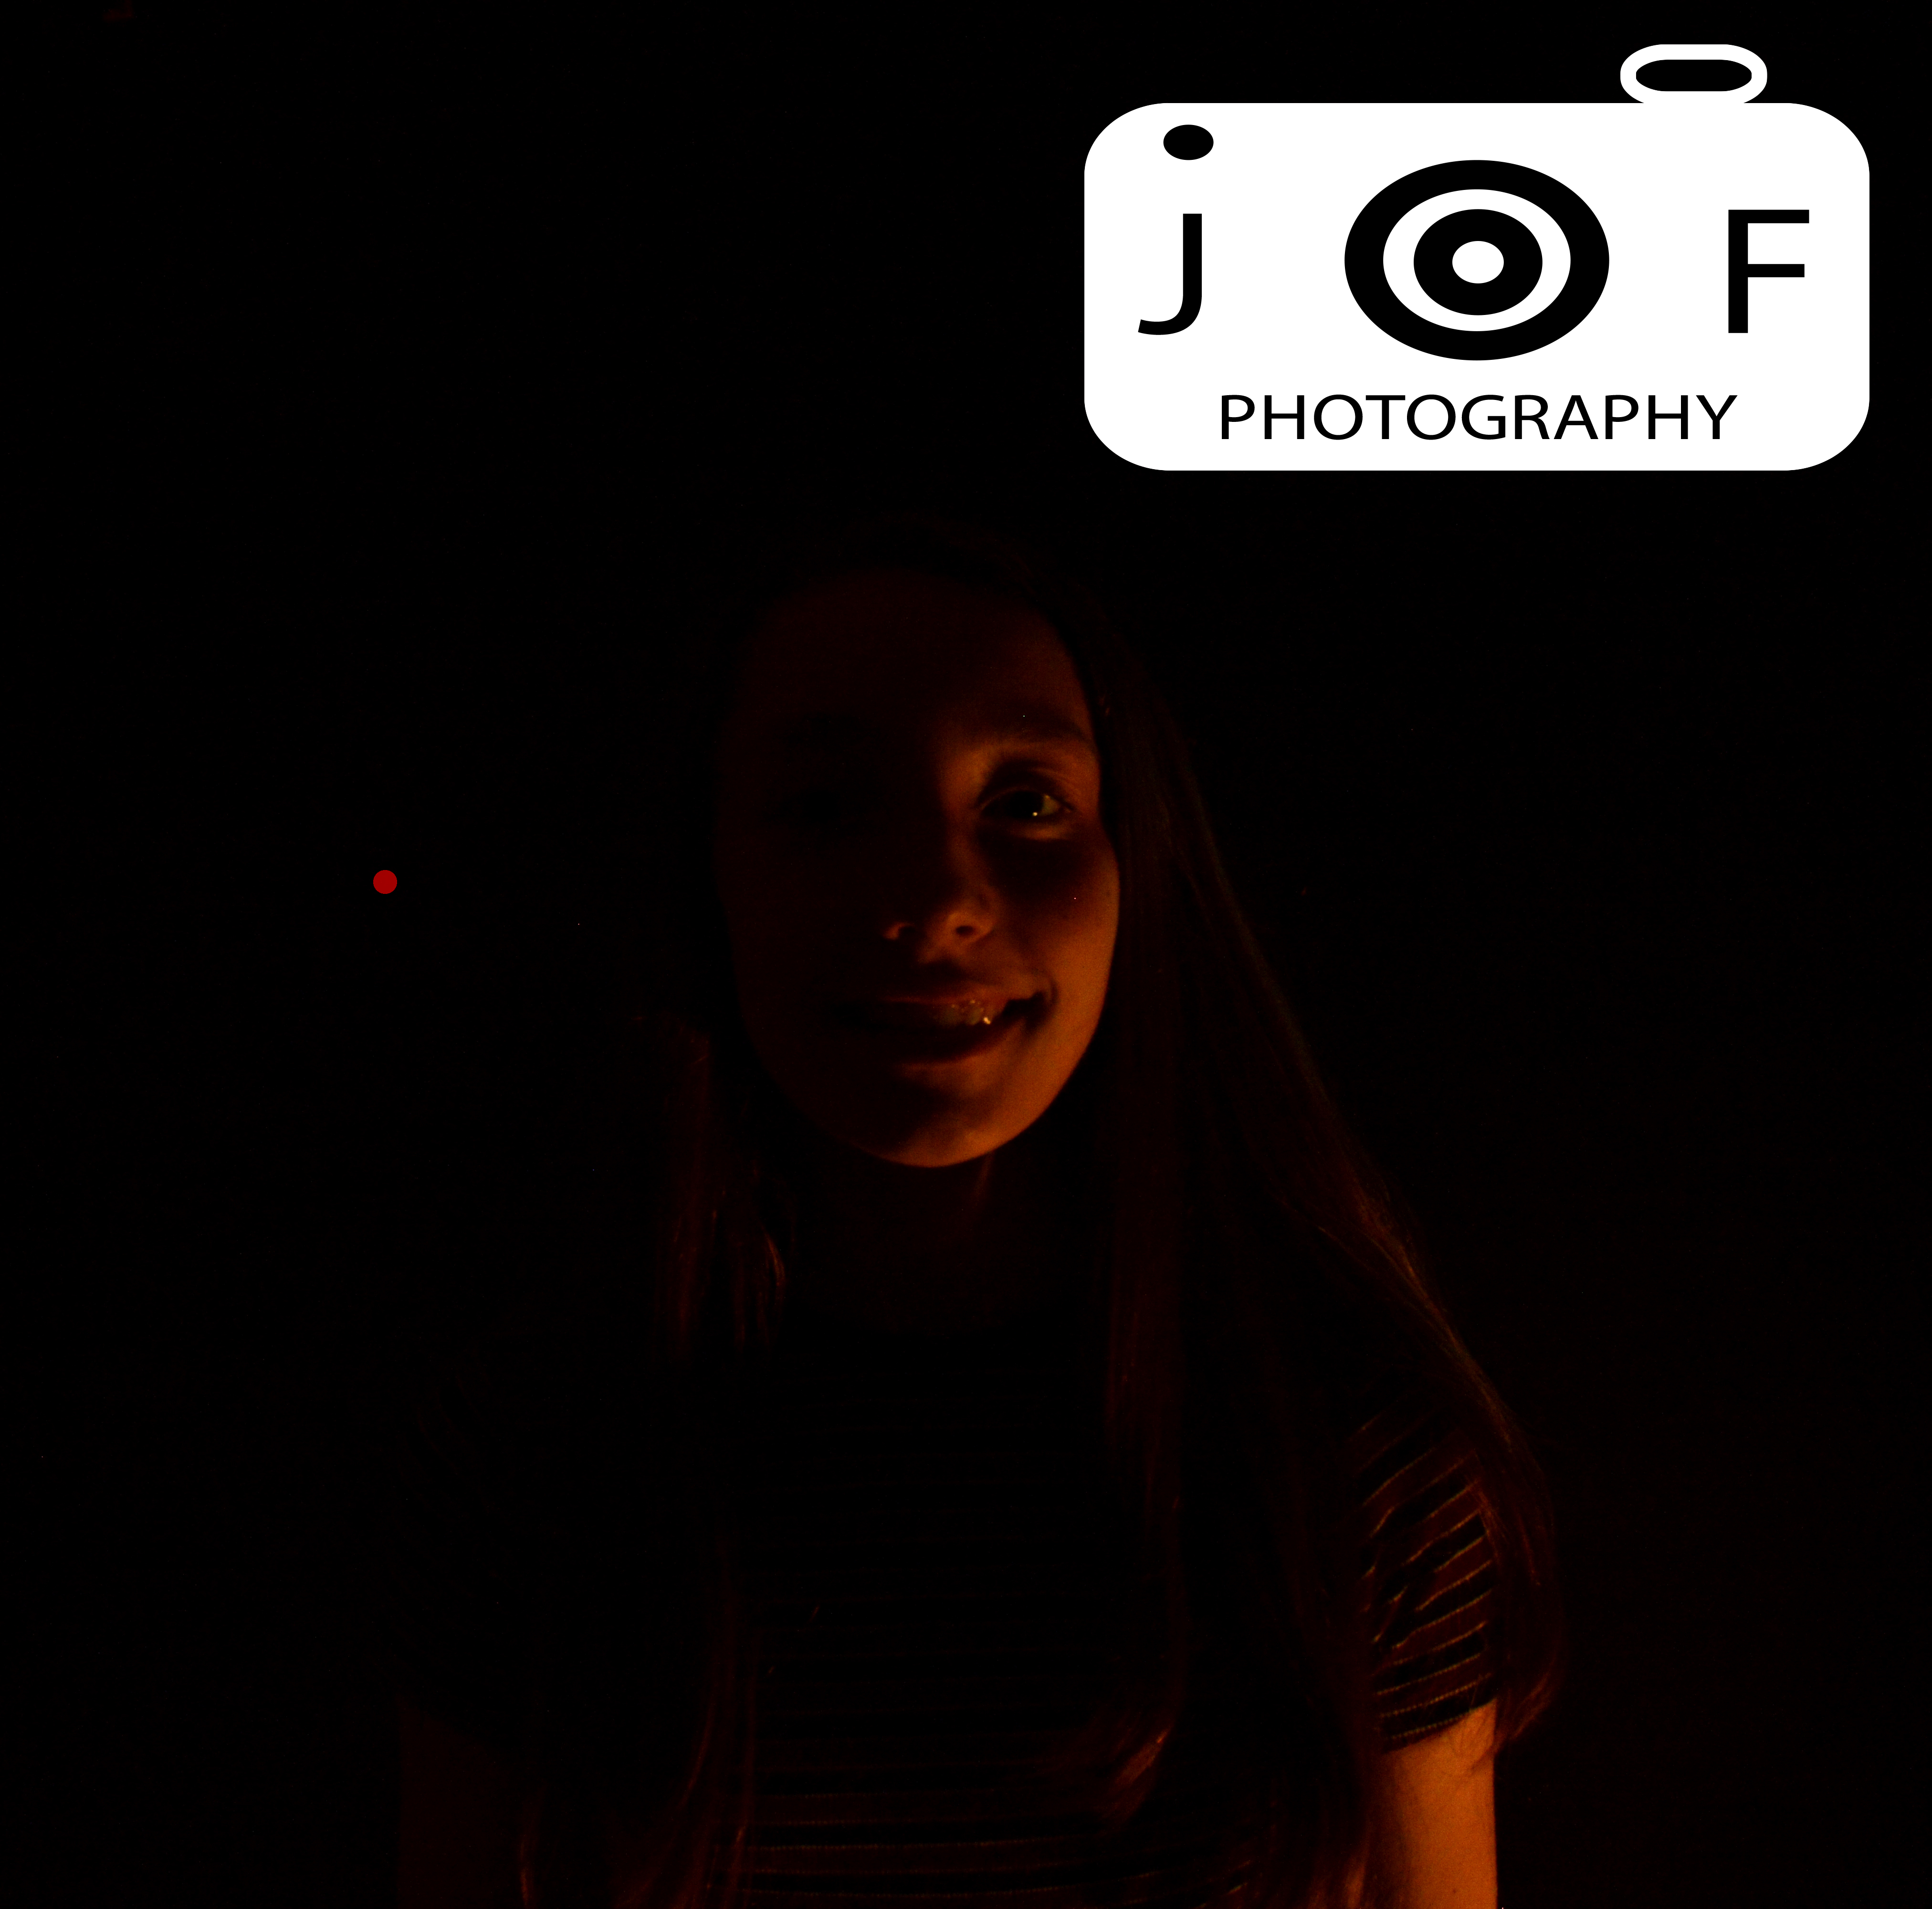
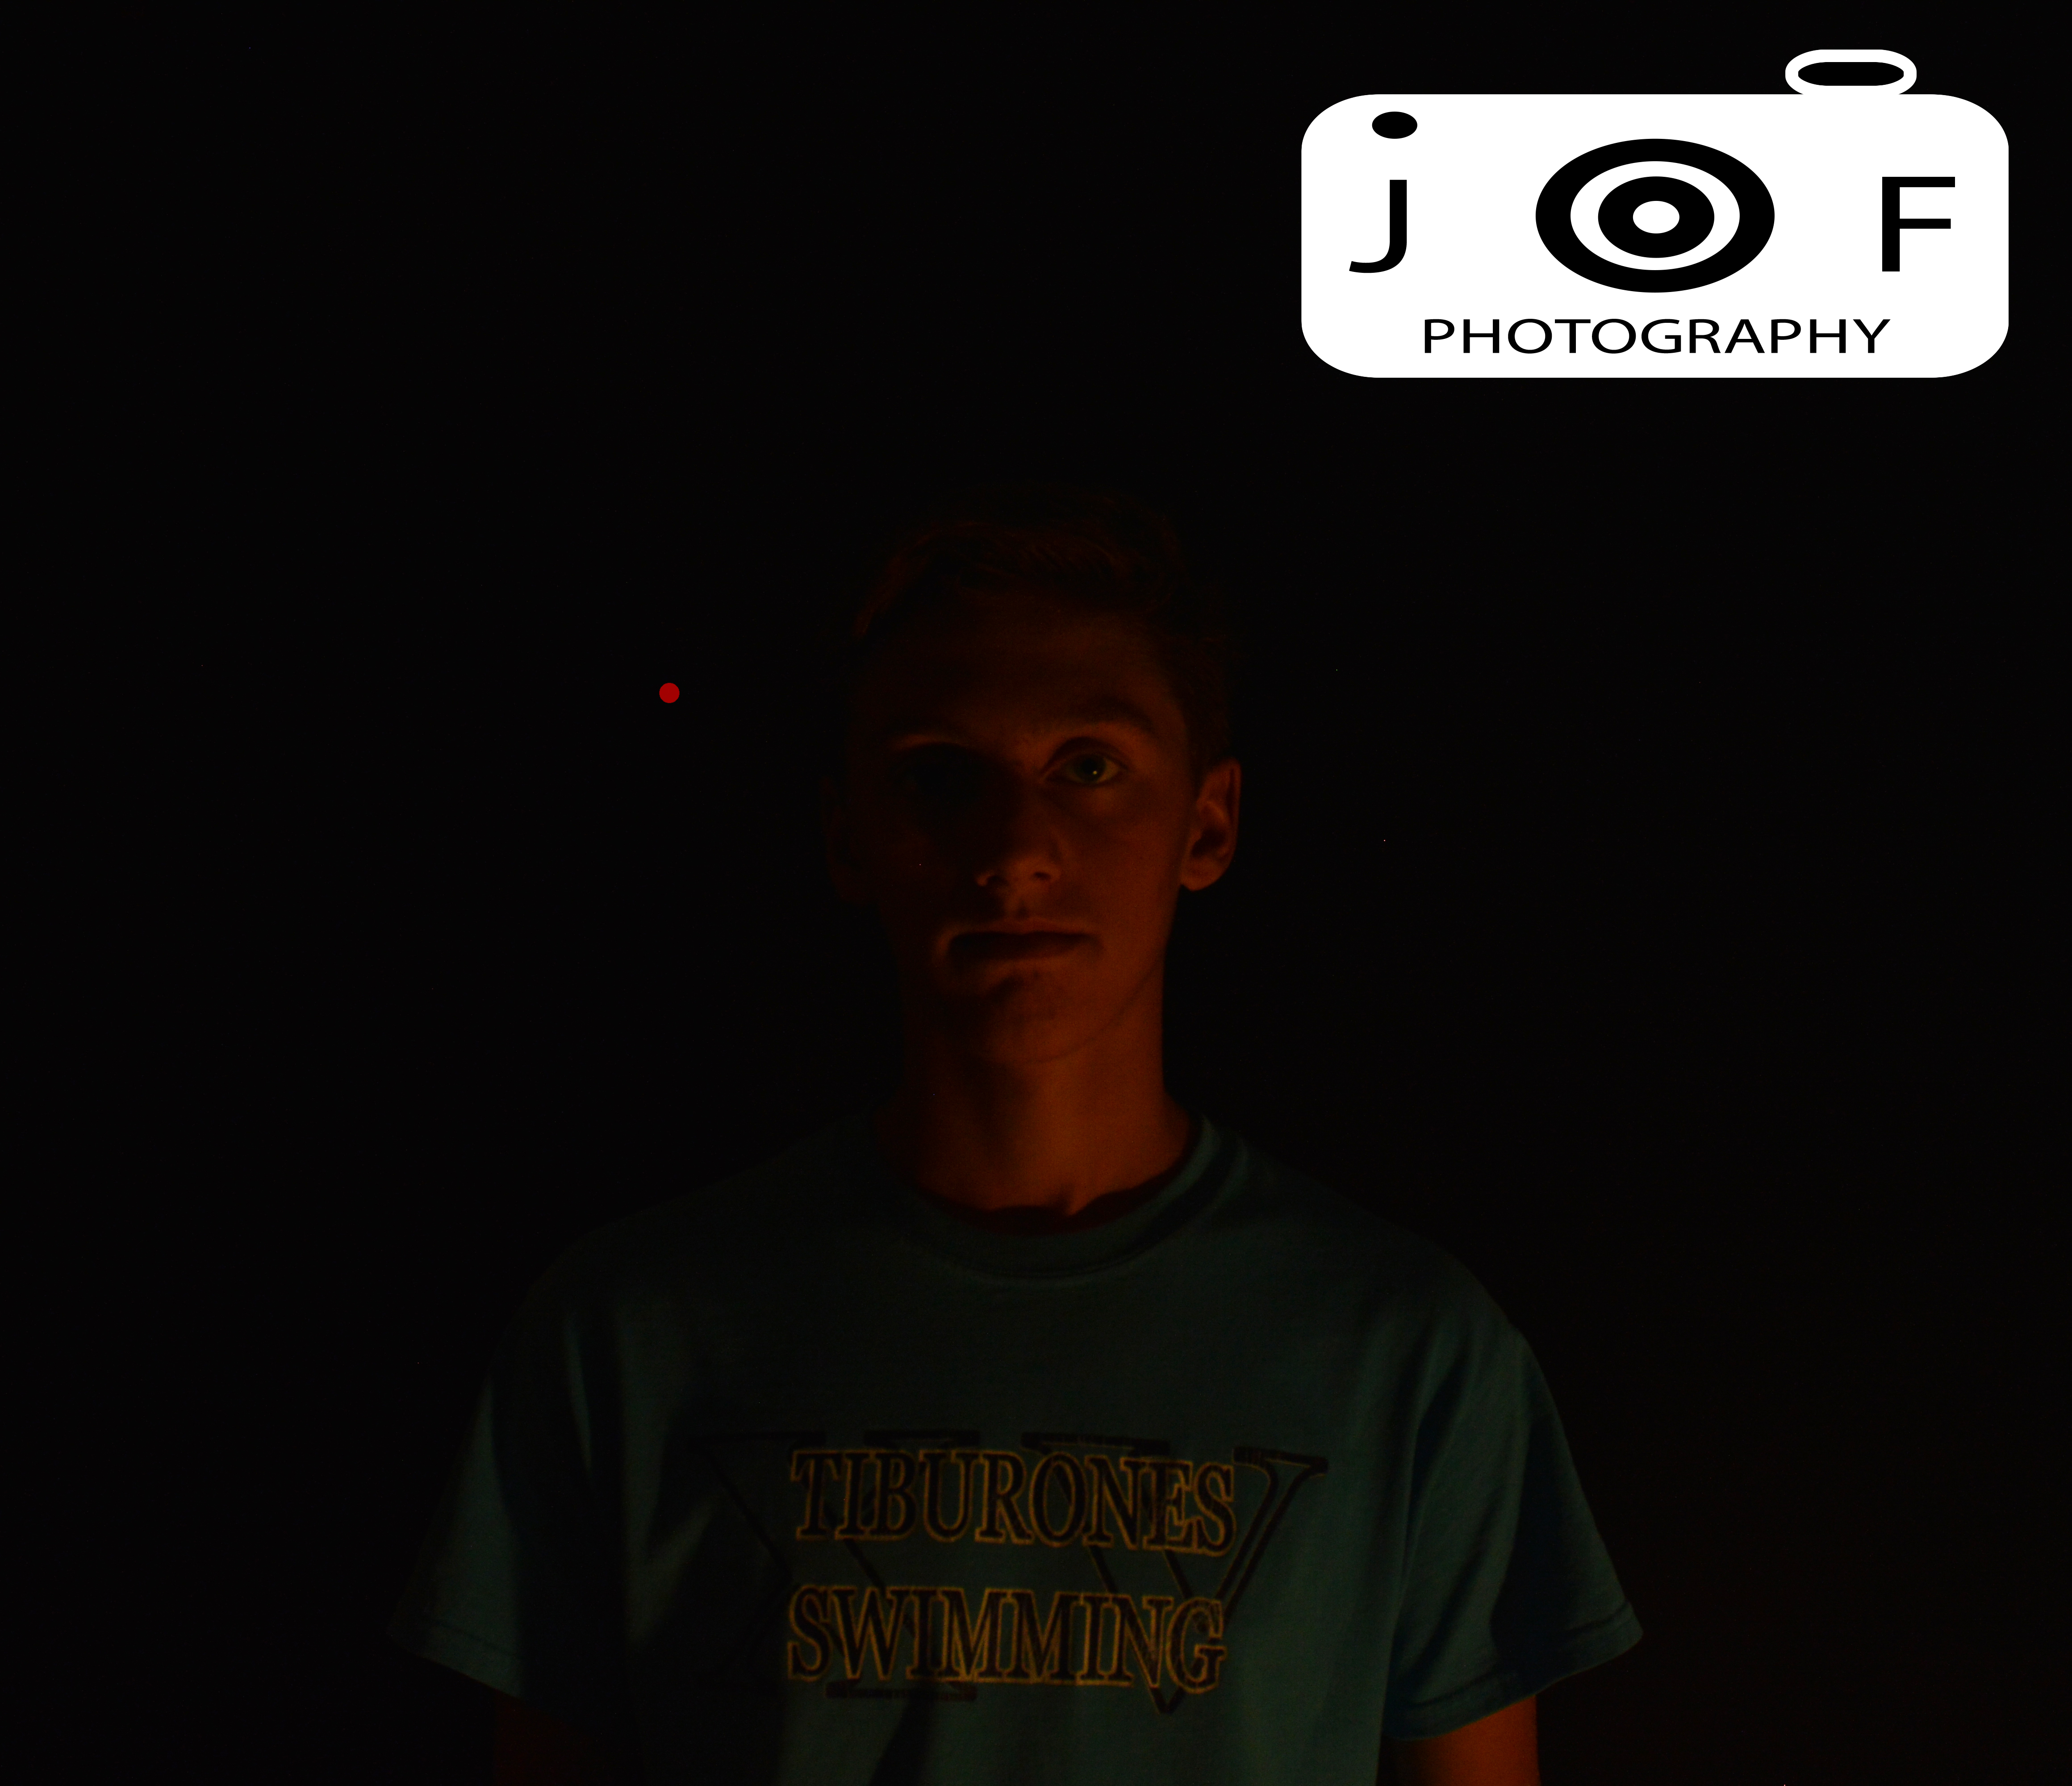
In this project, we had to make it look like there was an infinite background of darkness for this portrait. In order to get the right lighting, we had to put the light on the person, not behind the person. One thing that didn’t work was taking the picture far away from the person, because it messed up the lighting. one thing that did work was getting very close to the subject, because it made the focus better, as well as the background.
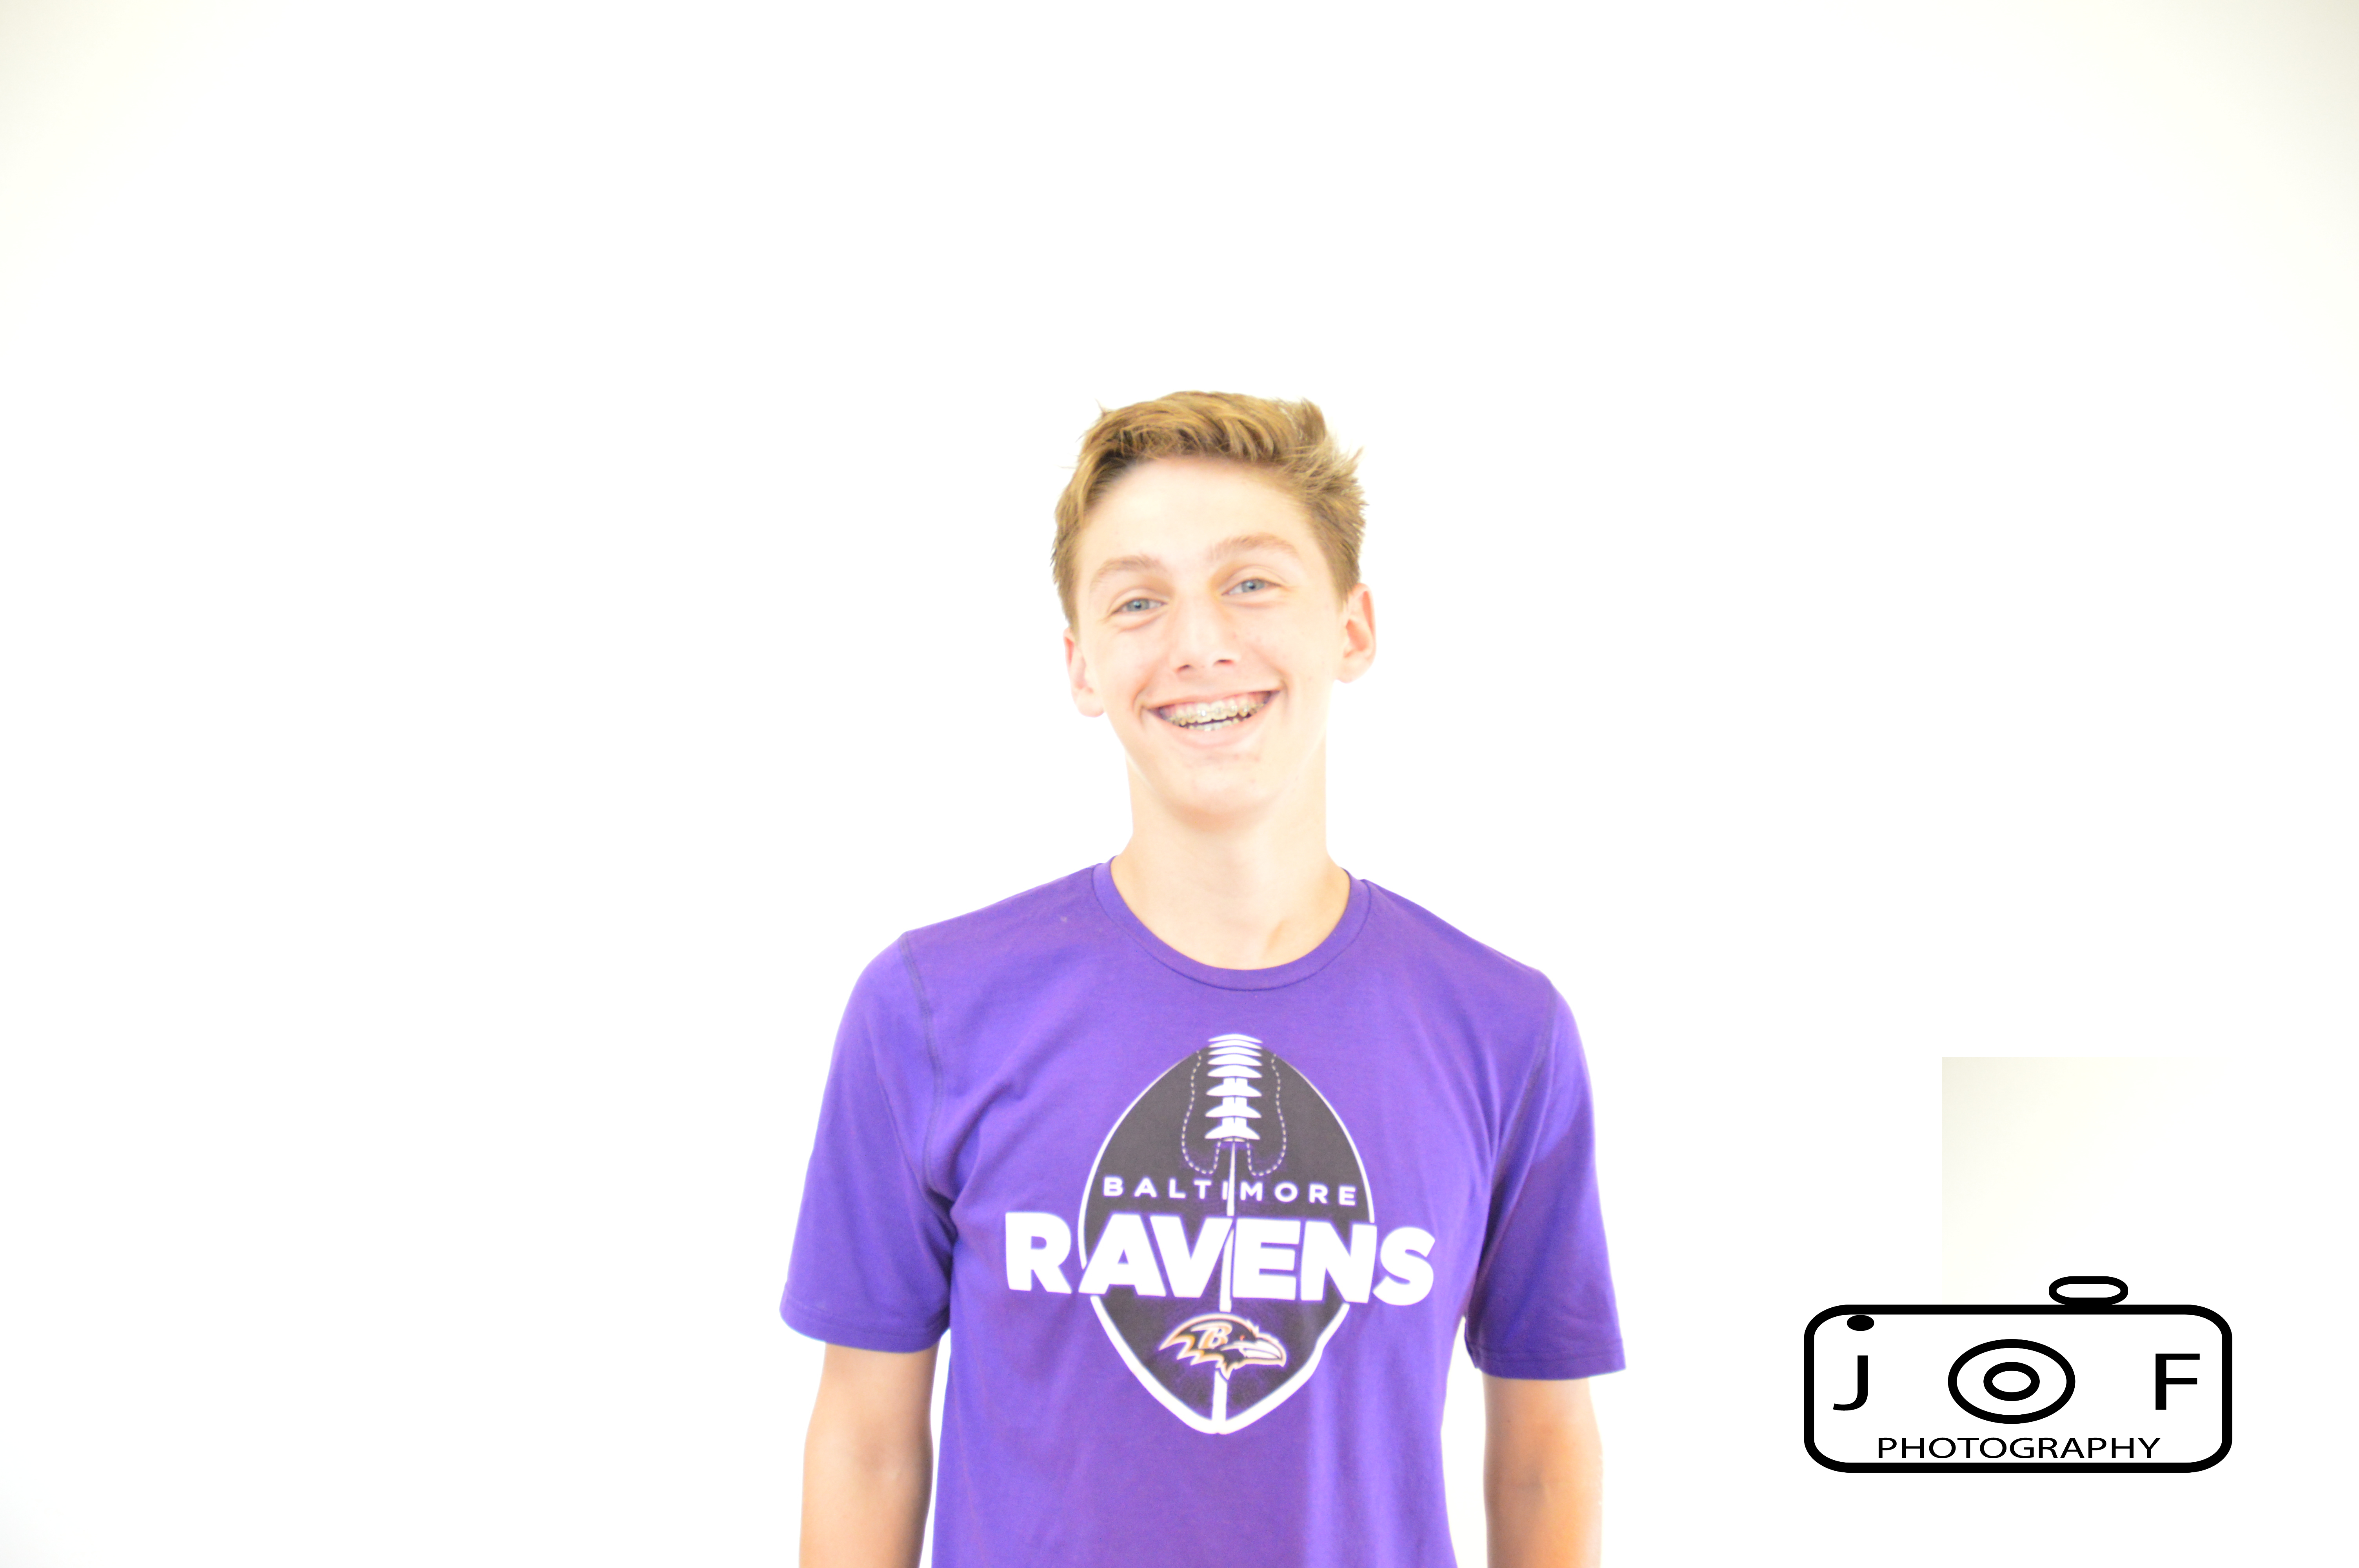
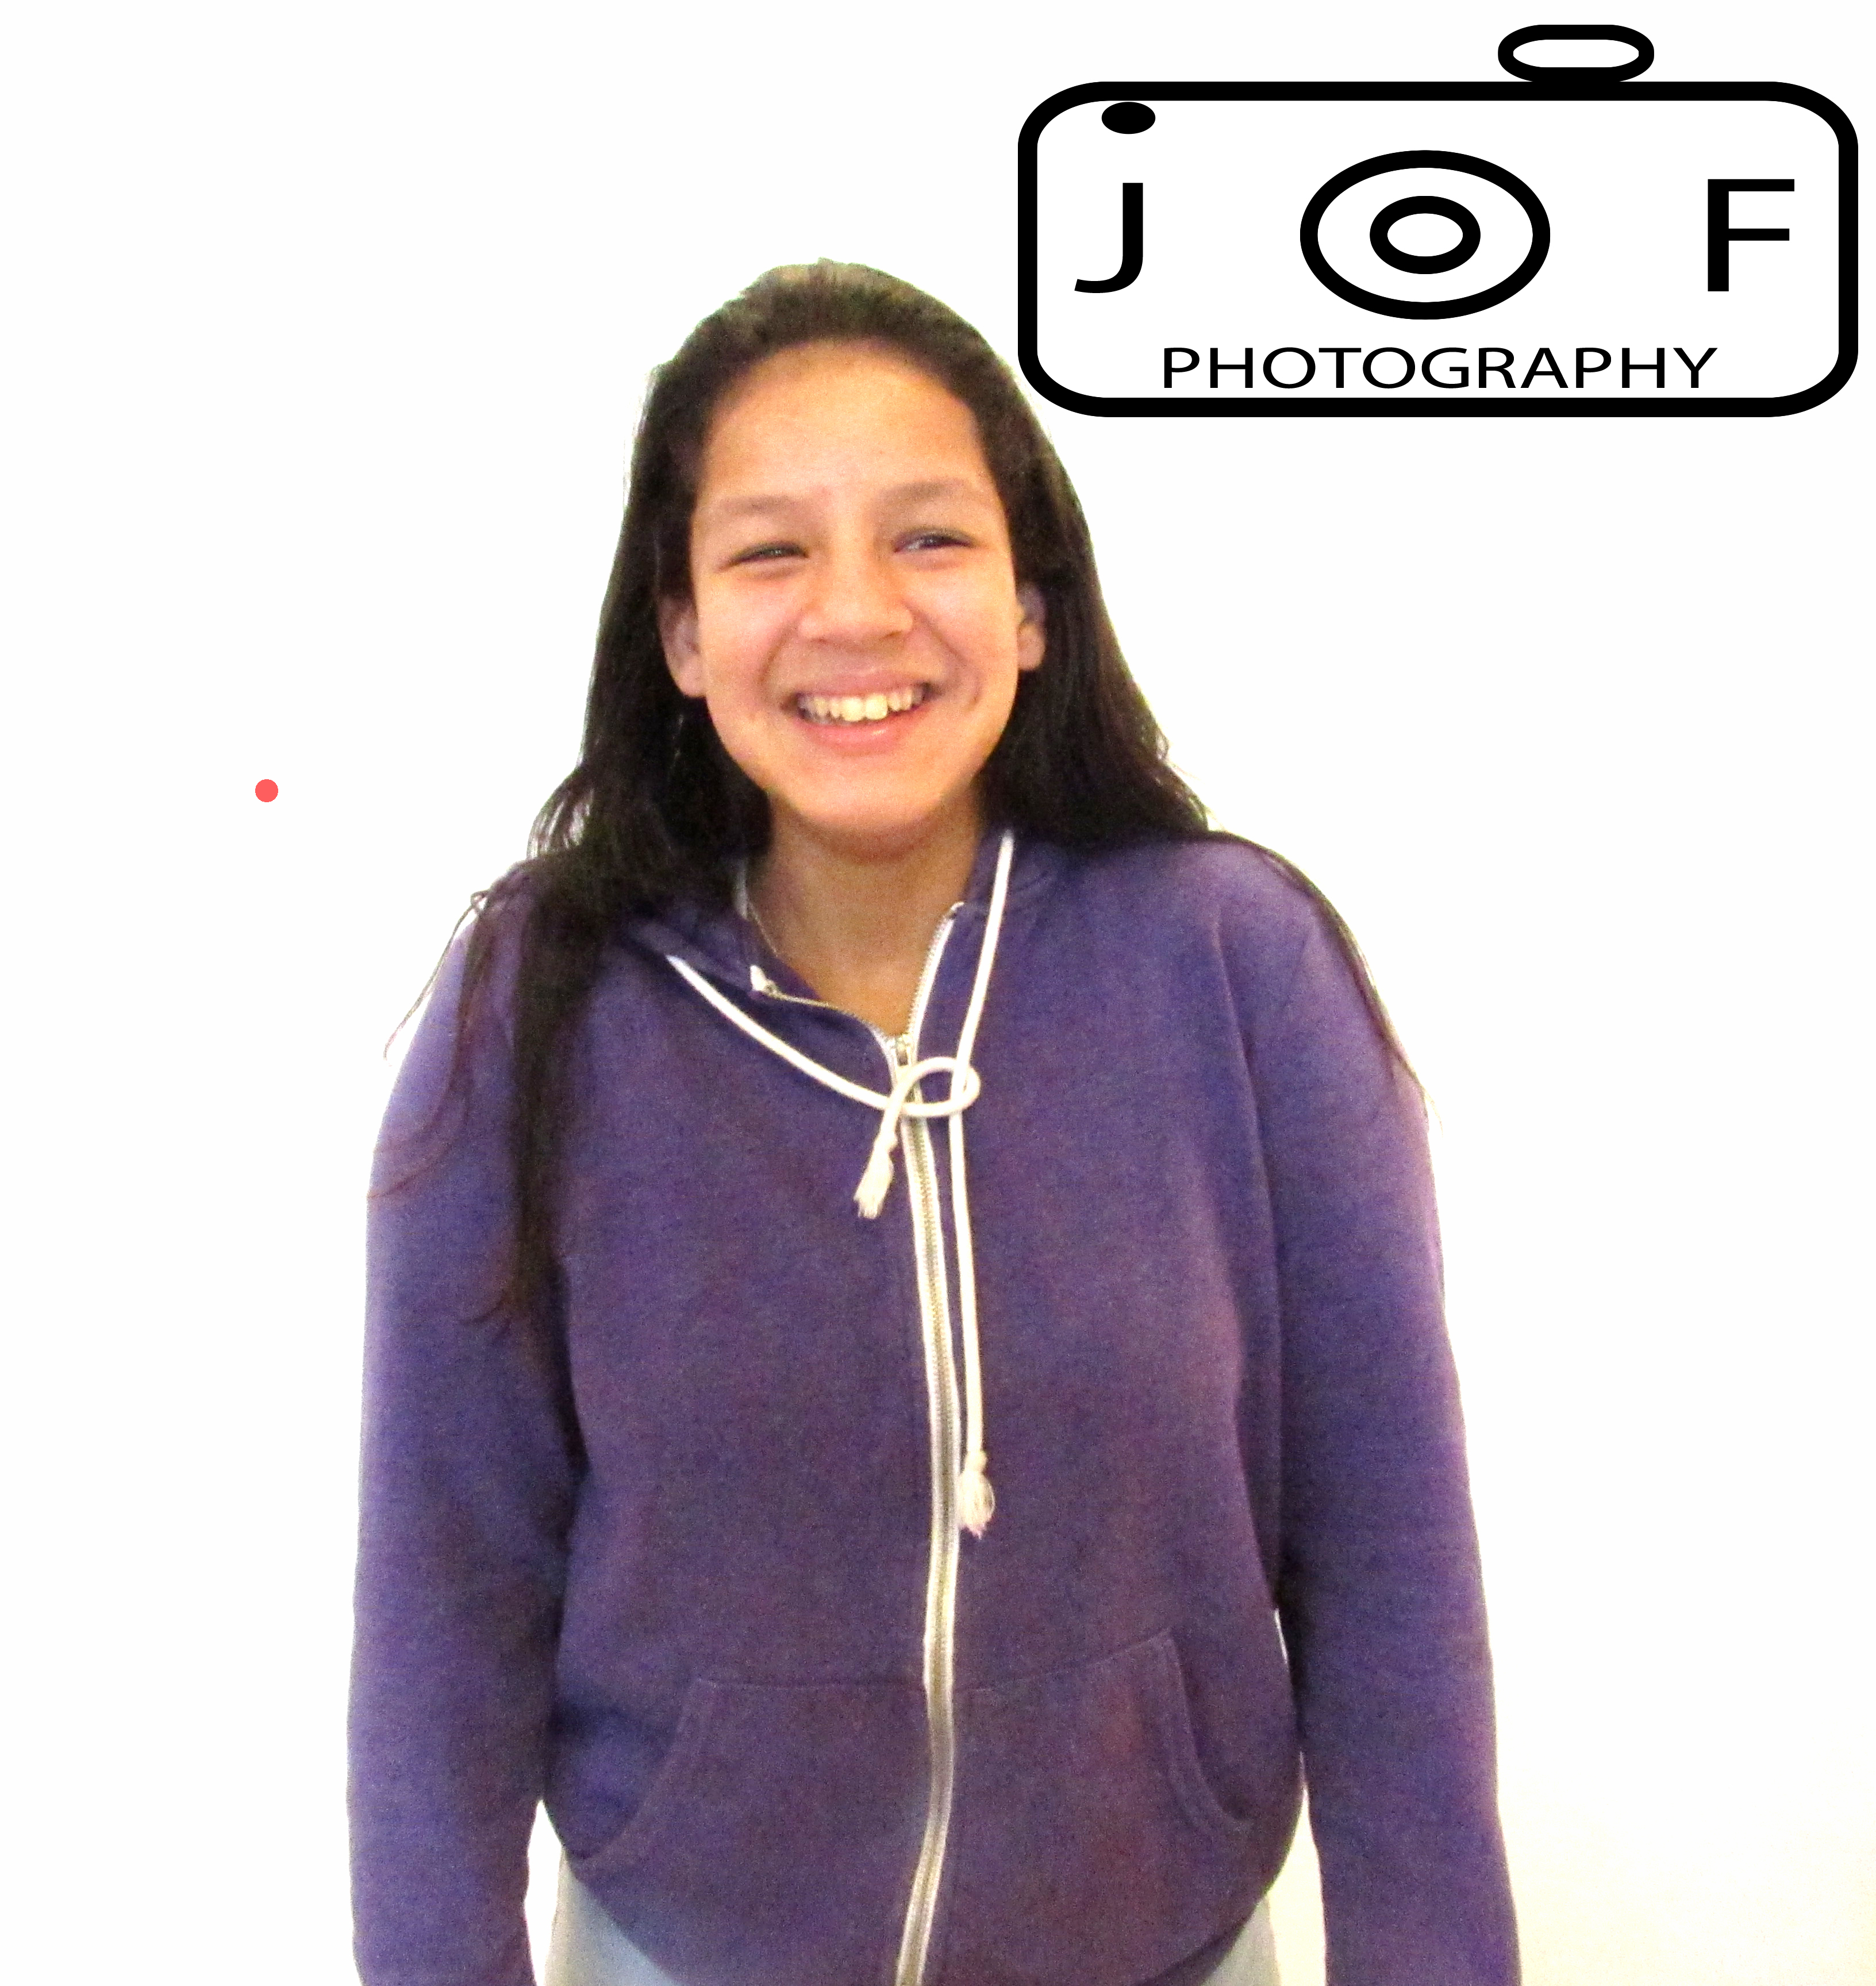
The first step was to take pictures of everyone in front of the background. This was very easy, except for where to put the lighting for the picture. next, we went to Photoshop to make the background look as light as possible, without getting rid of the person in the picture. What didn’t work was the graph. At first we didn’t know how to use it correctly, but then we figured it out and it was pretty easy from there.