Author: Connor

Last Project!

Last Project!

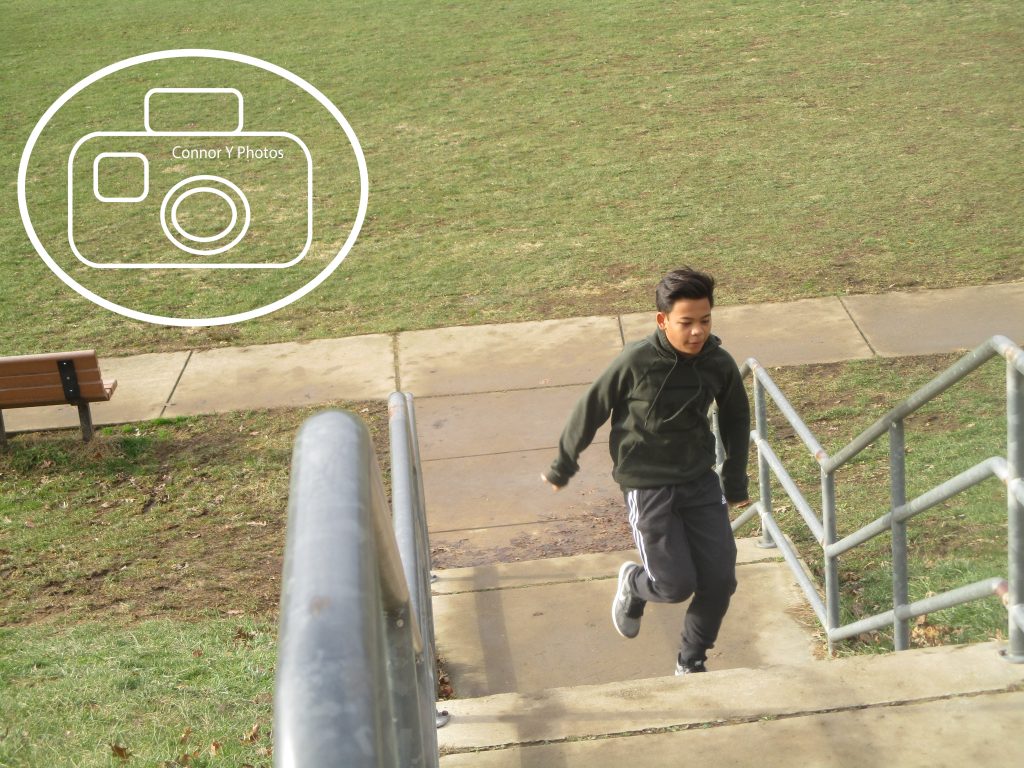
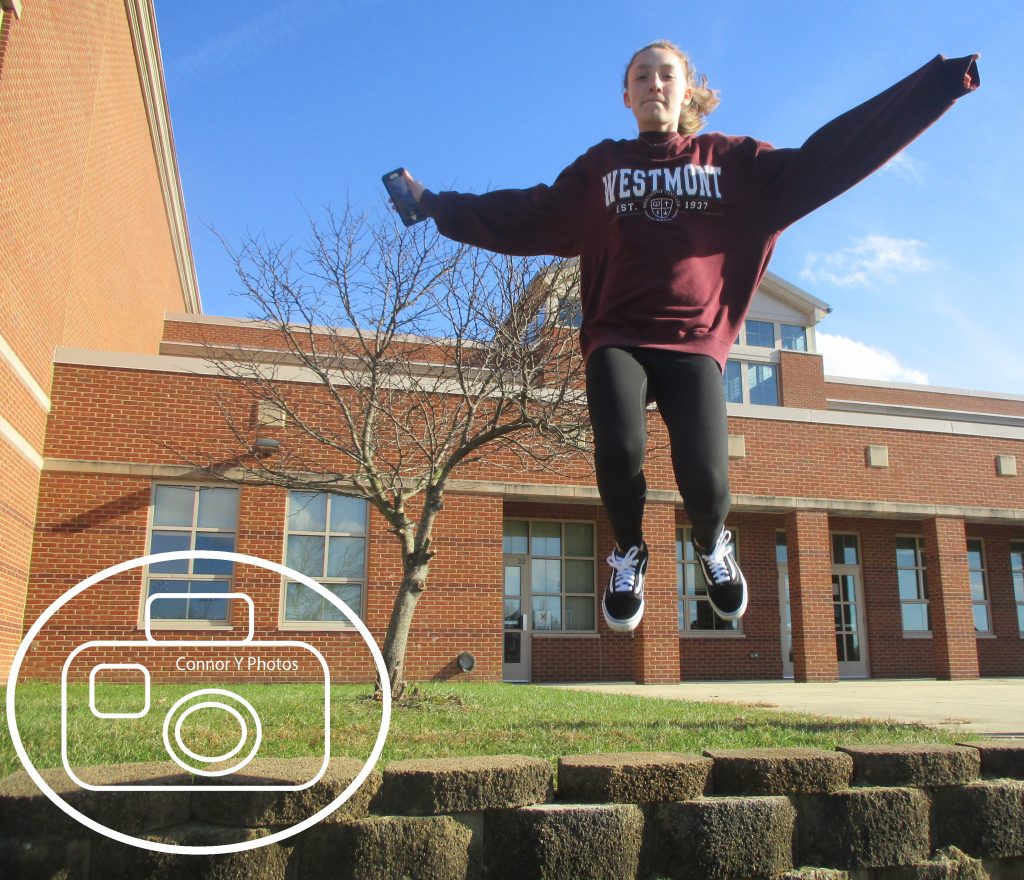
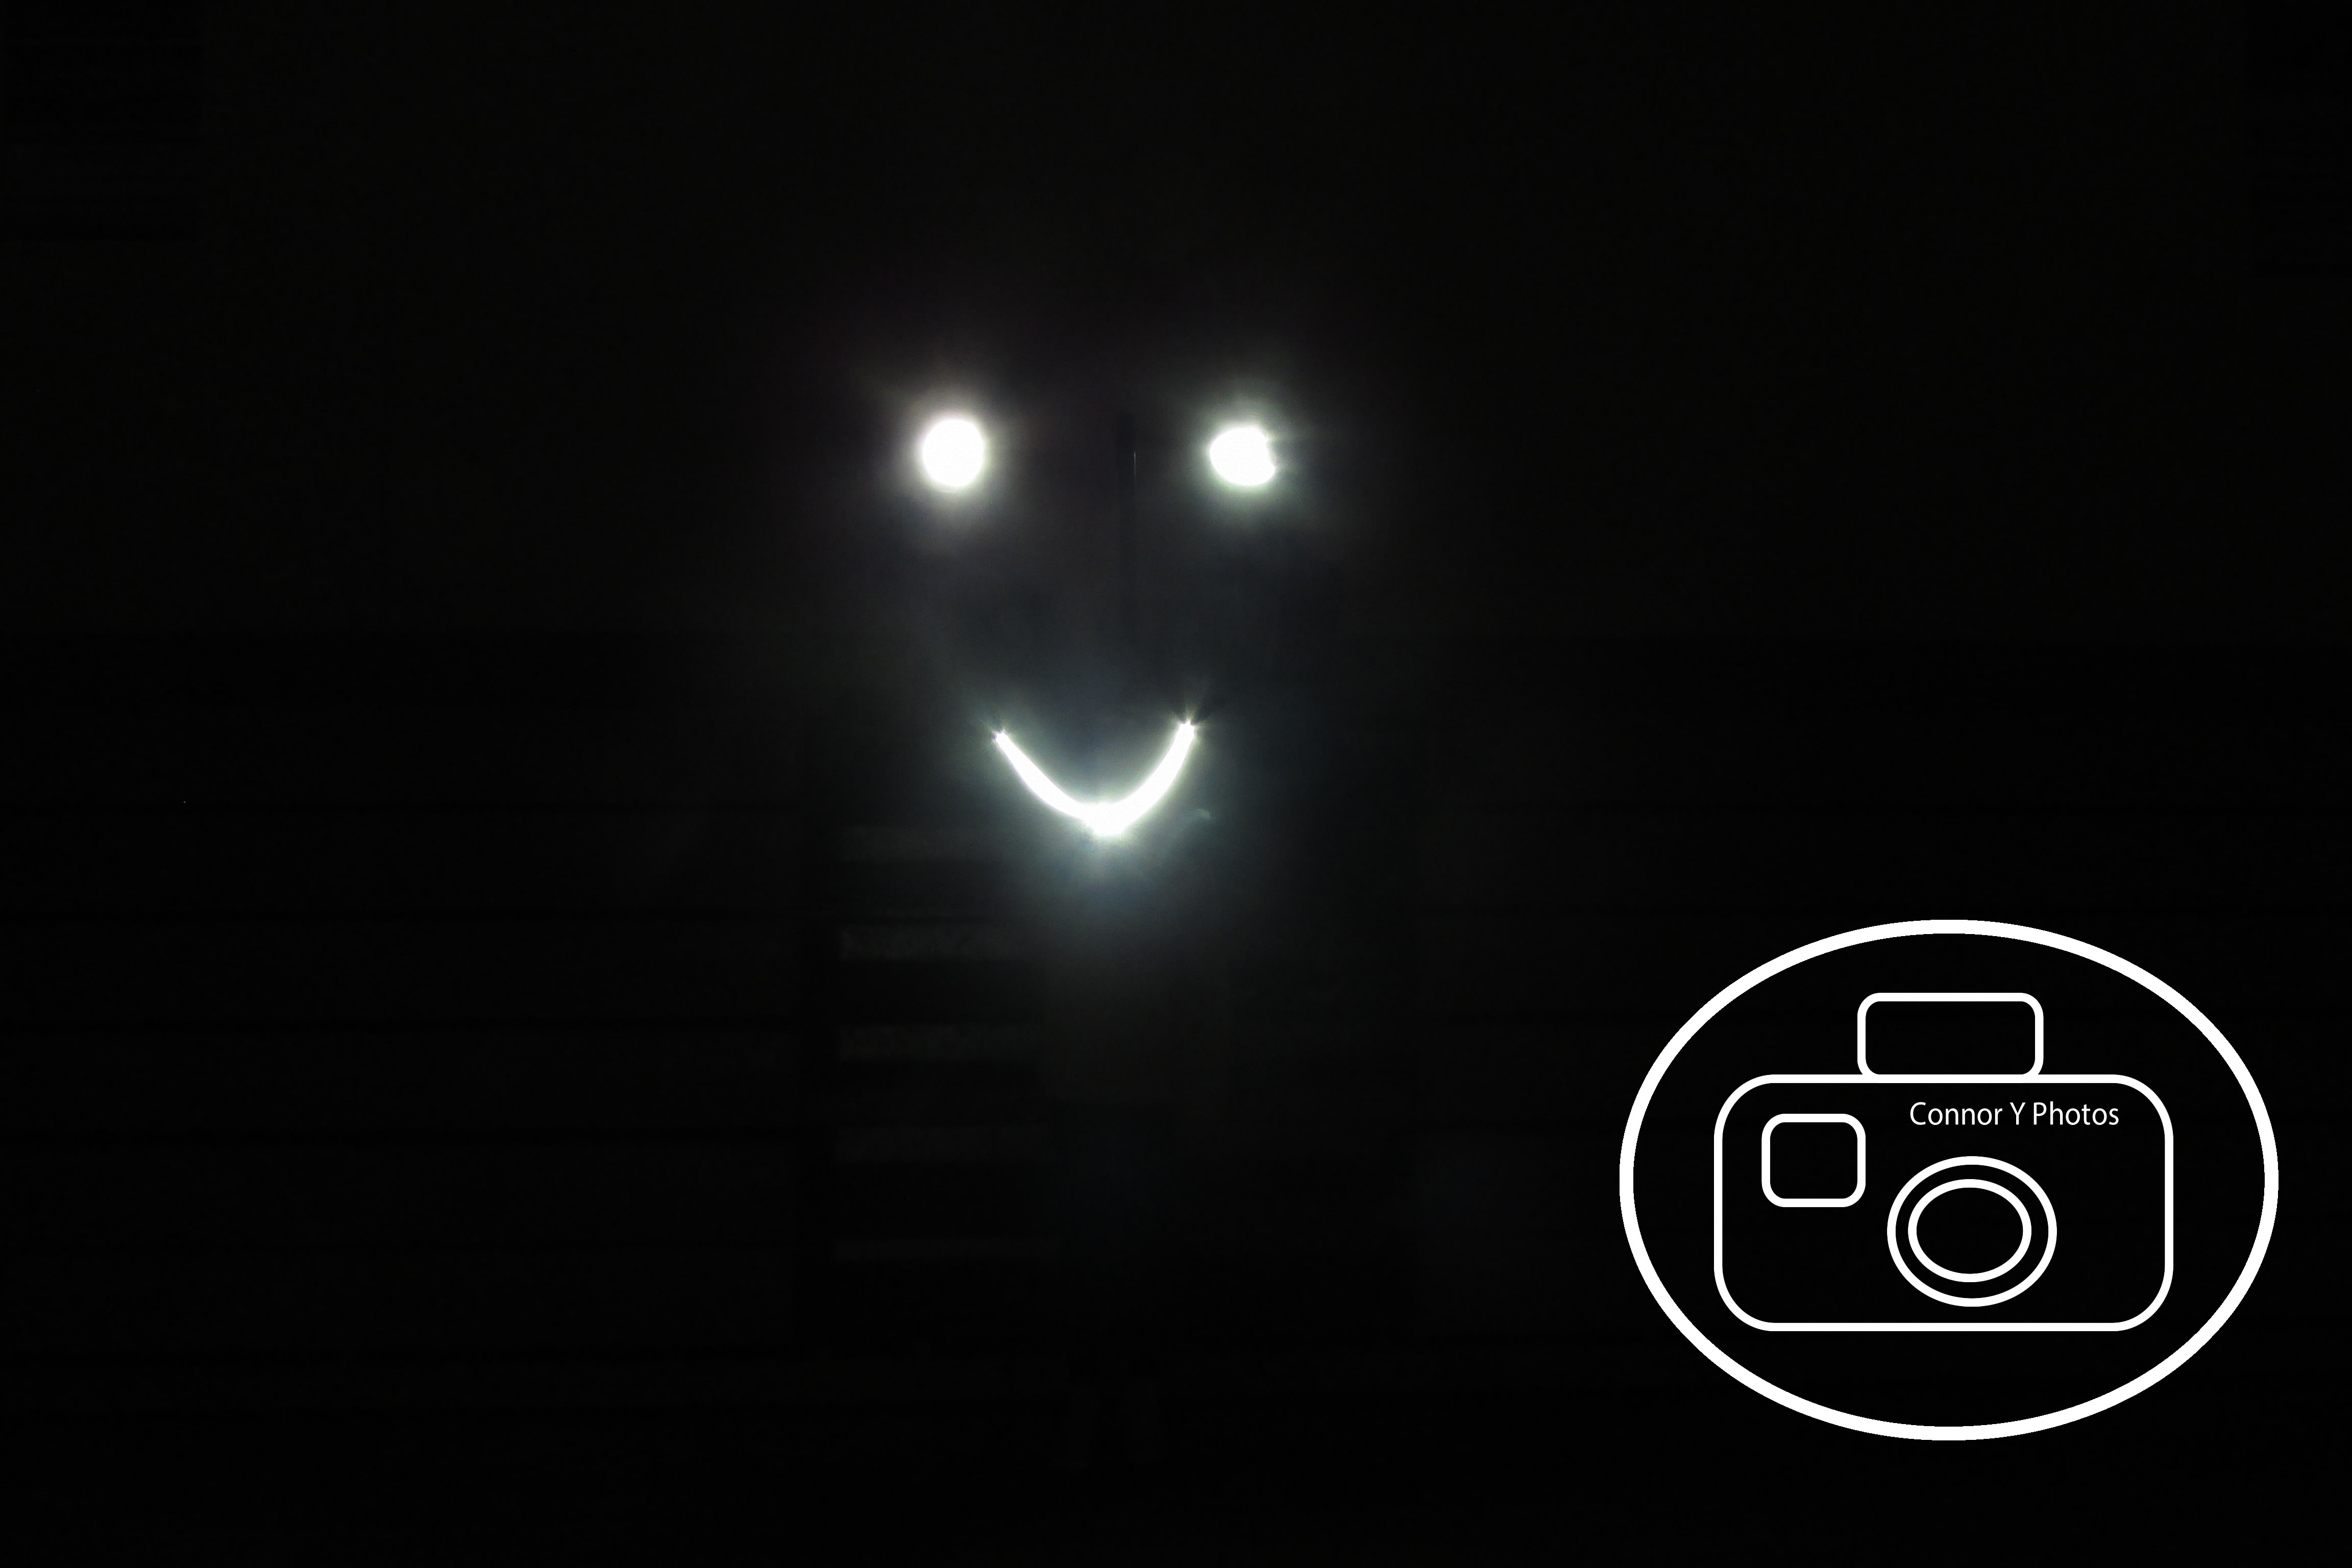
This semester has been really fun taking photos. We did so many different and interesting projects that I enjoyed. It was a great class to start 8th grade. My thoughts have changed about photography because in the beginning, I thought it was just taking pictures. But after this class, I learned that you can edit photos in so many different ways. I have changed the way I take photos because this class taught me different ways on how to take photos like up close, and in motion. My favorite project was the light graffiti because it was so cool seeing that if you leave the shutter open, you can paint a picture. Photography doesn’t interest me as a career. But, I would like to continue learning in high school because I enjoy taking photo

Getting Close

Getting Close

In this project we had to take up close photos on small objects. We had to use the macro icon in our cameras to get a really good shot. In the end, we had to take 10 photos that are up close. Using the macro icon worked really well in this project because the pictures looked way better than taking them regularly. I tried going close to the objects and I’ve never done that before. A challenge I had was trying to find objects because usually it didn’t work out. It was pretty difficult to find subjects. An issue I had with the camera was when I tried to take a photo, the camera didn’t turn to the macro icon and went to another icon. I would like to take pictures of animals up close, specifically bees.

You can see the rest of my photos here.

Set in the Street

Set in the Street

In this assignment, we had to take photos in a set. We had to come up with ideas on our photos, like the mood and the props we would be using. Also, we had to take one last photo of the set zoomed out so you can see where it was actually taken from. The photographers that inspired us for these photos were Justin Bettman, because he put sets in public places. Also, Carrie Mae Weems because we also used a kitchen table for the set and the lighting is inspired be her. The photo shop tools I used was an elliptical marquee tool which gave me the area that I needed to edit. I also used the curve tool because it made the area of the photo darker to resemble a lamp. I would choose to take my photos in Iceland because my family has always wanted to go there. You would see happy, sad, and excited photos.

You can see the rest of my photos here.

Catch the Action

Catch the Action

In this project, we had to take photos of people or objects in motion. To capture good images, I took the picture early. This helped because if I tried to take it late, the person would already be on the ground and I needed to get them in the air. Some tips I have would be to plan out your photo so nothing unexpected happens. Also, to take the photo earlier than you think because it helps. I would want to photograph soccer because it would be cool to see someone kicking the ball while in motion.

You can see the rest of my photos here.

7 Days

7 Days

Even though this picture only shows my mom, I am thankful for my whole family. They always support and care about me.

I am thankful for my education because it’s very important and means a lot to me.

I am thankful for sports because it’s fun to watch and play. My favorite sports are soccer and tennis.

I am thankful for food because it gives me energy. Also, because it tastes good and it’s yummy.

I am thankful for my bed because it’s comfortable and I can relax at night.

I am thankful for computers because they keep me entertained during a boring day.

I am thankful for holidays because it makes me happy and I like spending time with family.

Then I Asked Them to Smile

Then I Asked Them to Smile

Something that was difficult for this project was to find 15 people because I knew a lot of people in the school already. In some pairs of photos, the changes I saw were amazing. I would talk to the smiling person, but not the serious person because they looked intimidating. A bias could affect my job as a photographer by judging someone off my first glance and deciding to not take a photo of them. Some questions I would ask to take fair photos could be asking my client to have a serious face and to smile. Also, for them to stay in the same position while taking the photos.

    For my slideshow, click here.

Light Graffiti

Light Graffiti

We took our pictures by having the shutter open for as long as possible. We turned on the flashlights while the shutter was open and started painting with the light. Having many attempts for one photo really worked because you could choose your best photo. Moving around while painting didn’t work because it made the picture blurry. It was really frustrating to figure out how you could paint your desired picture without messing it up. For taking this project to the next level, we could do a short stop motion video using light graffiti.

You can see the rest of the photos here.

Rule of Thirds

Rule of Thirds

For this project, what really worked was that I used a grid on the camera and it made it much easier. Also, choosing the right background made it easier. What didn’t work was having the person or object in the middle of the photo. My thoughts before the Rule of Thirds was that to always have the person in the middle of the photo. After I took my pictures, I realized that having the person to the side makes the photo look better. The lines I used were the all the 4 points of the grid. I set up the shot by taking a photo to the left and to the right. Then I chose which one was better.

You can see the rest of my photos here.

Portraits with Black Background

Portraits with Black Background

In this project, we had to take portraits of everybody in our group on a dark background. We took the photos by having the lighting just right. At first, we tried to shine the light on the background. But then we figured out that you had to shine the light on the person at an angle. As for editing, we used photo shop to make the background look more dark. We also made the people look more bright.

You can see the rest of the photos here.

Portraits with White Background

Portraits with White Background

The process we used to take our photos was that we had to get the perfect lighting for the white background. You had to get in front of the lights. We also messed around with the ISO, Shutter Speed, and F-Stop. For editing the photos, we used photo shop to make the photos look better. At first, we didn’t edit correctly, but then we figured out how to do it.

                            To see all the photos, click here.