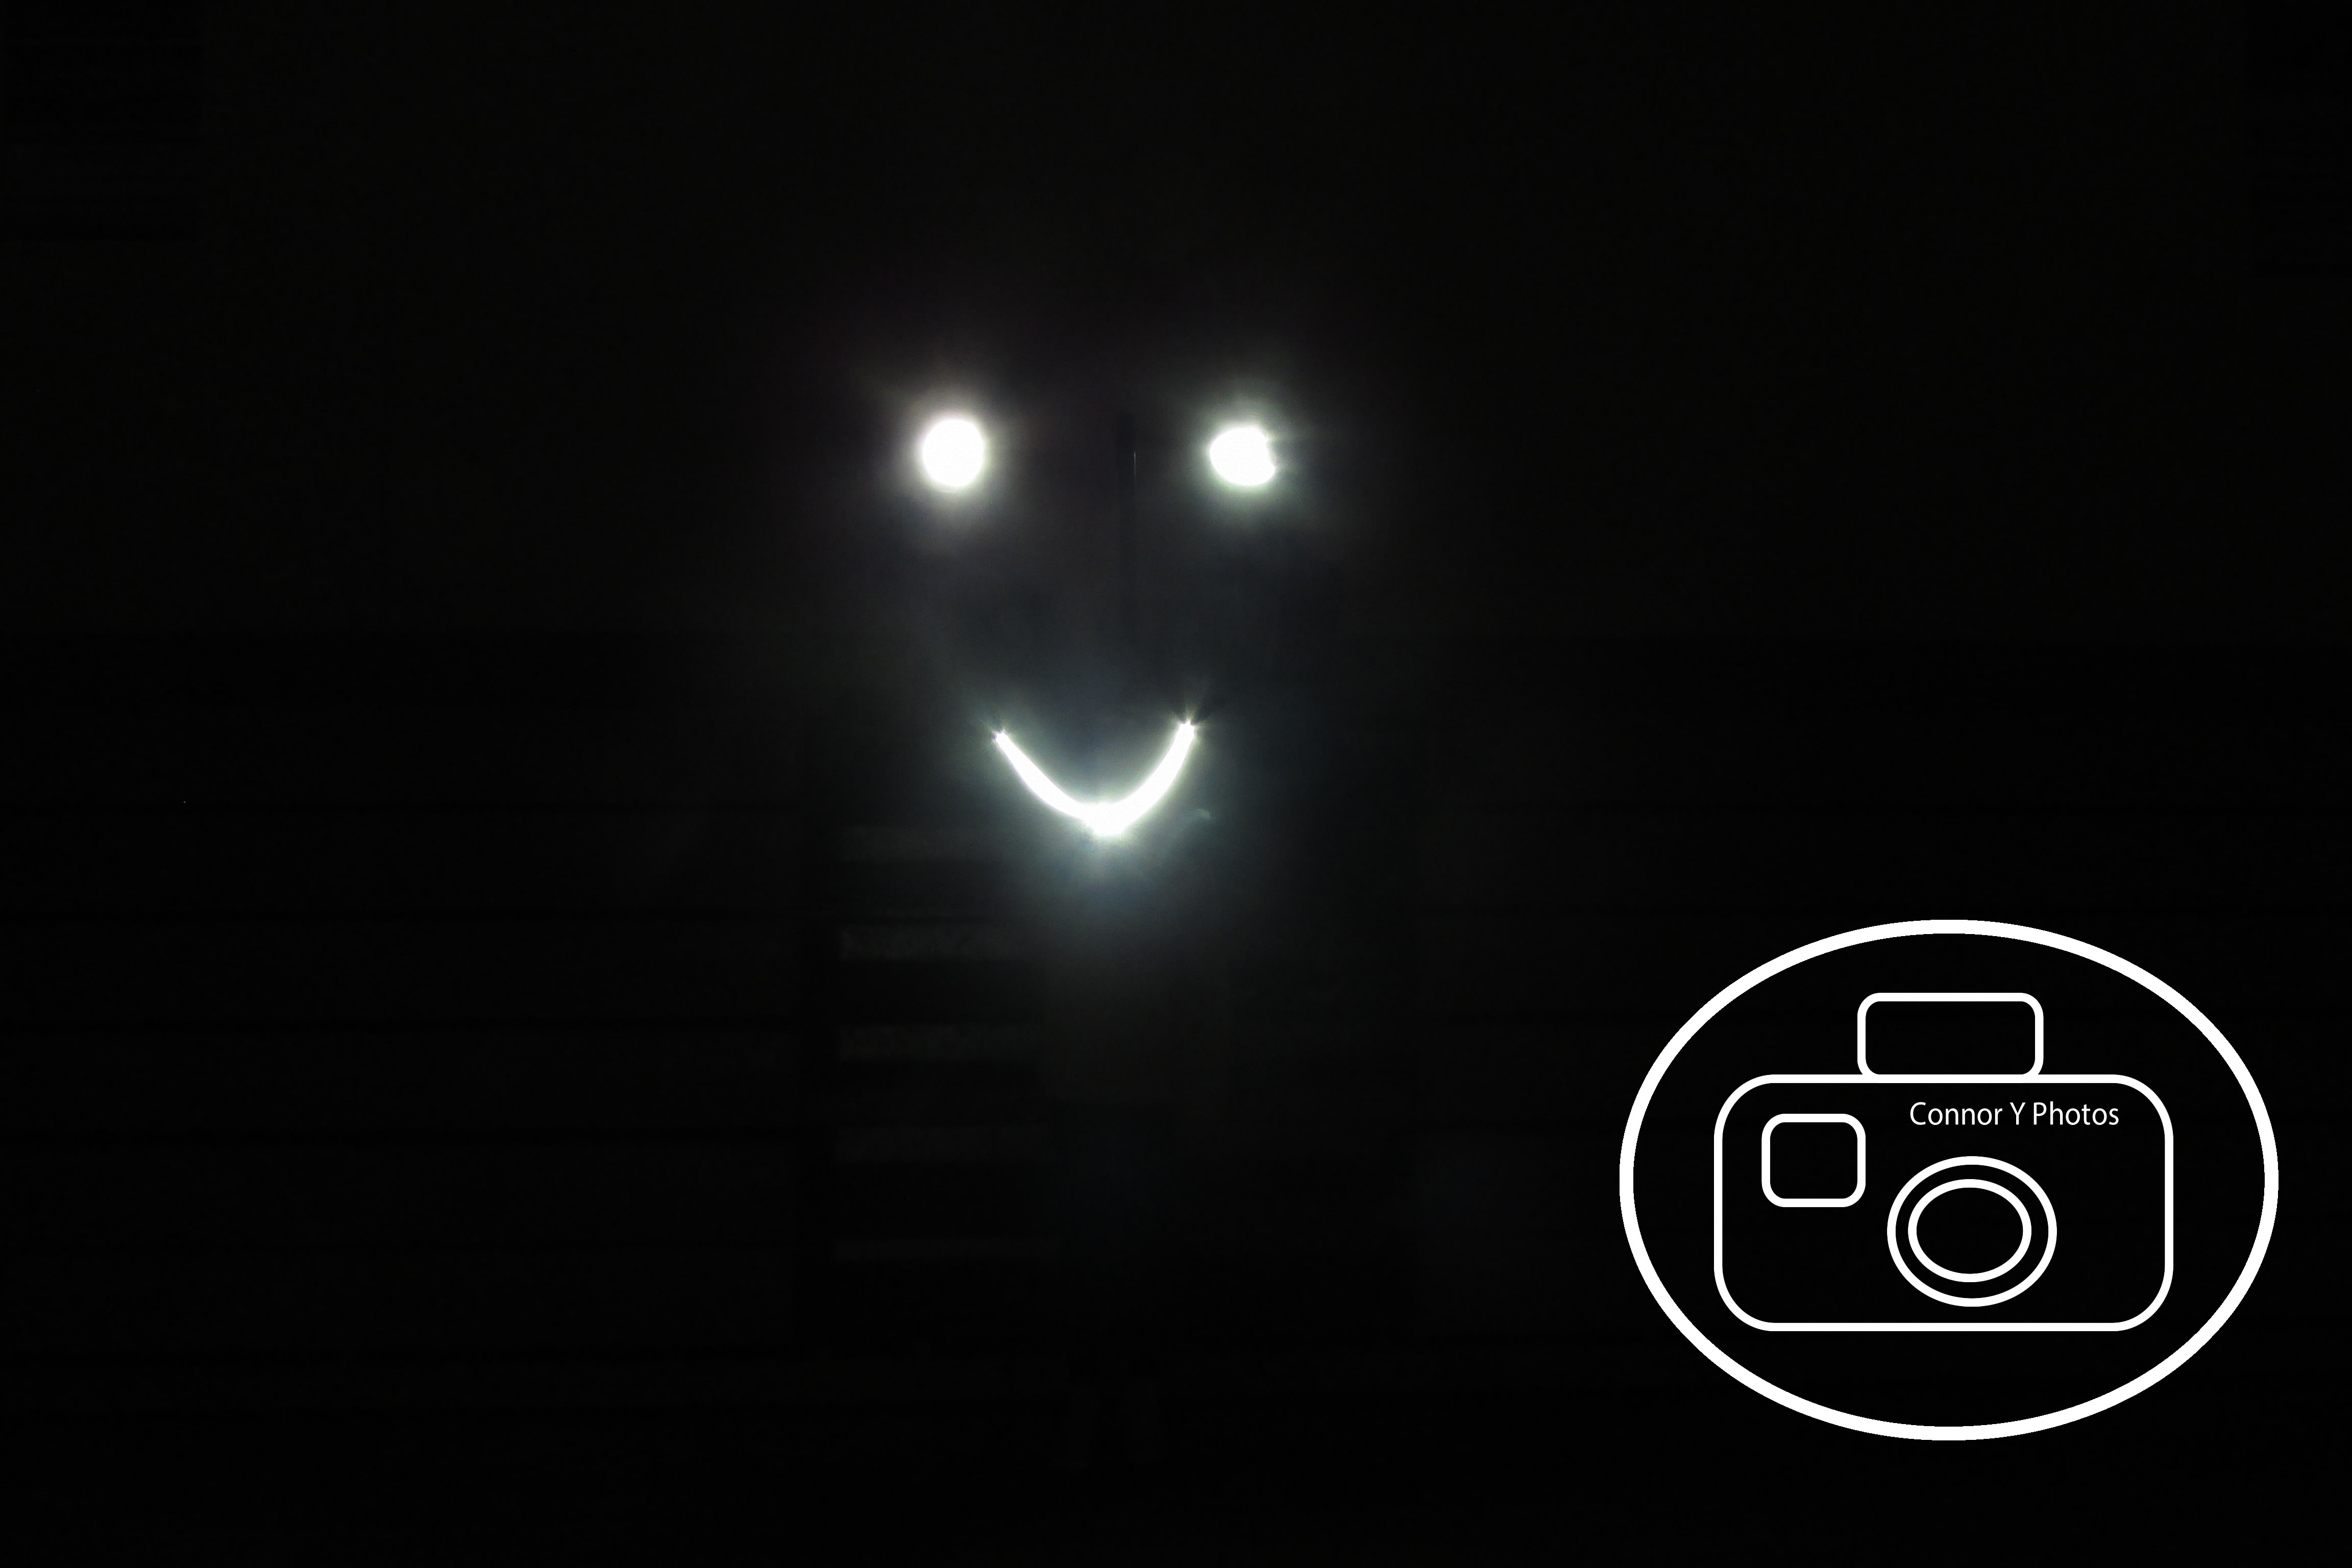
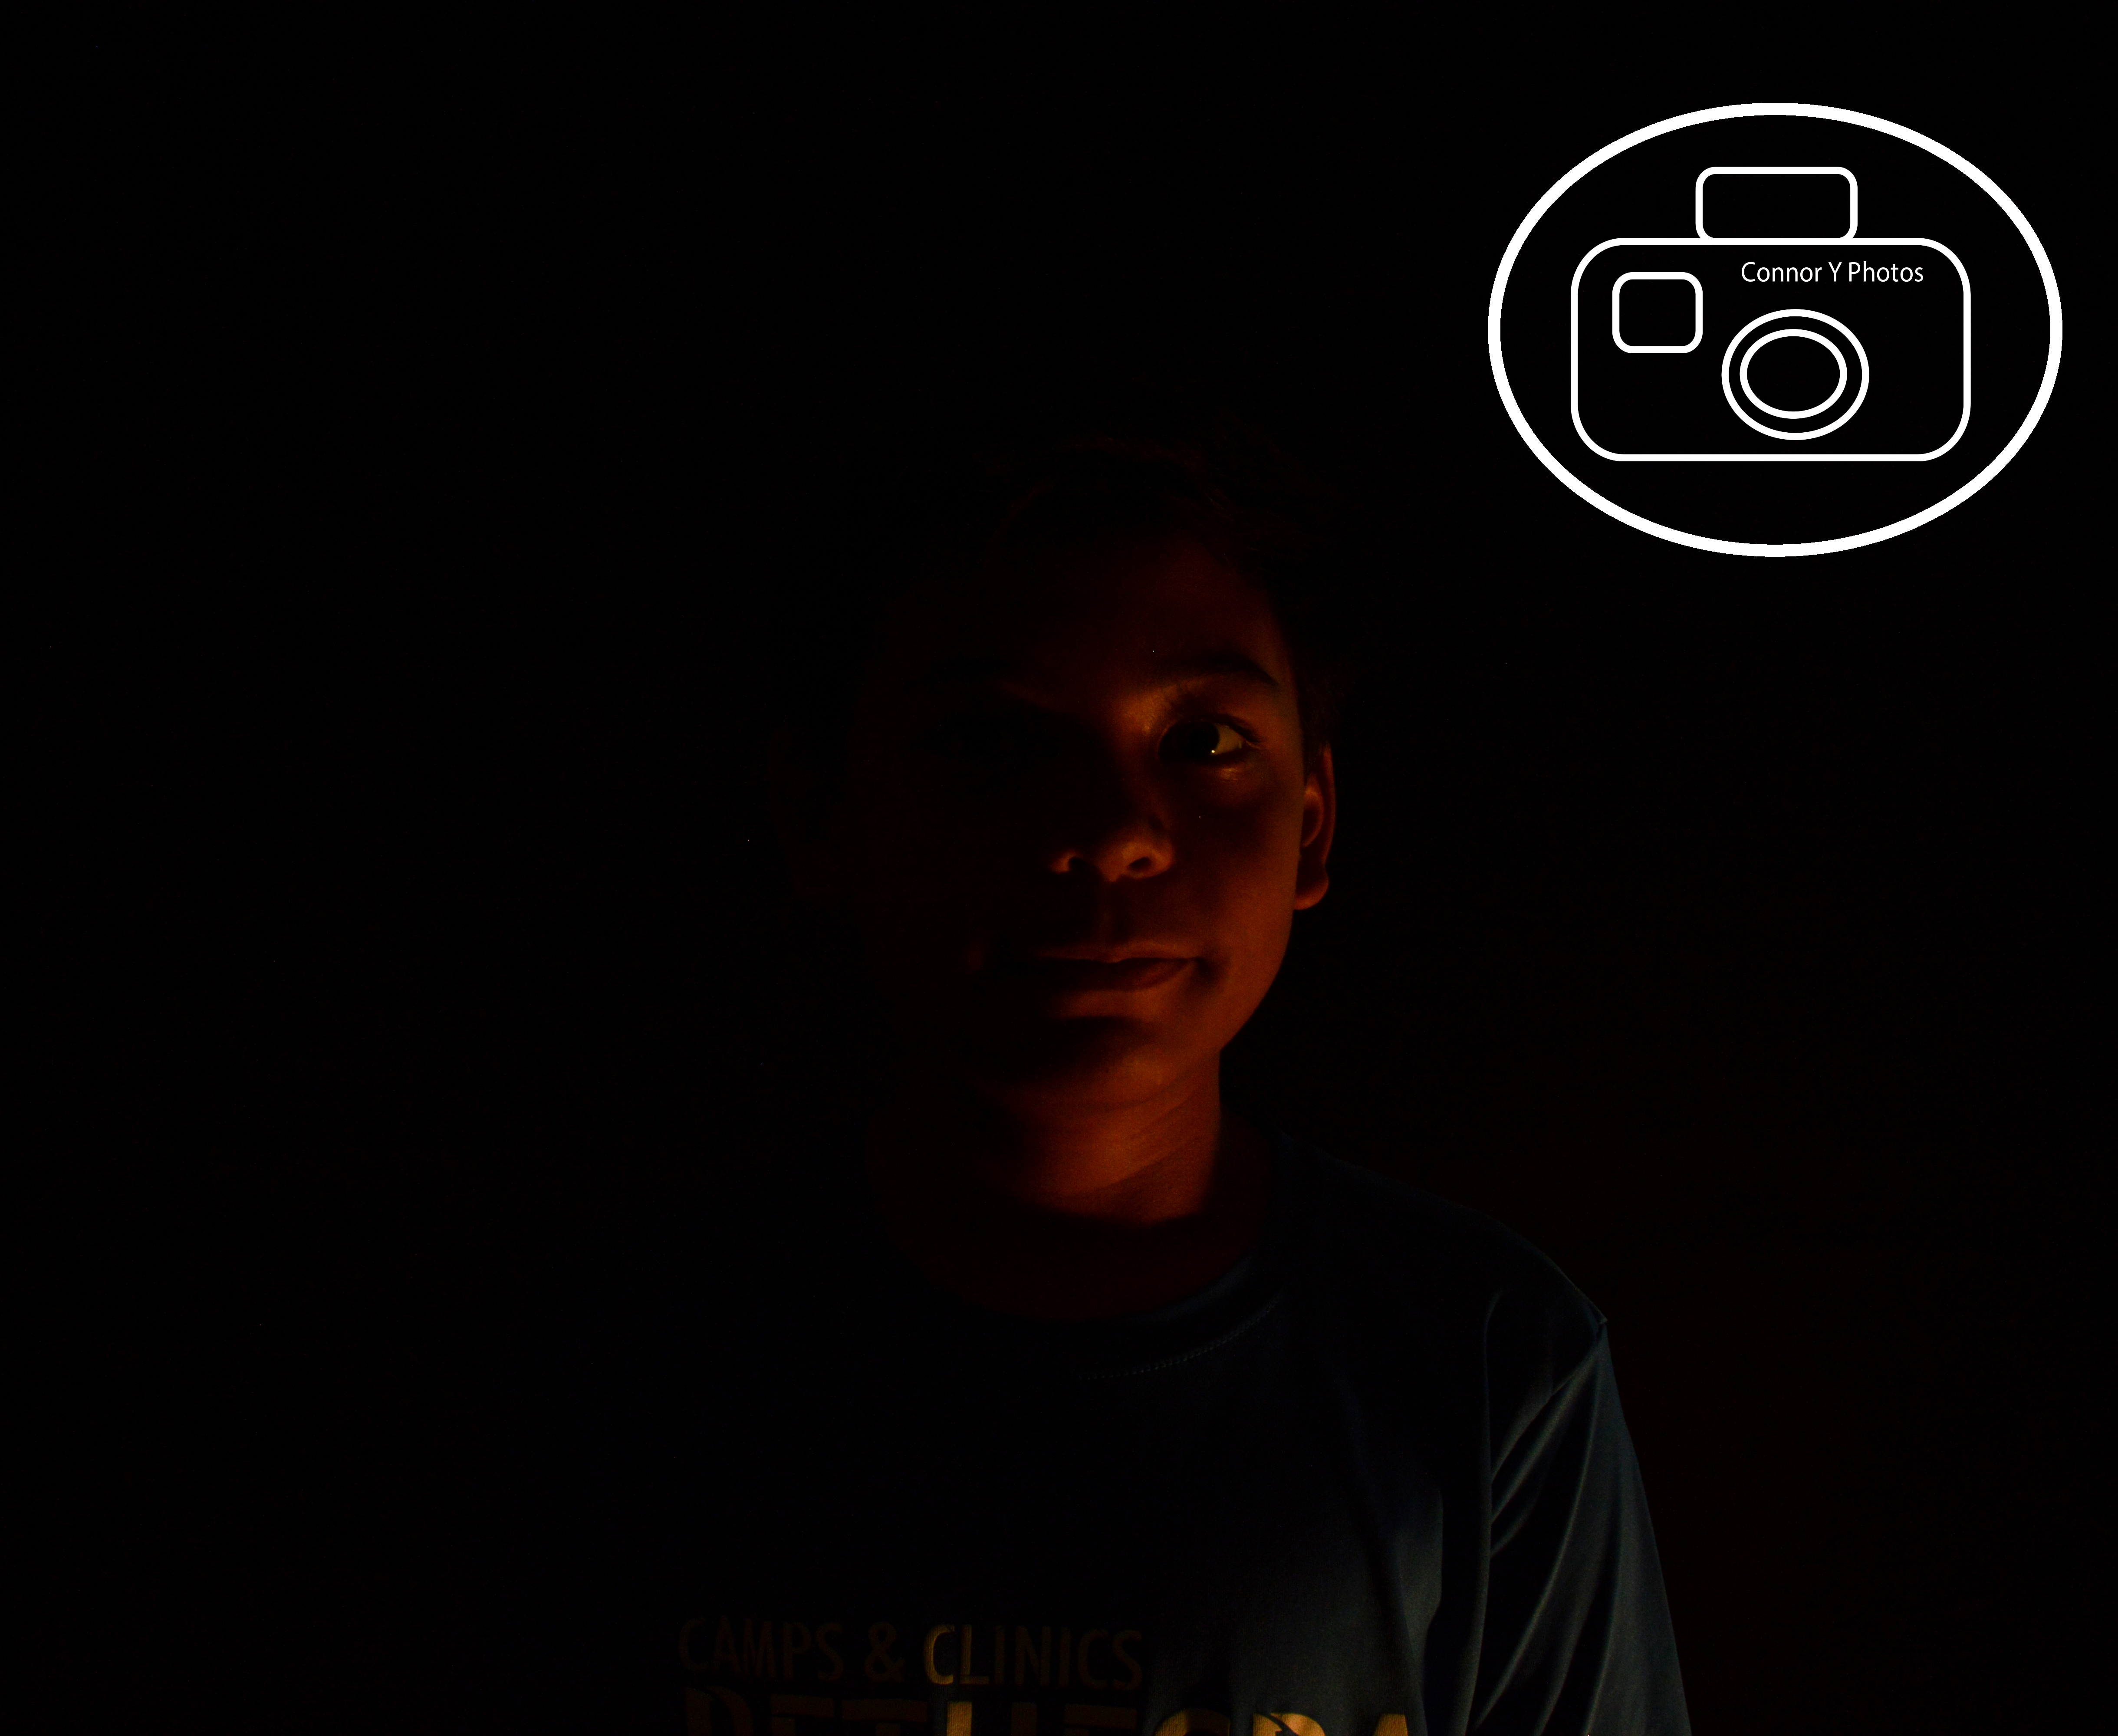
Month: October 2018

Light Graffiti

Light Graffiti

We took our pictures by having the shutter open for as long as possible. We turned on the flashlights while the shutter was open and started painting with the light. Having many attempts for one photo really worked because you could choose your best photo. Moving around while painting didn’t work because it made the picture blurry. It was really frustrating to figure out how you could paint your desired picture without messing it up. For taking this project to the next level, we could do a short stop motion video using light graffiti.

You can see the rest of the photos here.

Rule of Thirds

Rule of Thirds

For this project, what really worked was that I used a grid on the camera and it made it much easier. Also, choosing the right background made it easier. What didn’t work was having the person or object in the middle of the photo. My thoughts before the Rule of Thirds was that to always have the person in the middle of the photo. After I took my pictures, I realized that having the person to the side makes the photo look better. The lines I used were the all the 4 points of the grid. I set up the shot by taking a photo to the left and to the right. Then I chose which one was better.

You can see the rest of my photos here.

Portraits with Black Background

Portraits with Black Background

In this project, we had to take portraits of everybody in our group on a dark background. We took the photos by having the lighting just right. At first, we tried to shine the light on the background. But then we figured out that you had to shine the light on the person at an angle. As for editing, we used photo shop to make the background look more dark. We also made the people look more bright.

You can see the rest of the photos here.

Portraits with White Background

Portraits with White Background

The process we used to take our photos was that we had to get the perfect lighting for the white background. You had to get in front of the lights. We also messed around with the ISO, Shutter Speed, and F-Stop. For editing the photos, we used photo shop to make the photos look better. At first, we didn’t edit correctly, but then we figured out how to do it.

                            To see all the photos, click here.