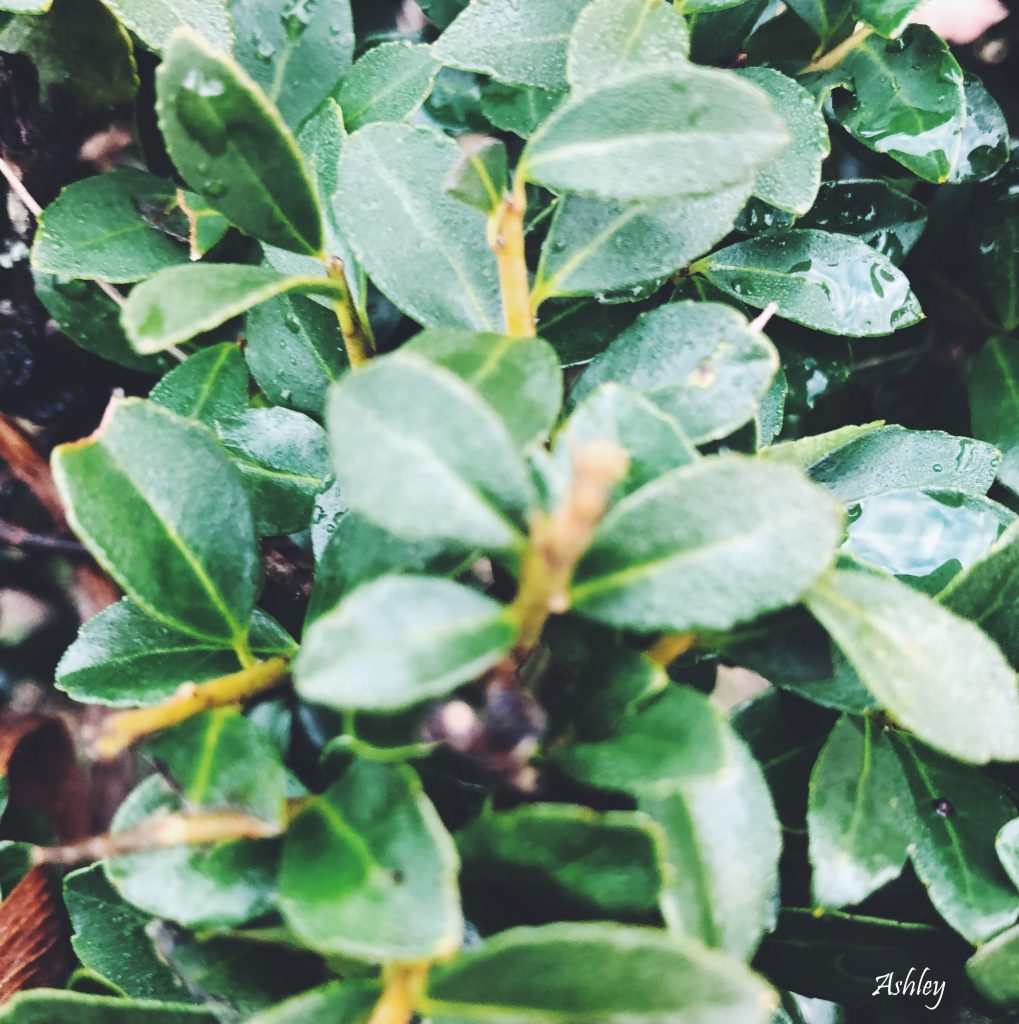
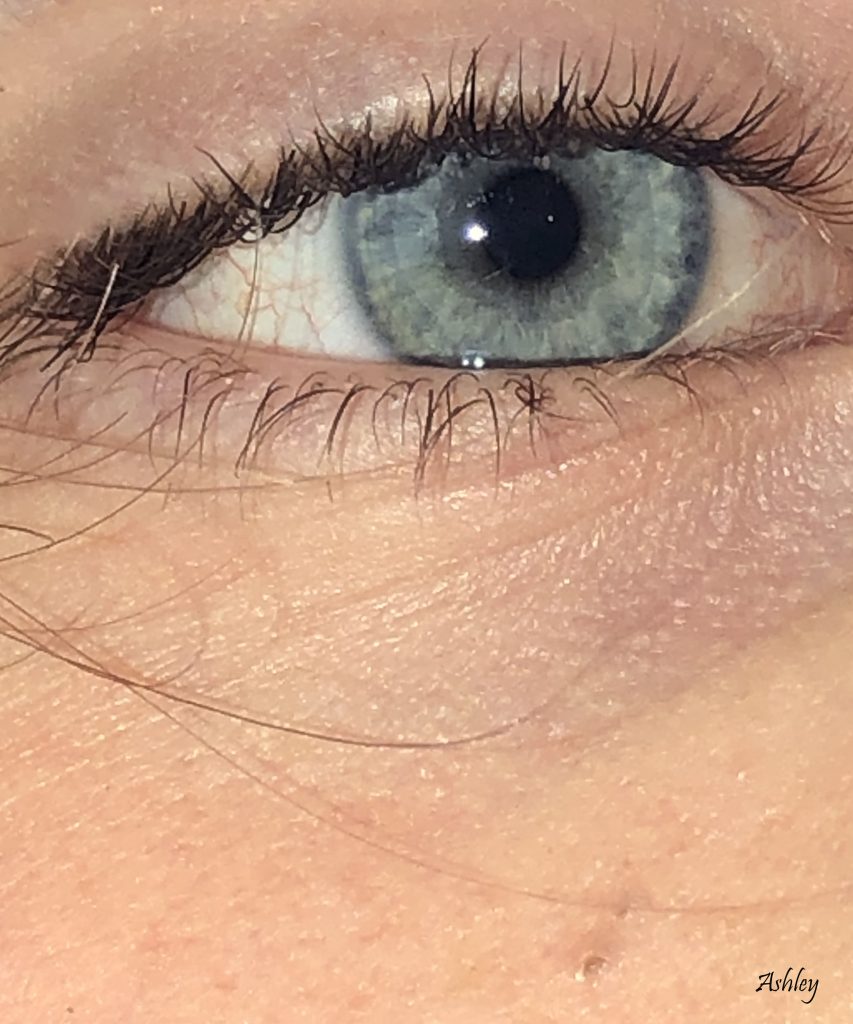
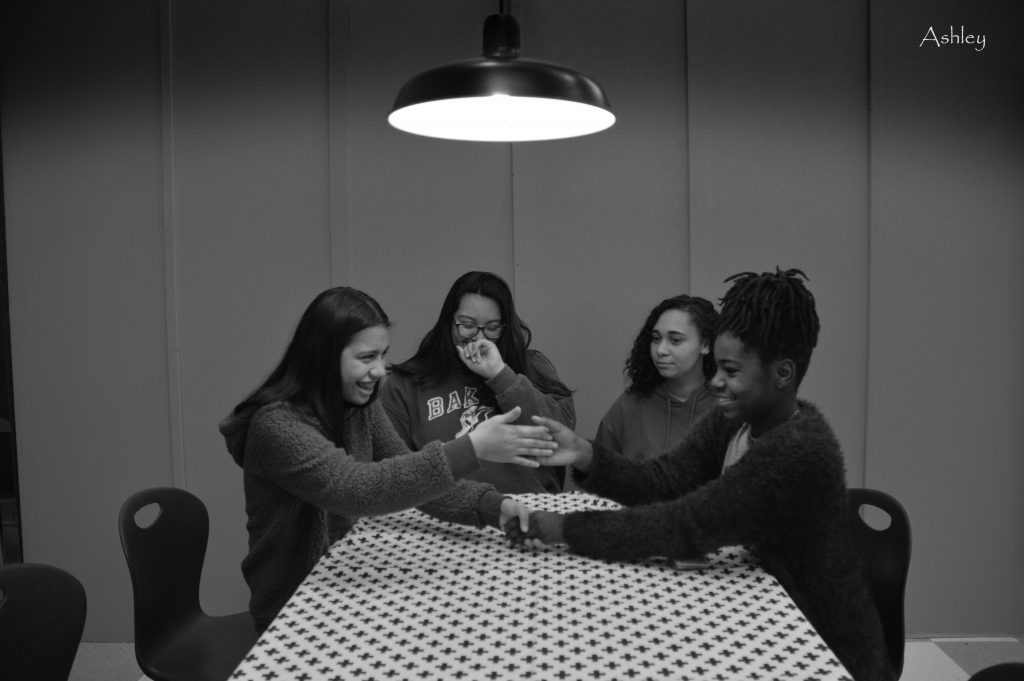
Category: period 1

Getting Close

Getting Close

The point of this project was to take a picture of an object really close, you couldn’t zoom in. You had to capture all the little details. What worked really well with this project was taking pictures of raindrops because it was cool and easy. I tried taking pictures of leaves which was new. What didn’t work was zooming in because the picture would become blurry and weird. It wasn’t really hard to find subjects but there were times where I couldn’t find what to take pictures of. There were no issues with the camera.  If I had the equipment, time, and ability to get there, I would take a picture of a butterfly’s wings. Down below are my favorite pictures I took. If you want to see the rest of my pictures click here.

Processed with VSCO with f2 preset
Set in the Street

Set in the Street

Kitchen Table.  We had to take different photos of us doing an action at a kitchen table.  The photographers that were used for this project were Carrie Mee Weems and Justin Bettman. If you want to see their websites click their name.   The tools I used was the contrast of black and white, I used the oval marquee tool, feather, and inverse.  If I had to choose a place to tell my family’s story I would take it on the front steps of my grandma’s steps in El Salvador.  You would see a blue house, trees, and a whole lot of trees.  Click here to see the rest of my photos.

Catch the Action

Catch the Action

The point of the project was to take pictures of someone in action.  For example, you had to catch someone running or jumping.  I didn’t really do much but I added a filter to make it darker or lighter.  I also took a lot of pictures while the action was in process.  So then I could go back and choose one that really got the action.  I also wanted the background without people.  Let me give you some tips.  I suggest to take a lot of pictures not only one.  I suggest to get a good setting.  If I could picture someone playing soccer that would be great.  If you want to see the rest of my pictures, click here.

Light Graffiti

Light Graffiti

We took our pictures by putting the camera to manual, used F-Stops ISO setting.  We had to put the shutter speed to 10 seconds and during those 10 seconds we used our light to make a design.  What worked was using a flashlight.  What didn’t work was using the light from your phone.  What frustrated me during the project was getting everybody to do their design on time and finding backgrounds to do.   To look at the rest of my photos click here.

Rule of Thirds

Rule of Thirds

  I would say putting the grid setting worked.  What didn’t work was taking pictures of people hugging.  My thoughts on rule of thirds is that it can help to make the picture better and more interesting.  My thoughts haven’t changed really.  So there is 2 lines going vertically and 2 lines horizontal, you have to put the main thing in your picture on one of the 2 lines.  I usually put the object in one of the 2 lines.  You can see the rest of my photos here.

Portraits With Black Background

Portraits With Black Background

To take pictures we used the camera on manual and used a light to put it on the person, not on the background.  We stood in front of the light so it won’t get on the black background.  I would say what didn’t work was putting the light on the background, it made the background stay brighter then its supposed to be.  What worked was turning the person lighter, so the background looks like a black hole.  If you want to see all my pictures click here

Portraits with an Infinite Background

Portraits with an Infinite Background

So to take the photos we had to put the camera to manual, we had to hold a light too.  The background was a white paper.  To edit the photos we had to go to Adobe Photoshop but not to photoshop but to change the light settings.  I added a picture I took and messed with the contrast and the background lightness.  So I made the background lighter and the person darker.  Then I cut the edges because it was yellow.  I would say the person being color than just grey is better.  What didn’t work was the contrast of black and white.  If you want to see the rest of my photos, click here

1 Object, 5 Shots

1 Object, 5 Shots

For this week’s project we had to find three objects and take 5 shots in different angles.  The challenging part of the project was to find different angles.  The hardest object to photograph was the white board because the white board was hung up and it was huge.  This project helped me learn about different angles I didn’t even know about.    If you want to see the rest of my 15 pictures then click here.